Today I wanted to share my winter snow banner with you. I am loving the banner kits in the Holiday catalog and am so sad they are only available thru Jan 2nd.
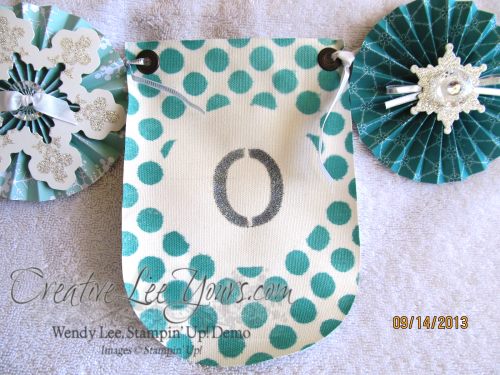
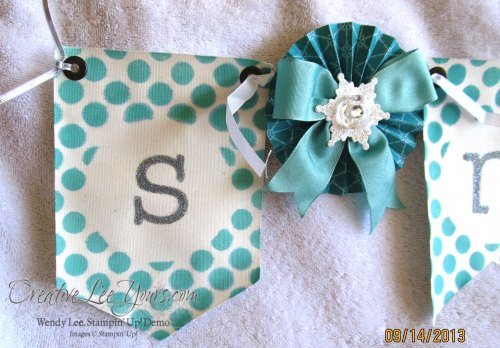 I created my banner with the Build a Banner Simply Created kit and the Christmas Banner Simply Created Accessory kit. It was so fast and easy.
 I used the stencils and spritzer included in the build a banner kit to add the polka dots to my flags.
Tips:
- Spray the back of the stencils with a light hold spray adhesive to hold their placement as you work with them.
- Add 32 drops of re-inker in your spritzer and then fill with rubbing alcohol. Spray flags lightly. I found if they got too wet the ink bled a bit.
- Here is the blog post with a video on the using the kits
 I used basic grey classic ink for the letters on my banner and then added dazzling diamonds glitter with the 2-way glue pen for a little more sparkle.
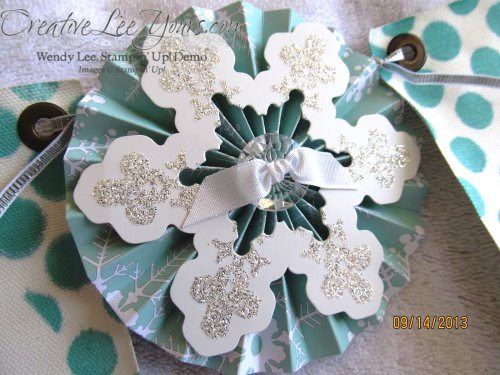 I used the festive flurry framelits to cut a smaller snowflake out the center of the larger snowflakes that came in the kit.
 I used the ribbons that came in the kit to tie my banner flags together.
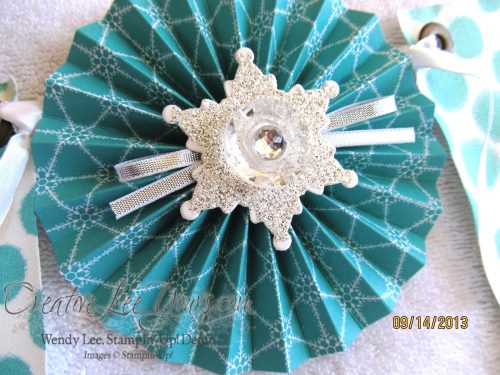 One of the favorite features of the banner accessory kits are the rosettes/lollies. These are pre-scored for you!

I can't wait to make some more banners!
Ink– Bermuda Bay Classic Ink, Basic Grey Classic Ink
Fabulous Tools– Paper Snips, Hot Glue, Big Shot, Festive Flurry Framelits,
Creative Touch–Dimensional Dots, Mini Glue Dots, Christmas Banner Simply Created Accessory Kit, Build a Banner Simply Created Kit,
CreativeLee Yours,