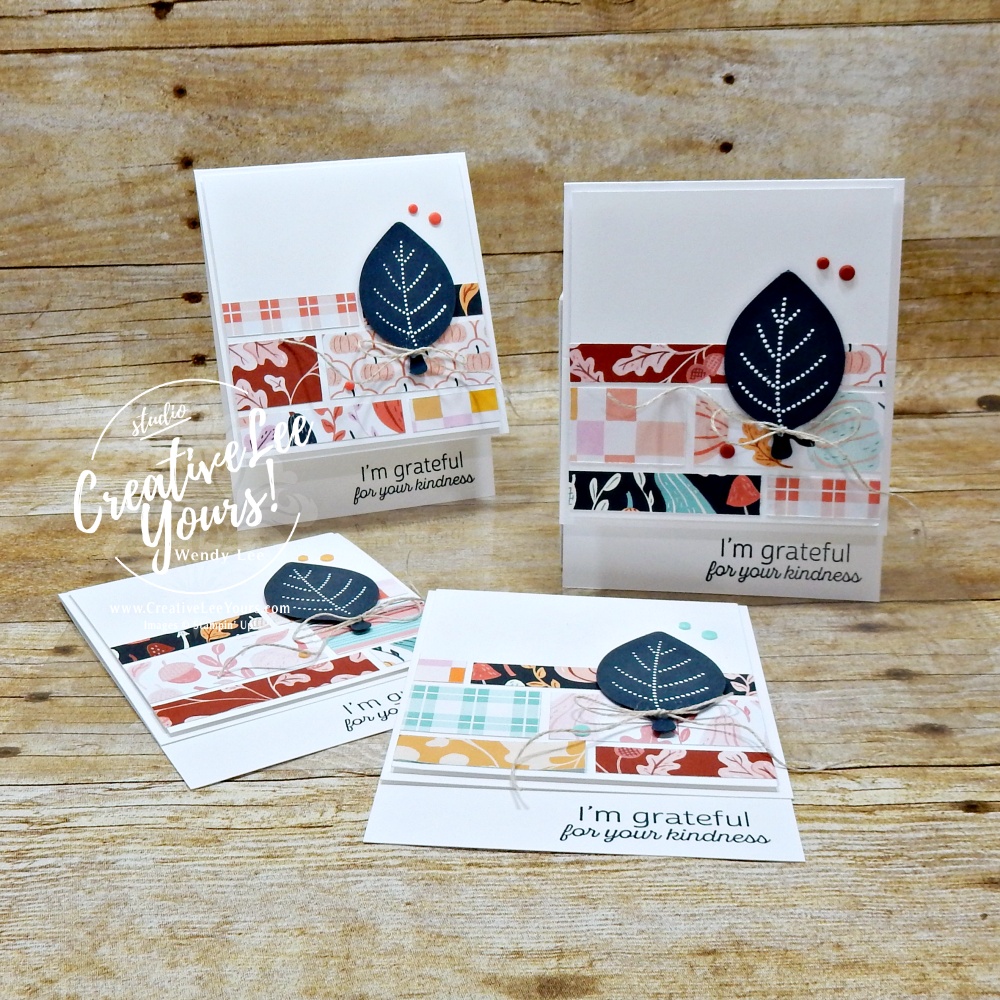
Do you have a collection of little strips of Designer Series Paper that are too pretty to throw away but you’re not quite sure what to do with them? Today’s project is for you!
I’m taking strips of patterned paper in different widths and arranging them almost like little bricks to create one larger design element. And I love what happens.
Instead of looking like a collection of leftovers, those little pieces suddenly look completely intentional.
Even better? This is an idea you can use over and over again with the patterned papers already sitting in your craft room.
And I’ve added a couple of extra details to today’s card that make this simple layout feel just a little more special.
Let’s take a closer look!
Today’s cards feature everything I love about approachable cardmaking. Don’t Toss Those Designer Series Paper Strips!
If you’ve been following along with me lately, you know we’ve been talking quite a bit about using our beautiful patterned papers. And so many of you have told me that you hesitate to cut into them because you don’t want to waste that pretty paper.
Well, here’s another reason to go ahead and CUT THE PAPER! Those little pieces don’t necessarily have to go to waste.
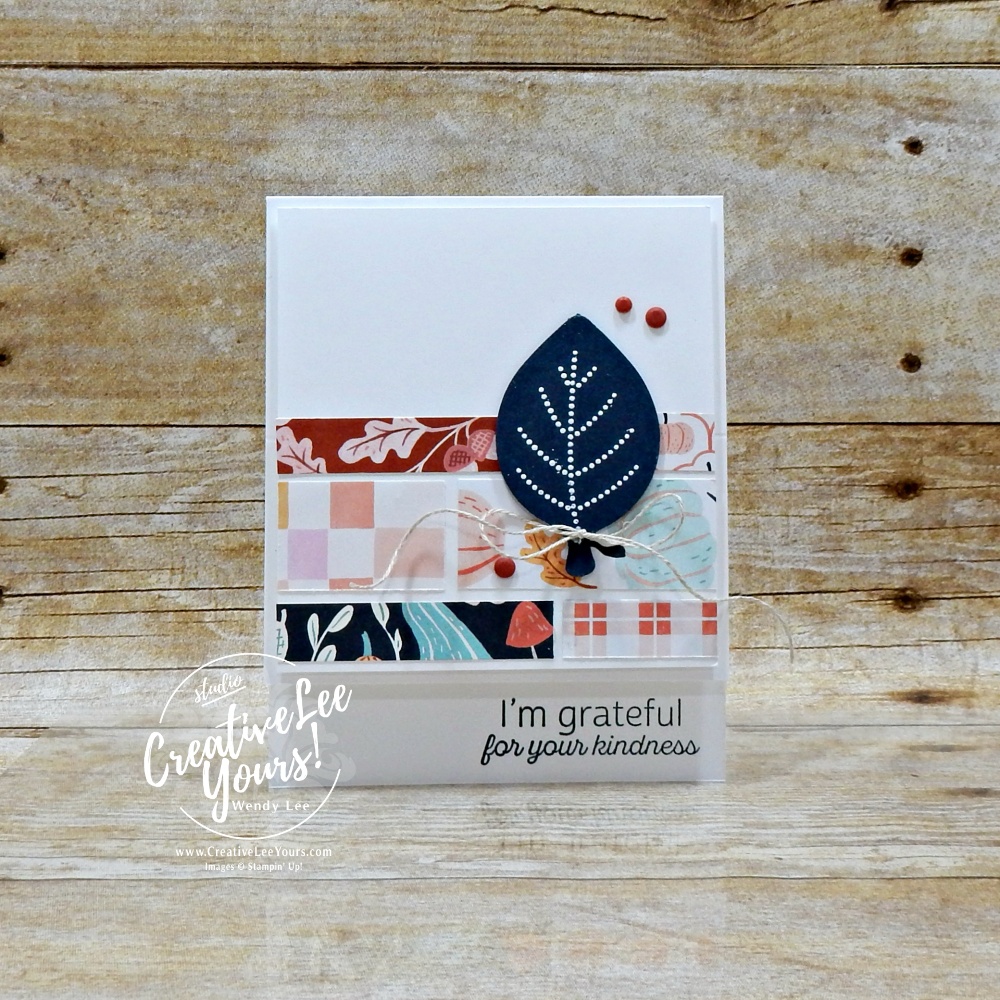
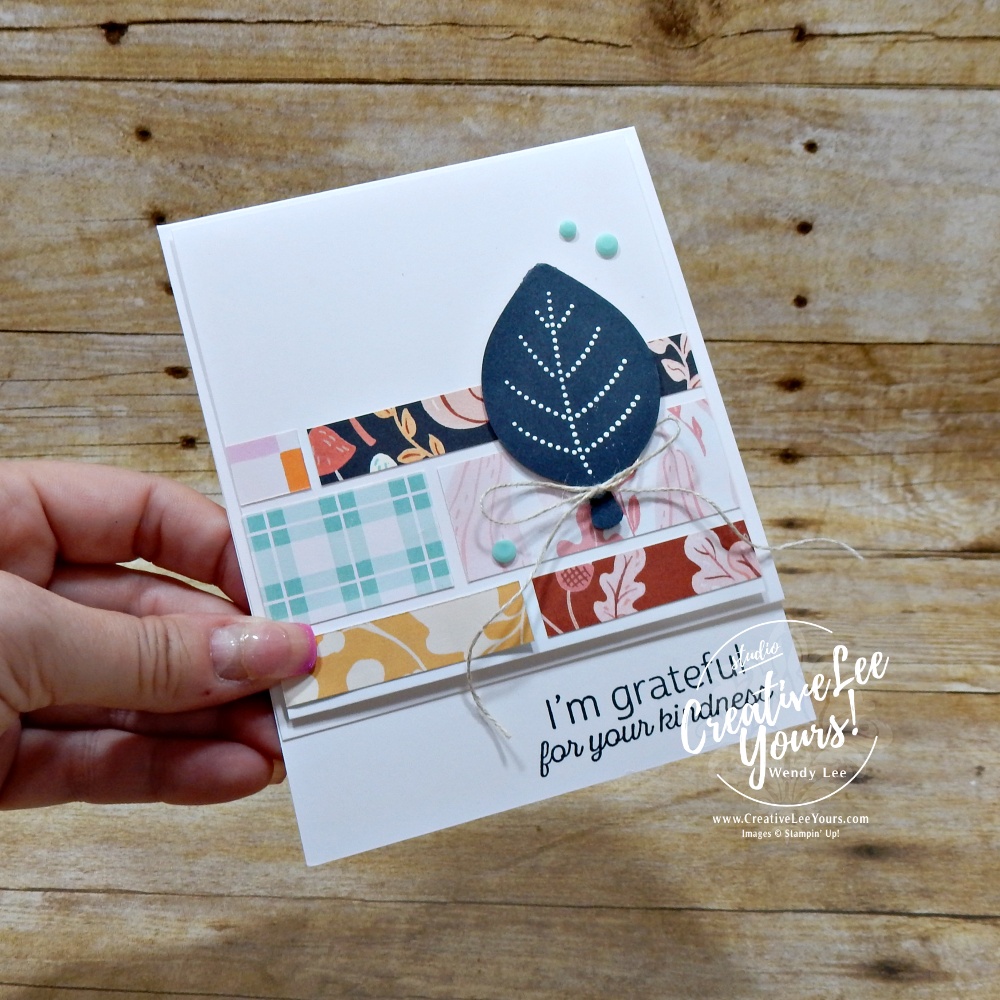
For today’s card, I used a combination of 1/2″ and 1″ strips of Painted Patch Designer Series Paper (DSP) and staggered them across the Basic White layer.
By alternating the different patterns and offsetting where the strips begin and end, we get an effect that reminds me a little bit of a brick wall.
The individual pieces are simple. It’s the way they’re arranged together that makes them interesting. And that’s a great little design lesson to tuck away for later:
Sometimes you don’t need more supplies. You just need a different way to arrange what you already have.
Mixing Patterns Doesn’t Have to Be Complicated
There’s another reason I especially like this card.
Recently, I asked my Facebook community what slows them down when they’re creating with Designer Series Paper, and one of the answers that came up repeatedly was figuring out which patterns work together.
This design is a great place to practice.
Because all of these patterns come from the same Designer Series Paper collection, the colors and designs have already been created to coordinate.
That gives us permission to play!
Try combining a bolder pattern with something quieter. Alternate colors. Turn the strips in different directions. And don’t worry about making everything perfectly symmetrical.
You may be surprised by how well patterns you wouldn’t normally put beside one another can work when you use them in smaller amounts.
A Simple Fun-Fold Detail Without a Complicated Fold
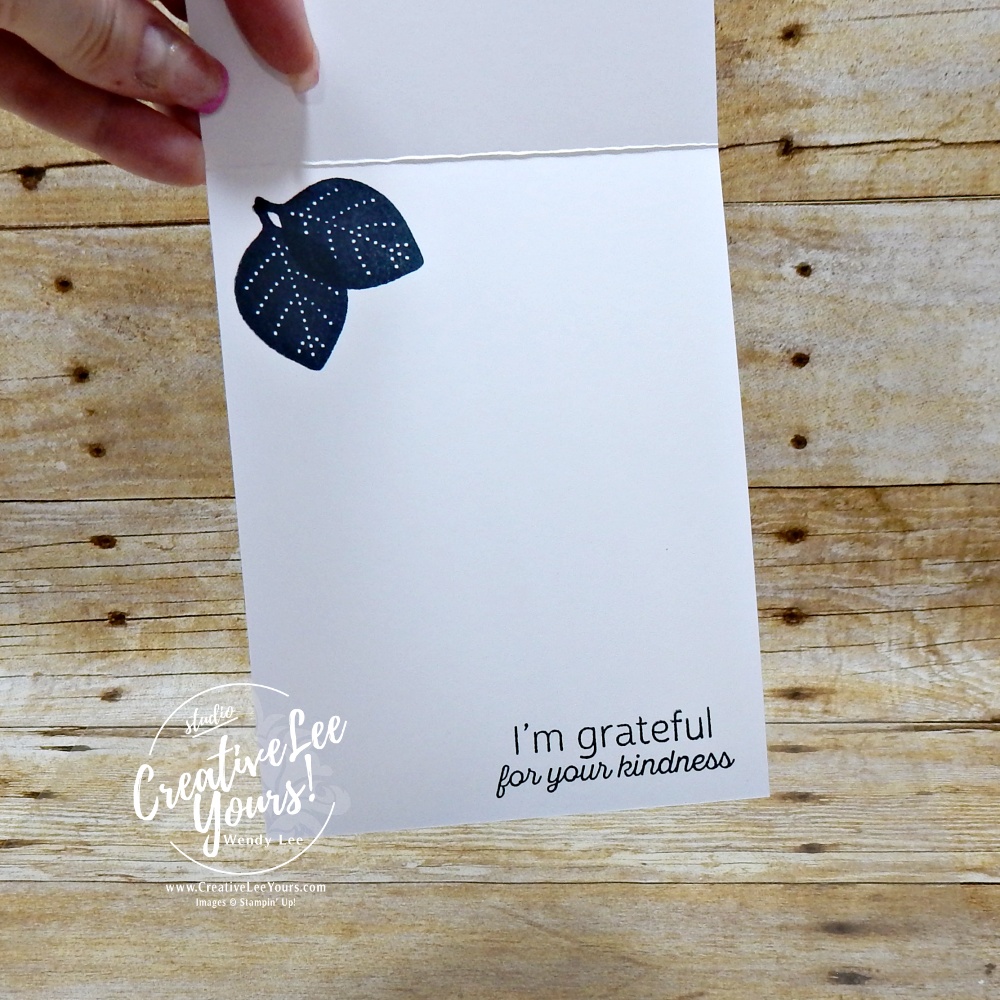
I also wanted to give this card a little something unexpected. Instead of using a traditional 5-1/2″ card front, I trimmed an inch from the bottom of the front panel. That allows the sentiment stamped inside the card to peek out while the card is closed.
It’s a small change to a traditional card base, but it adds that little bit of interaction that makes the recipient want to open it.
And if elaborate fun folds aren’t your thing—or you’re trying to conserve cardstock—this is a wonderful way to add interest without creating a complicated card construction.
One Little Leaf…With a Big Transformation
Now let’s talk about my favorite little detail on this project. The leaf!
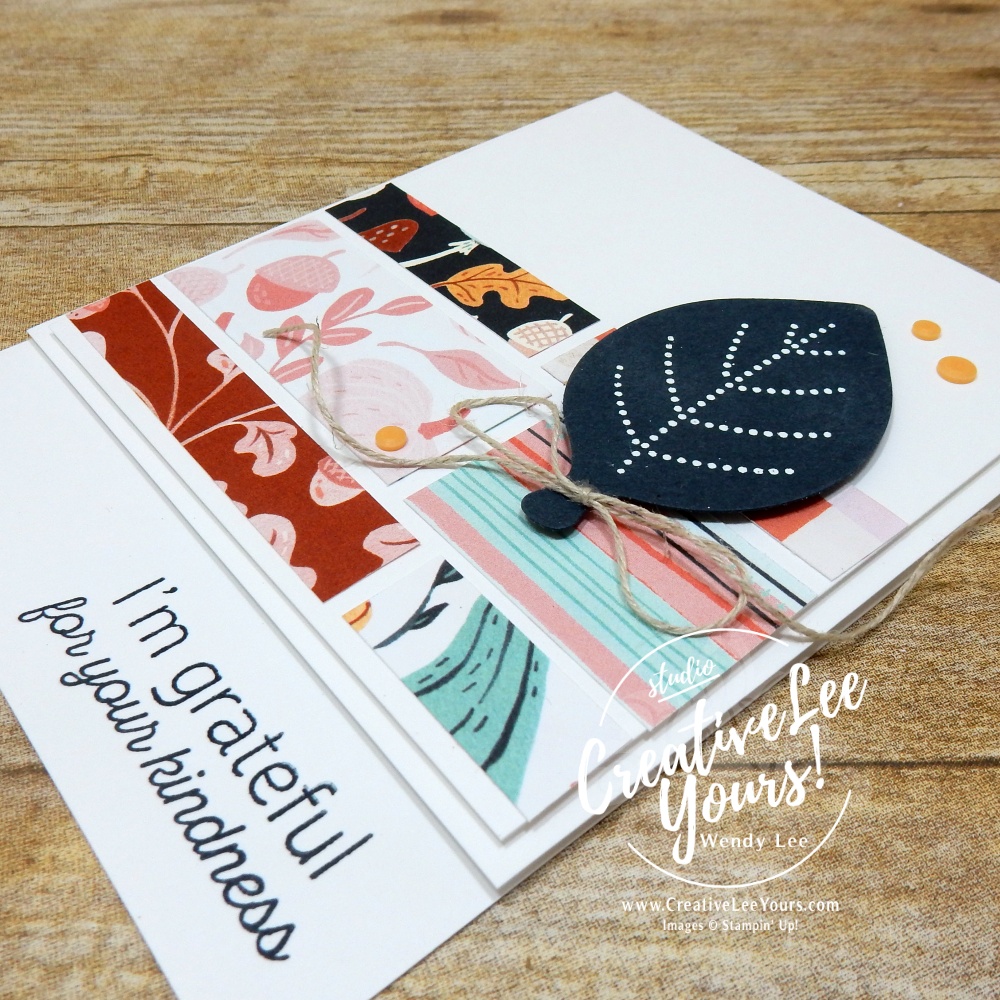
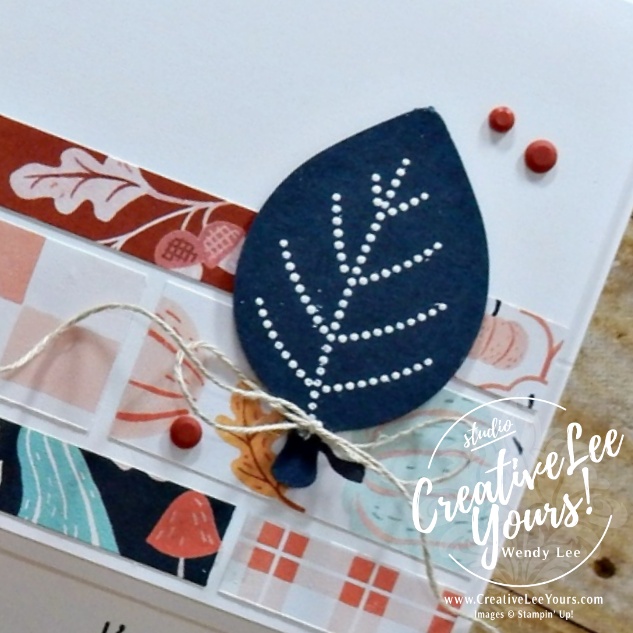
I punched the leaf from Secret Sea Cardstock using the Simply Leaves Punch. Then, instead of stamping the veins in a coordinating ink, I stamped them using embossing ink and heat embossed them in white.
I love the contrast of that crisp white detail against the deep Secret Sea cardstock. And this is one of those techniques where the magic happens right before your eyes.
The embossing powder starts out dull and powdery…
then the heat hits it…
and suddenly those beautiful leaf veins become smooth, bright and shiny.
A simple Linen Thread bow and a few coordinating gems finish the focal point without competing with all of those wonderful patterns in the background.
Project Layers (Imperial):
- 4-1/4″ x 10″, scored at 5-1/2″ Thick Basic White CS
- 4″ x 4-1/4″ Basic White CS
- 3-1/4″ x 2″ Secret Sea CS for punching
- Assorted 1/2″ and 1″ strips of DSP
- Approx. 10” Linen Thread
A little permission here…
Don’t feel like your patterned-paper pieces have to look exactly like mine. That’s part of the fun of this design!
Use the patterns you have. Change their order. Use different widths. Play with the placement.
Think of my card as your starting point, not a rulebook.
I have created a printable recipe with the complete supply list and cut dimensions for you. Simply click the button below to access the printable file.
Want to See How This Card Comes Together?
Looking at the finished project is one thing. But this is definitely one you’ll want to watch being built.
In today’s video, I’ll show you:
- how I arrange the different DSP strips to create that brick-like pattern,
- how the shortened card front reveals the inside sentiment,
- how I punch and heat emboss the Simply Leaves focal point,
- how I add the Linen Thread,
- and how all those small details come together without making the card feel overly busy.
You’ll also get to see that heat embossing transformation happen—which is always one of my favorite parts. Click below and let’s make it together!
(note if viewing this post via email subscription, you may need to click the post name to display the video)
What If You Love Creating…But Not All the Work Before It?
If today’s project made you think,
“I would love to sit down and make that—but I’d really love it if someone else figured everything out first…”
I completely understand. And that’s exactly why I created Cultivated Creativity.
Sometimes the hardest part of cardmaking happens before we ever get to the fun part.
What should I make?
Which colors go together?
Which patterns should I use?
What size should I cut everything?
What pieces do I need to die cut, punch or emboss?
By the time you’ve figured all of that out, you may have used up half the creative time you had available. With Cultivated Creativity, I do much of that work for you.
Each month I design five projects, coordinate the supplies and thoughtfully prepare much of the time-consuming cutting, punching, die-cutting and embossing so you can spend more of your creative time doing what you came to do:
Make something beautiful.
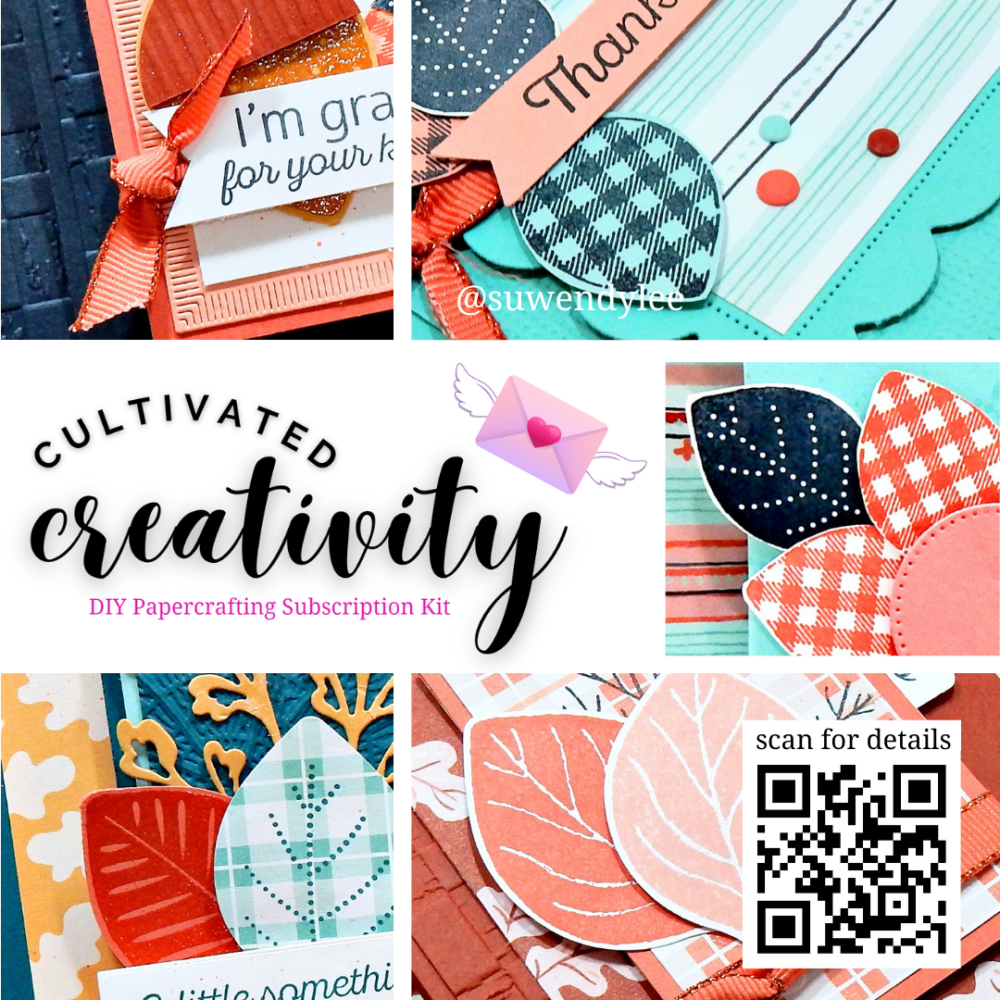
September’s Cultivated Creativity Projects
This month we’re creating with the Simply Leaves Stamp and Punch Bundle and pairing it with the beautiful Painted Patch Designer Series Paper and coordinating embellishments.
And I especially love the unexpected color combination we’re using! You’ll create five different projects, including fun folds and a project that’s not a card, so you’ll have plenty of variety while learning some new ideas along the way.
And I have some good news…
I’ve opened a few additional spots for September!
Registration is available through September 20 or until the remaining kits are spoken for, whichever comes first.
So if you’ve been watching Cultivated Creativity and thinking you might like to give it a try, I’d love to create with you this month.
Before You Go…
I hope today’s project gives you one more reason to stop looking at those little leftover pieces of Designer Series Paper as scraps.
They’re possibilities.
Sometimes all they need is a plan.
So here’s my question for you:
What happens to YOUR leftover DSP strips?
Do you save every little piece?
Do you have a minimum size before it goes in the trash?
Or do you currently have a container overflowing with scraps you’re absolutely certain you’ll use someday? 😂
I’d love to know!
And more importantly, I hope you’ll pull out a few of those strips and give today’s idea a try.
Hope You Enjoy,
Love this project? Here is your shopping list so you can re-create this idea on your own…just click on the images below to add them to your cart.
Shopping List
![Simply Leaves Bundle (English) [ 168165 ]](https://assets1.tamsnetwork.com/images/EC042017NF/168165s.jpg "Simply Leaves Bundle (English) [ 168165 ]")
![Basic White 8 1/2" X 11" Thick Cardstock [ 159229 ]](https://assets1.tamsnetwork.com/images/EC042017NF/159229s.jpg "Basic White 8 1/2\" X 11\" Thick Cardstock [ 159229 ]")
![Basic White 8 1/2" X 11" Cardstock [ 166780 ]](https://assets1.tamsnetwork.com/images/EC042017NF/166780s.jpg "Basic White 8 1/2\" X 11\" Cardstock [ 166780 ]")
![Secret Sea 8 1/2" X 11" Cardstock [ 165624 ]](https://assets1.tamsnetwork.com/images/EC042017NF/165624s.jpg "Secret Sea 8 1/2\" X 11\" Cardstock [ 165624 ]")
![Painted Patch 12" X 12" (30.5 X 30.5 Cm) Designer Series Paper [ 168430 ]](https://assets1.tamsnetwork.com/images/EC042017NF/168430s.jpg "Painted Patch 12\" X 12\" (30.5 X 30.5 Cm) Designer Series Paper [ 168430 ]")
![Secret Sea Classic Stampin' Pad [ 165285 ]](https://assets1.tamsnetwork.com/images/EC042017NF/165285s.jpg "Secret Sea Classic Stampin' Pad [ 165285 ]")
![Versamark Pad [ 102283 ]](https://assets1.tamsnetwork.com/images/EC042017NF/102283s.jpg "Versamark Pad [ 102283 ]")
![Basics Wow! Embossing Powder [ 165679 ]](https://assets1.tamsnetwork.com/images/EC042017NF/165679s.jpg "Basics Wow! Embossing Powder [ 165679 ]")
![Painted Patch Adhesive Backed Dots [ 168443 ]](https://assets1.tamsnetwork.com/images/EC042017NF/168443s.jpg "Painted Patch Adhesive Backed Dots [ 168443 ]")
![Linen Thread [ 104199 ]](https://assets1.tamsnetwork.com/images/EC042017NF/104199s.jpg "Linen Thread [ 104199 ]")
![Heat Tool (Us And Canada) [ 129053 ]](https://assets1.tamsnetwork.com/images/EC042017NF/129053s.jpg "Heat Tool (Us And Canada) [ 129053 ]")
![Embossing Additions Tool Kit [ 159971 ]](https://assets1.tamsnetwork.com/images/EC042017NF/159971s.jpg "Embossing Additions Tool Kit [ 159971 ]")
![Take Your Pick [ 144107 ]](https://assets1.tamsnetwork.com/images/EC042017NF/144107s.jpg "Take Your Pick [ 144107 ]")
![Detail Scissors [ 170902 ]](https://assets1.tamsnetwork.com/images/EC042017NF/170902s.jpg "Detail Scissors [ 170902 ]")
![Bone Folder [ 102300 ]](https://assets1.tamsnetwork.com/images/EC042017NF/102300s.jpg "Bone Folder [ 102300 ]")
![Stampin' Seal [ 152813 ]](https://assets1.tamsnetwork.com/images/EC042017NF/152813s.jpg "Stampin' Seal [ 152813 ]")
![Mini Glue Dots [ 103683 ]](https://assets1.tamsnetwork.com/images/EC042017NF/103683s.jpg "Mini Glue Dots [ 103683 ]")
![Stampin' Dimensionals [ 104430 ]](https://assets1.tamsnetwork.com/images/EC042017NF/104430s.jpg "Stampin' Dimensionals [ 104430 ]")
This post may contain affiliate links. This means I may earn a small commission at no additional cost to you if you click through and make a purchase.
Live in the US…CLICK HERE to shop my online store and have your Stampin’ Up! supplies shipped straight to your door!
Don’t forget: Orders of $20 or more now earn 10% back in Stampin’ Rewards—just make sure you’re logged into your account and have opted into the rewards program at checkout. Stampin’ Up! tracks your rewards for you!
Need some assistance placing your order? No problem!
Call/text me at 336-671-1959 or send me a message on Facebook. I am happy to help.

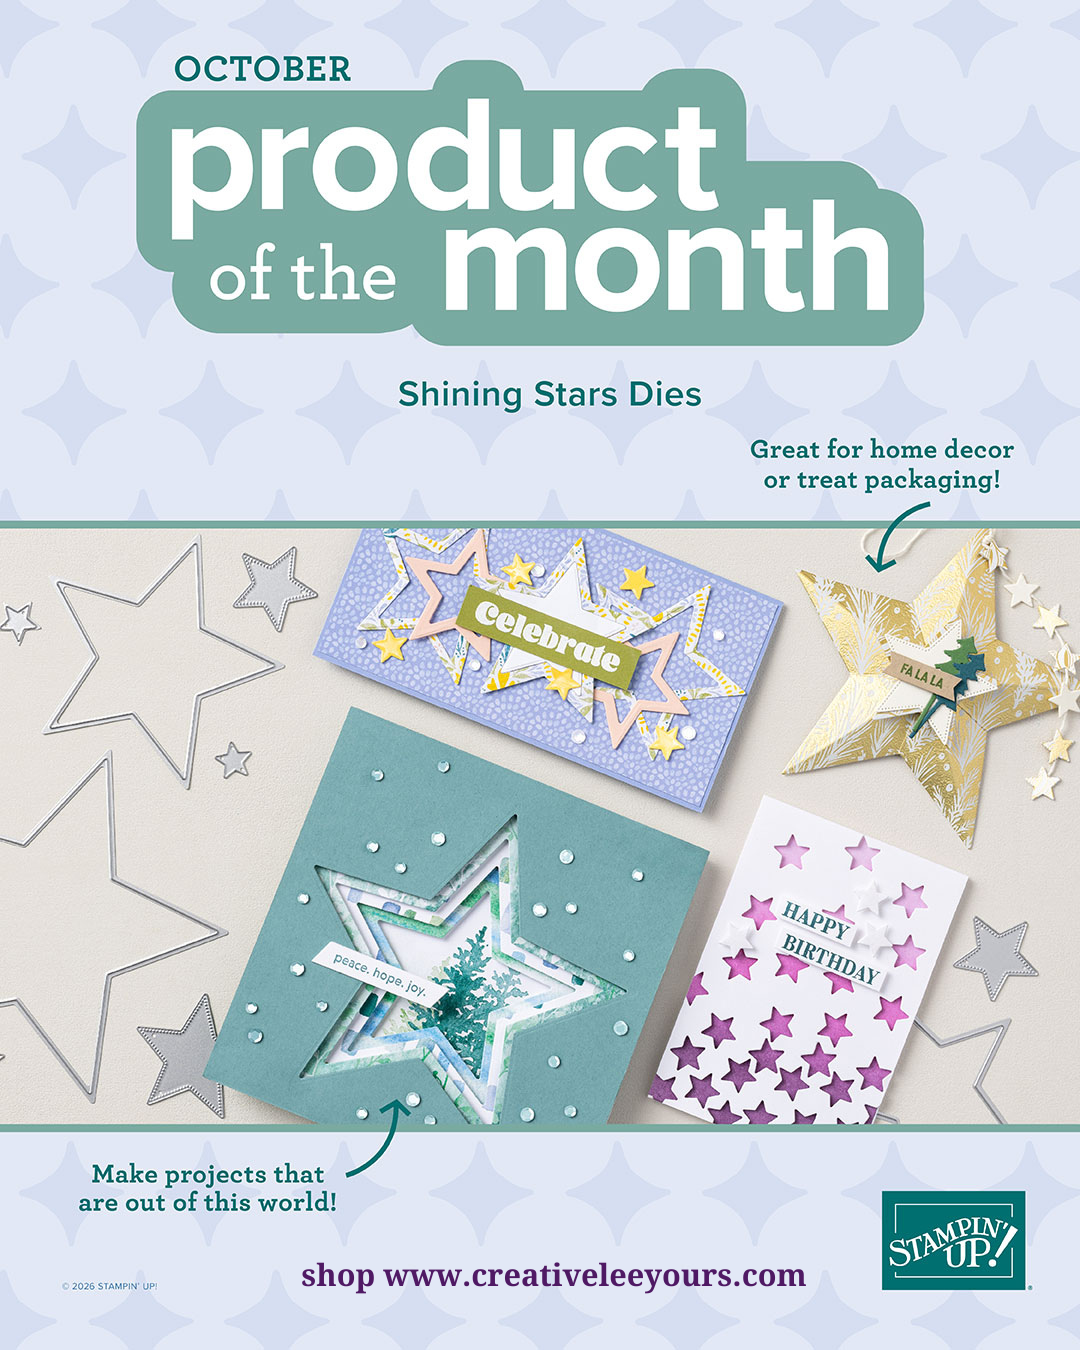
Grab This Month’s $5 Product of the Month!
Want a fun bonus with your order? When you spend $75+, Stampin’ Up! lets you add this month’s Product of the Month for just $5 — and it’s an item you can’t get anywhere else!
It’s limited, exclusive, and the perfect little extra to treat yourself while you craft.
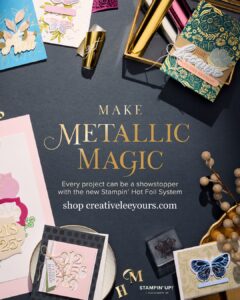
Wendy’s Creative Pick: The Stampin’ Hot Foil System
I’ve been spending time getting to know the new Stampin’ Hot Foil System, and after creating with it myself, I can honestly say it was much easier to use than I expected.
If you enjoy learning new techniques and love adding elegant metallic accents to your handmade cards, this may be a tool you’ll enjoy adding to your craft room.
One thing I especially appreciate is that, for a limited time, your purchase also includes the Metallic Magic Craft Class—a guided virtual class designed to help you get comfortable with the system and start creating beautiful foiled projects with confidence.
What I love most:
- A wonderful specialty tool for cardmakers who enjoy trying new techniques.
- Beautiful metallic details that really stand out.
- Straightforward to learn with the included class.
- Designed to coordinate with exclusive Stampin’ Up! hot foil dies.
Learn more about the Stampin’ Hot Foil System HERE
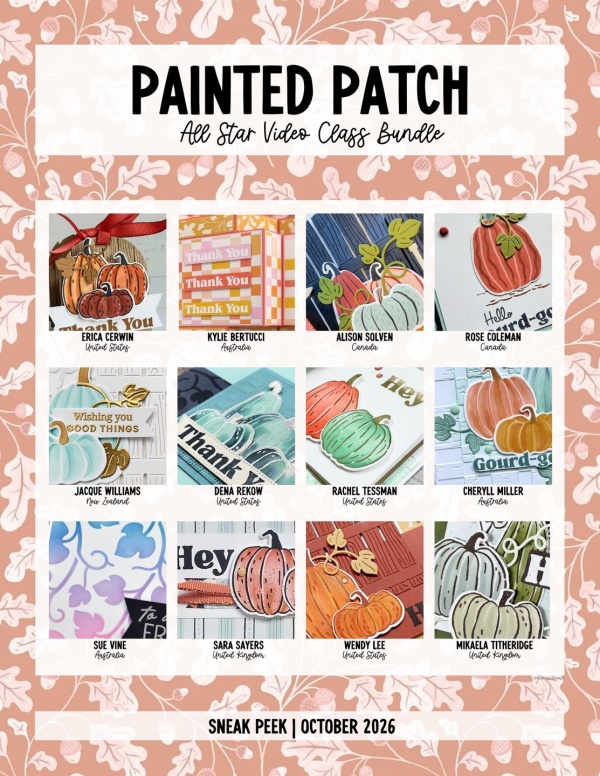
Want to earn EXCLUSIVE video tutorials once a month featuring the latest Stampin’ Up! product suites? Each month you will receive 12 tutorials all bundled together when you place a qualifying $50 or more order with me through my online store for FREE!
You may also purchase individual tutorials HERE.
More Than a Discount… Join the Diemonds!
Have you ever thought about becoming a Stampin’ Up! demonstrator?
Whether you’re looking to save on the products you already love, be the first to see new releases, or simply become part of a welcoming creative community, becoming a Diemond might be exactly what you’re looking for.
- Shop at a discount
- Early access to new products
- Exclusive demonstrator resources
- A supportive community that encourages you every step of the way
Whether you’re a hobby stamper or dreaming of building a business, there’s a place for you here.
Join the Diemonds and enjoy the benefits of being part of the Stampin’ Up! family. Discover what it’s really like to be part of the Diemonds.
Questions? I’d love to help! wendy@creativeleeyours.com
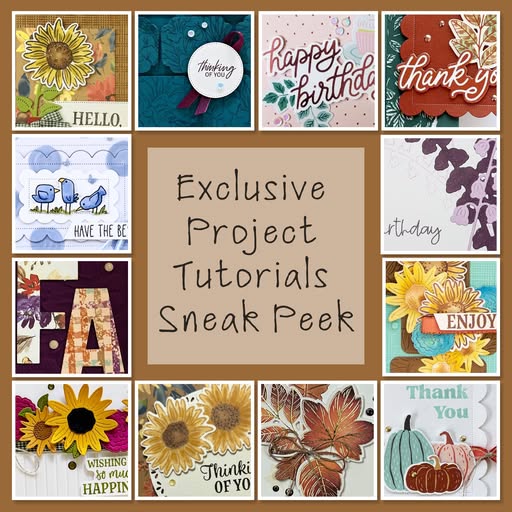
12 EXCLUSIVE tutorials each month for FREE!
I am offering the monthly Exclusive Project Tutorials FREE to my email subscribers. Yes! The Exclusive Projects team is comprised of a talented group of Stampin’ Up! demonstrators sharing great ideas. There will be a wide variety of projects featuring multiple stamp sets each month that you will get for FREE…if you are a subscriber to my newsletter… Whoo Hoo!
Not yet a subscriber? Sign up HERE
What others’ are saying about the Exclusive Tutorial Bundles:
Thank you! Each and every one of your cards are wonderful! I love having the tutorials printed out. I flip through the pages and always find something that would be fun to make! Thanks again!
-Mary D
*****
“Thank you so much – I always enjoy the fresh design options – you make card making fun again.”
-Kathleen L
*****
“I LOVE and appreciate this special offer you give to your email subscribers. I always find lots of inspiration from the demonstrators and enjoy replicating their beautiful designs.”
-TY Barbara D
CreativeLee Yours,

OTHER IMPORTANT LINKS AND INFORMATION:
- Join my Stampin’ Up!® Diemonds team and get the awesome customizable starter kit HERE. It’s the best bundle ever!
- Ready for a fun, monthly craft kit delivered directly to you, so you get all the joy of creating without having to do all the research, design and prep? Cultivated Creativity is for you! Click HERE to get started.
- Join my Online Forget Me Not (FMN) Card Club and elevate your hand made cards HERE.
- Keep up to date with all my upcoming events by JOINING MY 📧 EMAIL LIST. You receive a FREE PDF tutorial when you subscribe as my gift HERE.
- Join Paper Pumpkin and get FREE PDF Tutorials with alternate projects each month.
- Shop my Tutorials to spark your creativity as I guide you through creating beautiful projects HERE.
- Earn Exclusive BONUS tutorials with my rewards program. CLICK HERE for details.