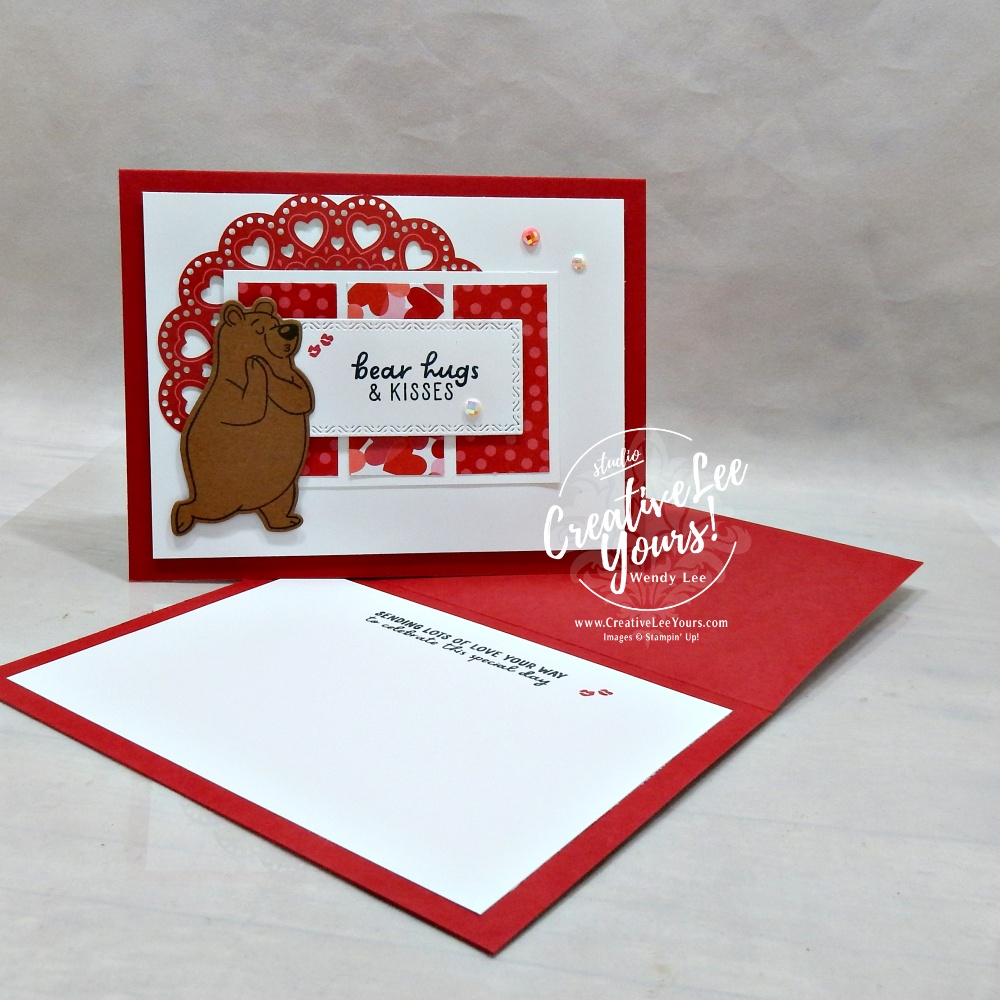
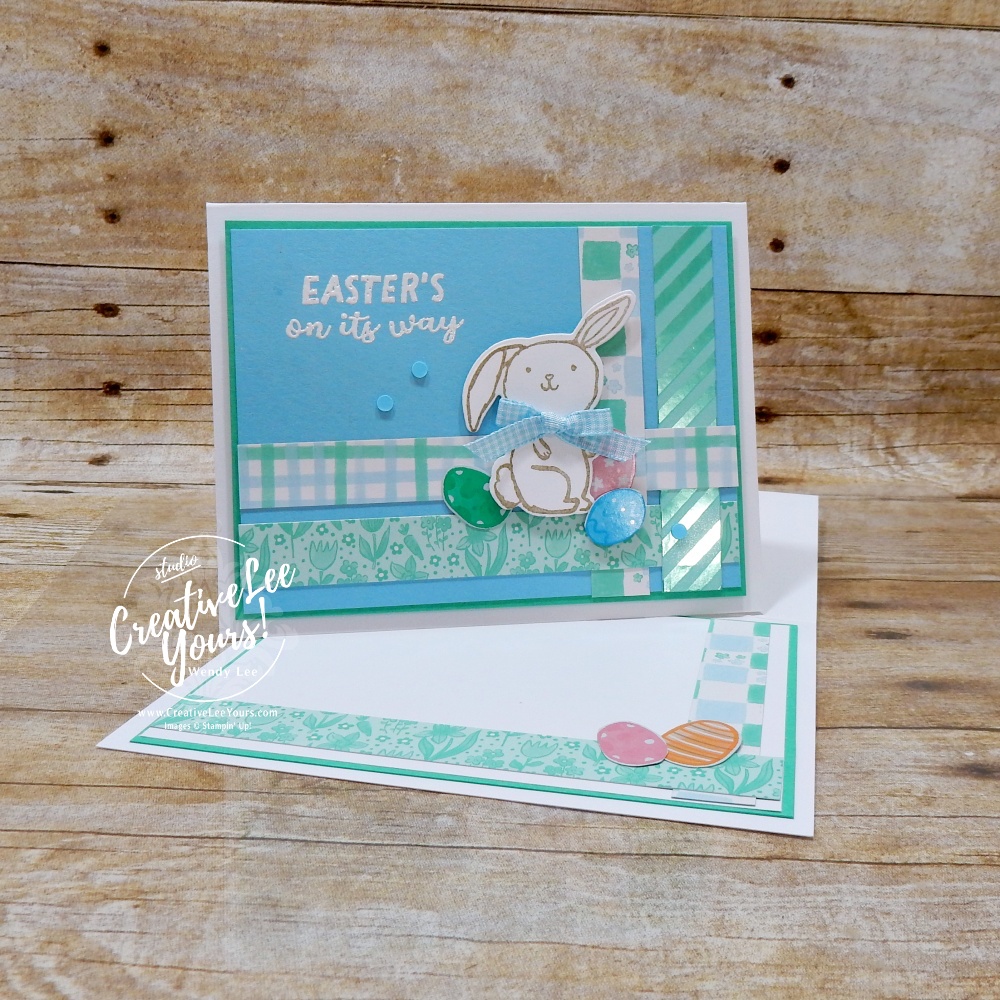
Today I am featuring the starburst technique. While there are several ways you can achieve this fun look, today I would like to show you how to create it with paper strips.
Cut your cardstock to the desired size to layer to the front of your card and then determine where you want your focal point to be. I personally like it best if it is off center.
For the Thanksgiving card I cut 10 strips of designer paper 1 1/4" x 3 1/2".
Align your paper from one corner to the opposite corner along the cutting channel of your paper trimmer to create the diagonal cut. This will give you 20 triangles to work with.
Adhere each strip to the card front aligning the points to the focal point and butting the pieces next to each other.You may have to adjust the last strip so it overlaps at the point to fill in all the space. Once all the pieces are adhered you will need to trim the excess paper that hags over the cardstock away with your paper trimmer or paper snips.
 Now you can add the starburst layer to your card front. I like placeing a greeting or embellishment where the points align for a more finished look.
For the Christmas Blessing card I adjusted my focal point slightly and only did the top half of the card to change up the look a bit.
CreativeLee Yours,


