Have you ever run a beautiful piece of cardstock through an embossing folder only to realize that some of that gorgeous detail seems to disappear once you add it to your card?
Embossing folders can add incredible texture without adding a lot of extra work—but sometimes that texture needs just a little help to really stand out.
For today’s handmade card, I’m sharing an easy embossing folder technique using white craft ink that brings all that beautiful detail to life. And because there is more than one way to use it, we’re also going to experiment with the embossed AND debossed sides to see how completely different the results can be.
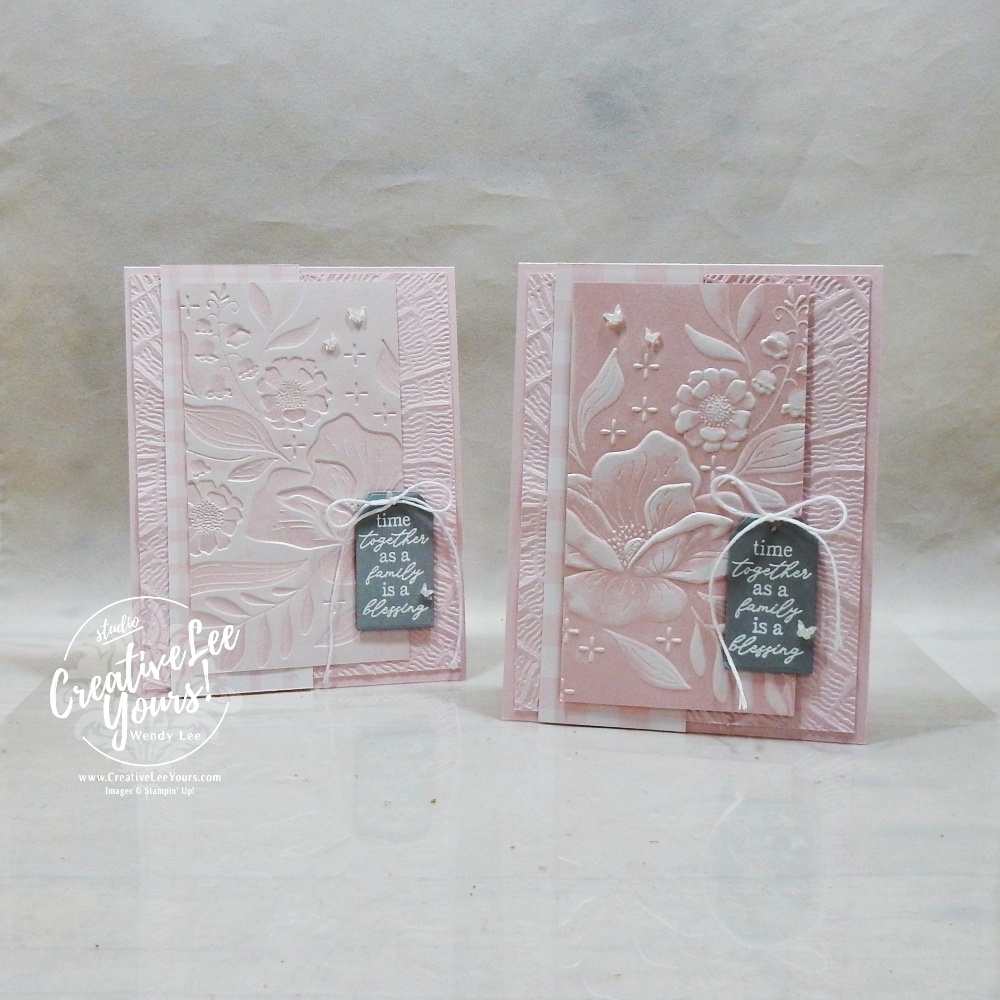
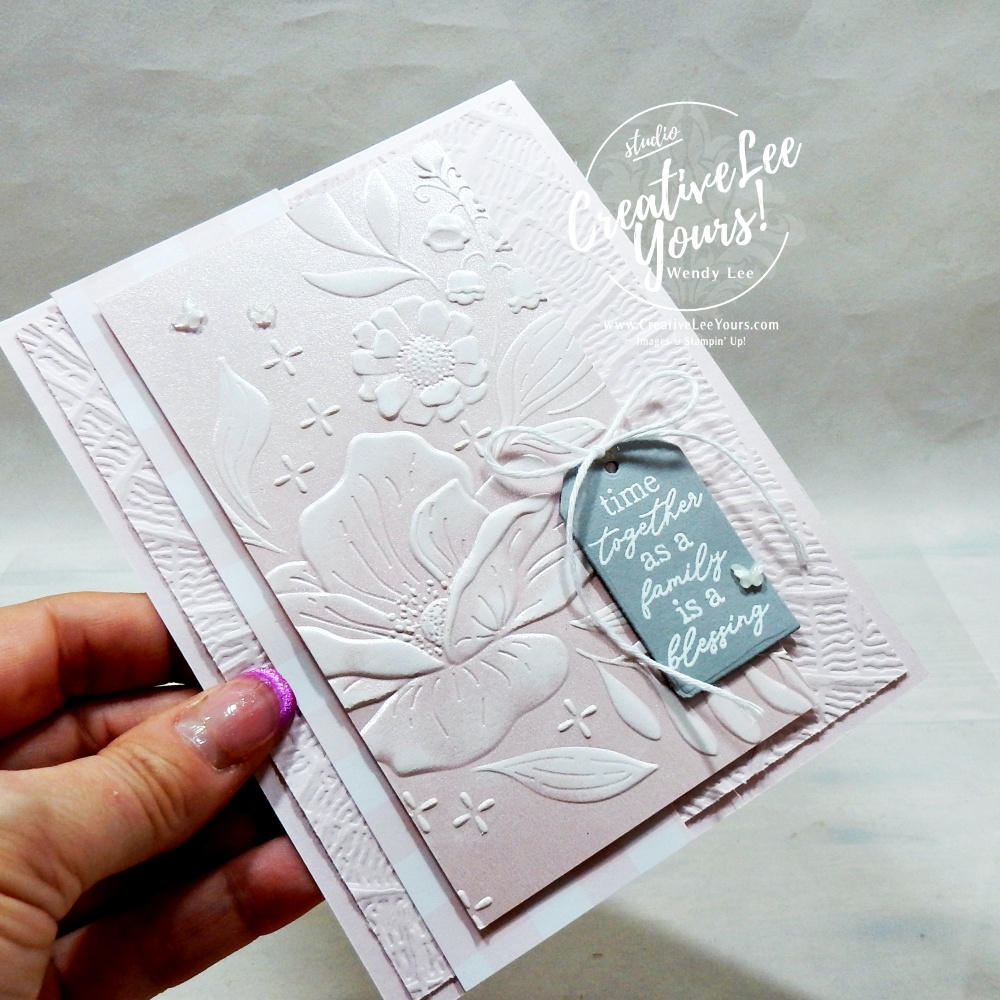
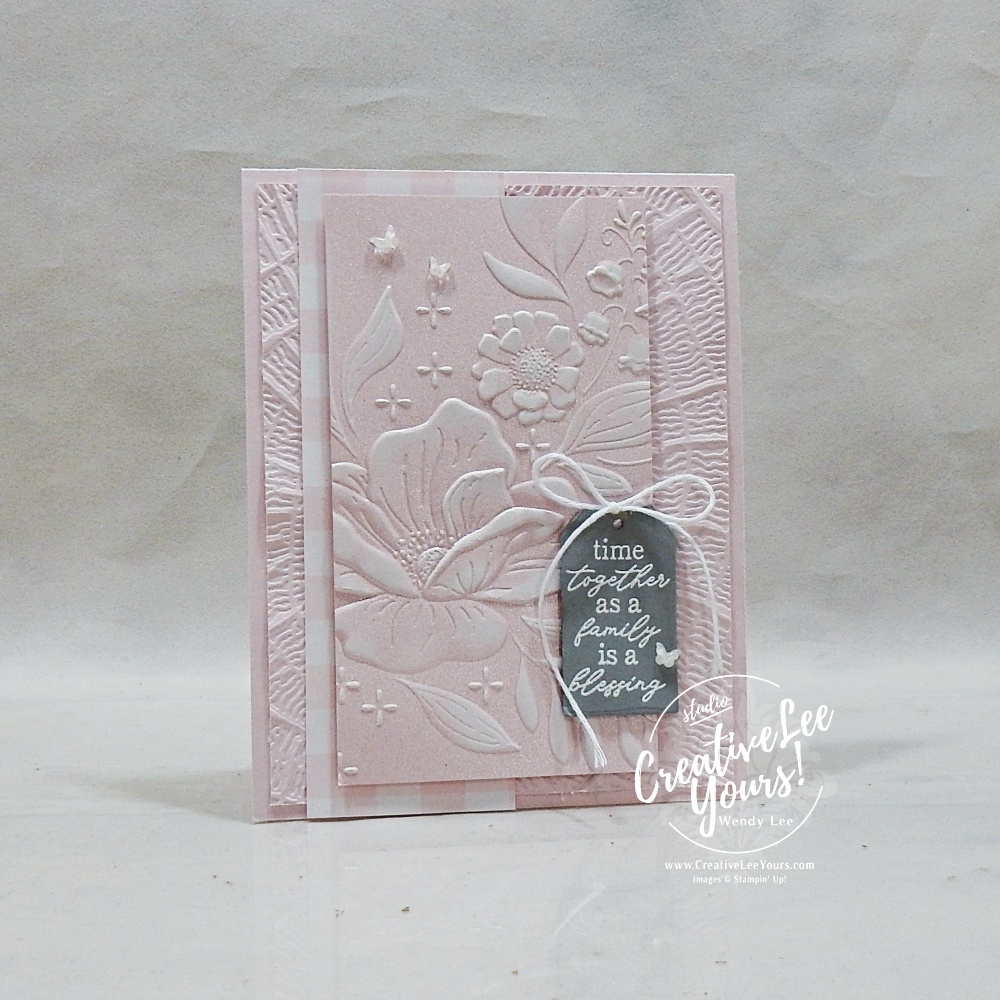
The finished card is soft, elegant and almost entirely Barely Blush, proving that a tone-on-tone card can still have plenty of interest when you layer different textures and finishes.
What You’ll Learn
In today’s video, I’ll show you:
- How to highlight embossed cardstock using white craft ink
- What happens when you use the technique on the embossed versus debossed side
- How the same embossing folder can give you two very different looks
- Another way to reveal embossed detail by sanding cardstock with a white core
- How to add interest to a tone-on-tone card without introducing lots of additional colors
- How combining subtle patterns, texture and finishes can give a simple color palette plenty of dimension
And best of all, this isn’t a technique that’s limited to the embossing folder I’m using today. Once you see how it works, start looking through the embossing folders you already own and imagine what a little ink could do to bring out those designs!
One Color Doesn’t Have to Mean One-Dimensional
I love playing with color, but sometimes limiting your palette actually gives you more freedom to notice the little details.
For this card, I stayed primarily with Barely Blush but used several different textures and finishes to keep the design interesting.
The card base and embossed background create our foundation. A piece of Barely Blush Gingham adds a subtle pattern, while the pearlized specialty paper gives us a completely different finish.
Then we add that beautiful Floral Spray 3D embossed design.
Instead of relying on additional colors to separate all those Barely Blush elements, the texture does the work for us.
That’s a great idea to tuck away for the next time you want to create an elegant tone-on-tone card. You don’t necessarily need more colors—you may simply need more contrast in your texture, pattern or finish.
Make That Beautiful Embossing Stand Out
Here’s where this card gets really fun.
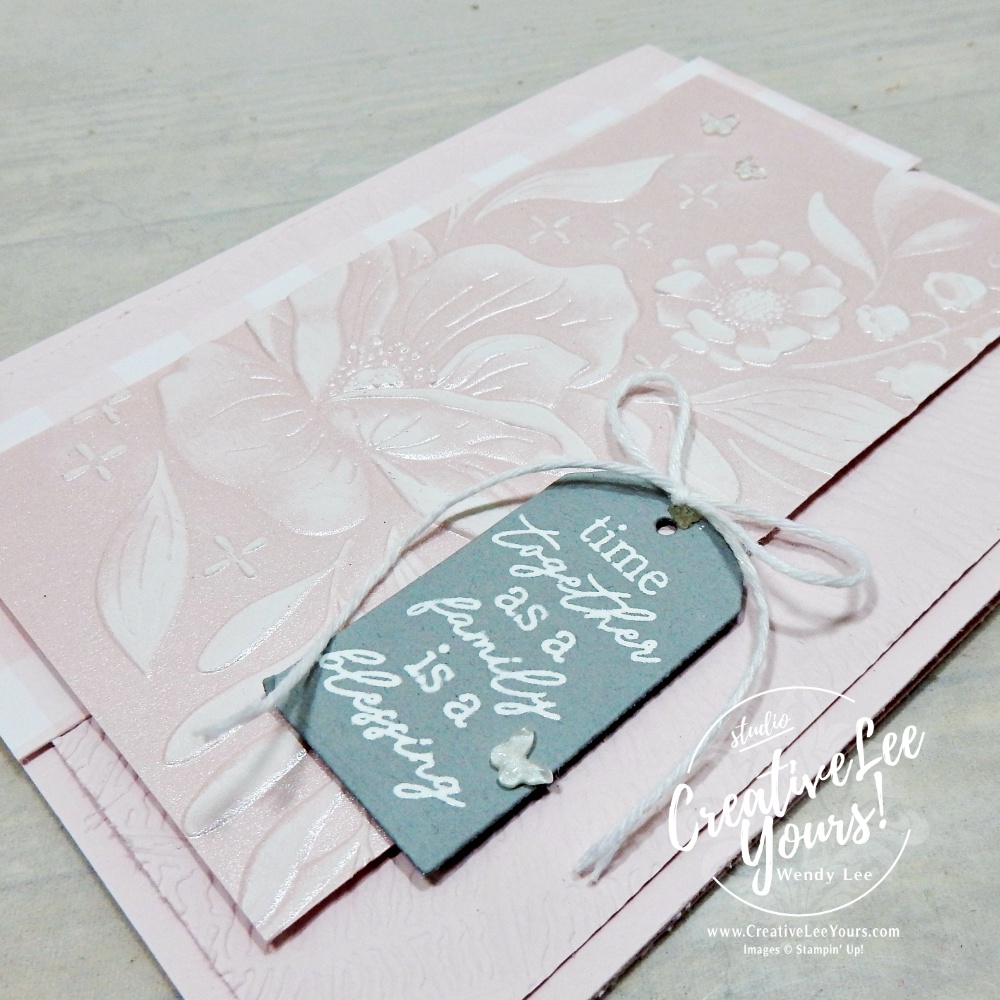
After embossing the Barely Blush pearlized specialty paper with the Floral Spray 3D Embossing Folder, I lightly dragged a White Craft ink pad across the surface.
The ink catches the raised portions of the embossed design and suddenly those beautiful flowers and leaves become much more noticeable.
You aren’t covering the Barely Blush cardstock or changing its overall color. You’re simply emphasizing the texture that’s already there.
And because craft ink is a pigment ink, remember that it takes longer to dry than our classic dye inks. Give it some time before handling your piece so you don’t accidentally smear your beautiful background.
Don’t Forget About the OTHER Side!
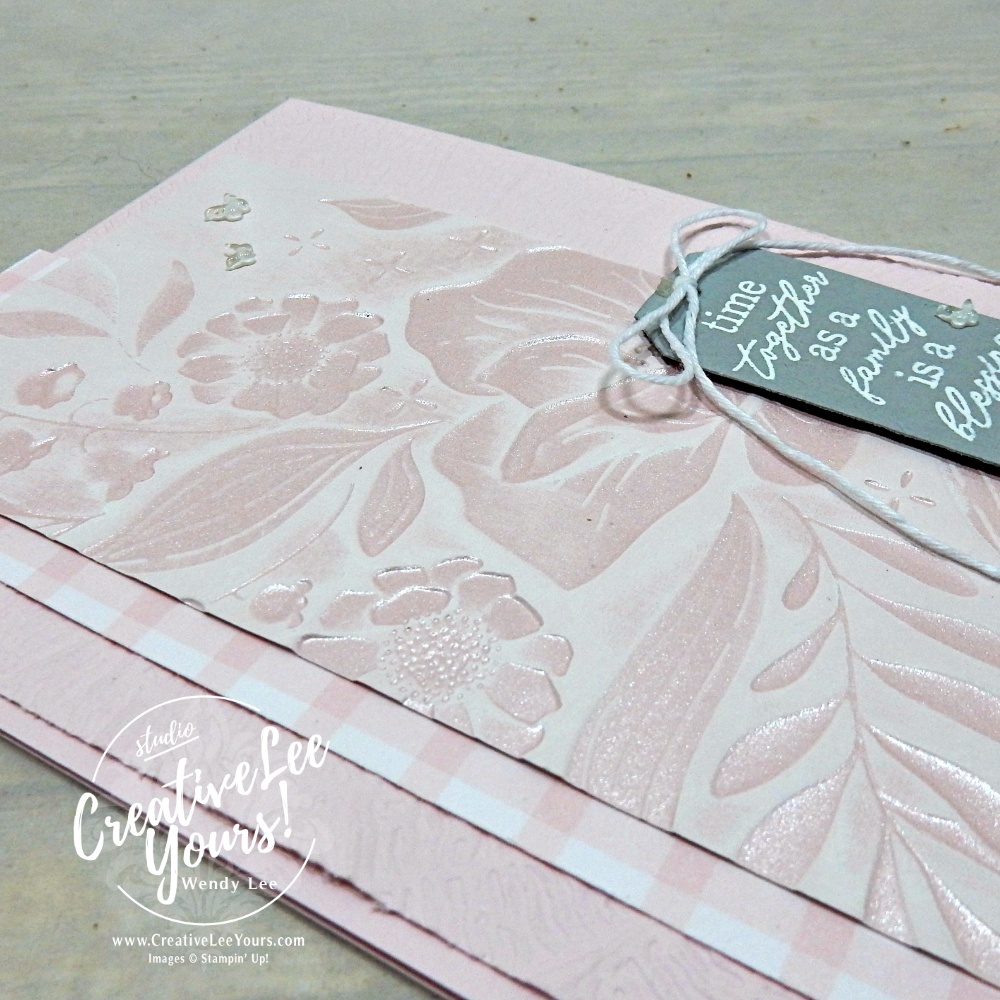
Here’s something I always encourage you to do with your embossing folders: Turn the cardstock over. We tend to automatically think of the raised, embossed side as the “front,” but the debossed side can be every bit as interesting.
In today’s video, I flip the Floral Spray embossed piece over and apply the same white craft ink technique to the debossed side. Now the ink catches more of the background while the recessed floral design remains Barely Blush.
Same cardstock.
Same embossing folder.
Same ink.
Completely different effect!
Neither one is right or wrong. It’s simply another creative option—and one more way to get additional looks from the embossing folders you already own.
One More Way to Reveal the Design
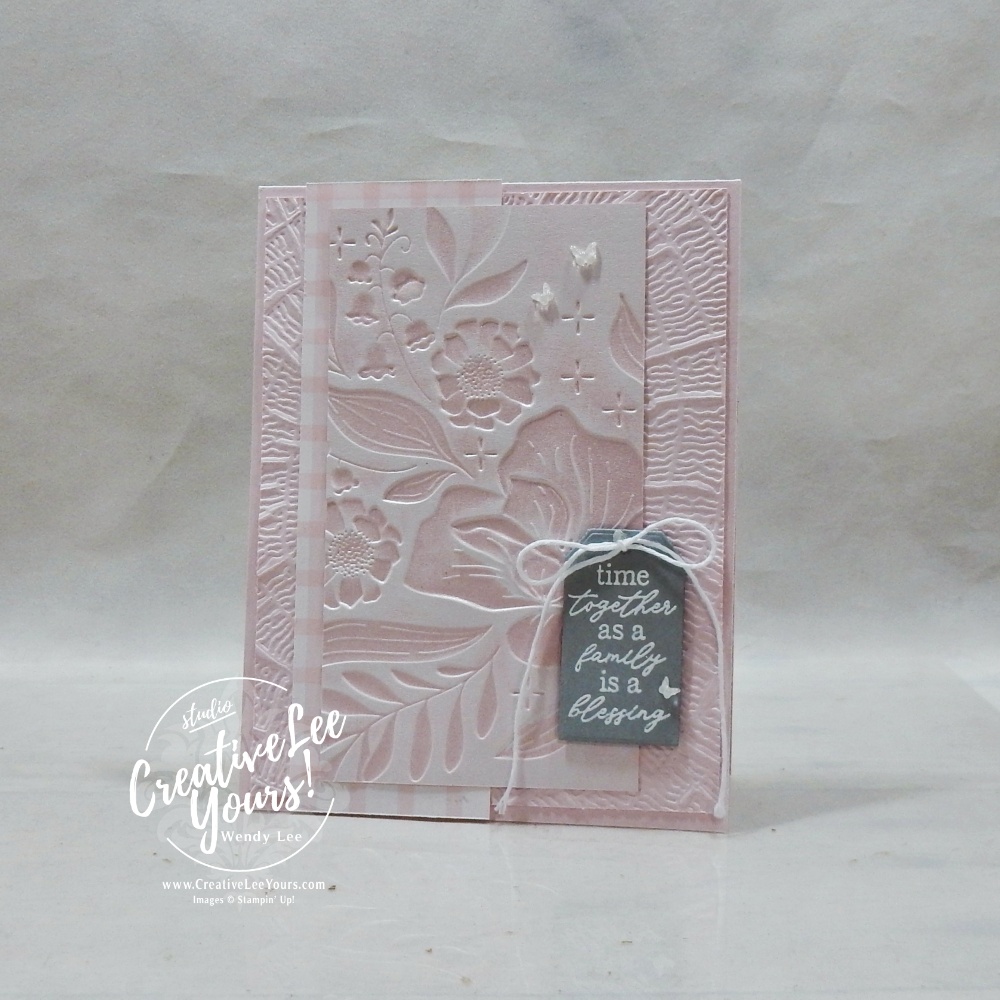
I also experimented with another technique using cardstock with a white core.
Instead of adding ink, you can gently sand across the embossed surface to remove some of the color and expose the white core underneath.
Does it work? Absolutely.
Was it my favorite method for this particular project? Not really!
I found the sanding a little more tedious than simply dragging the White Craft ink pad across the surface. But I wanted to show you the result because you may love the look—or you may have another project where sanding creates exactly the distressed effect you’re after.
Sometimes experimenting isn’t about finding the one “correct” technique. It’s about discovering which method gives YOU the result you want.
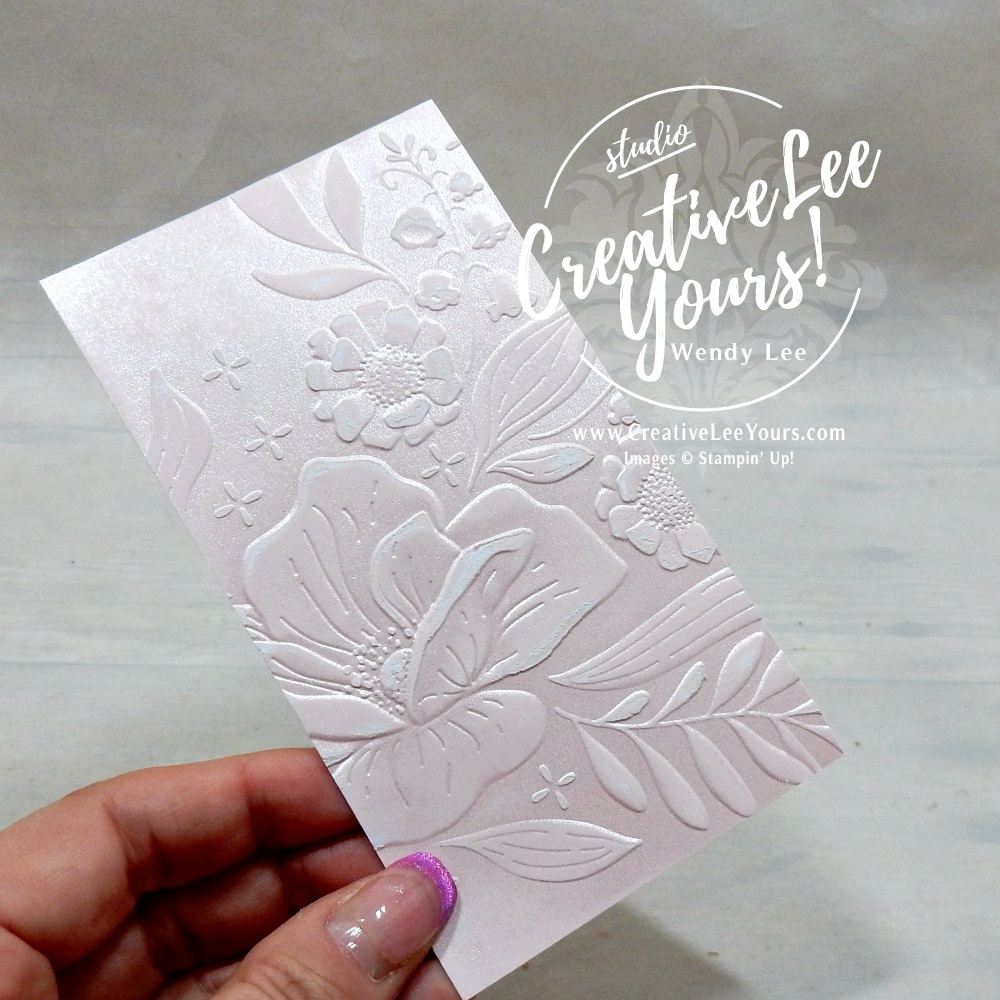
With so much texture happening in the background, I kept the remaining elements fairly simple.
I heat embossed the sentiment from the Botanical Expressions stamp set in white on a dark gray label. That deeper color gives the eye a strong focal point against all of the soft Barely Blush.
A little white twine and a few delicate white butterflies add those final details without competing with the embossed floral design.
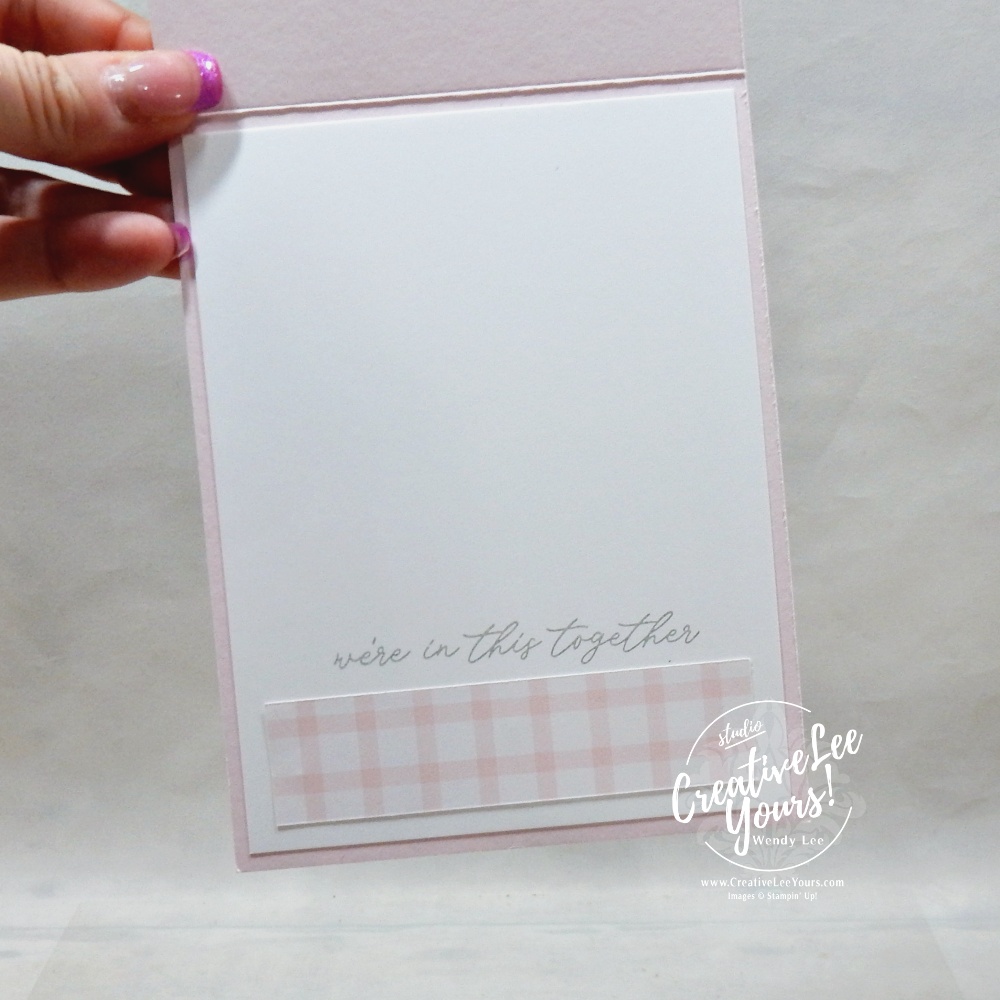
And, of course, I couldn’t leave the inside completely plain!
I added a Basic White layer with a coordinating sentiment and a strip of Barely Blush Gingham paper along the bottom. It’s a simple way to carry the design from the front of the card to the inside without adding a lot of extra work.
Project Layers (Imperial):
- 4-1/4” x 11” Barely Blush CS
- 4” x 5-1/4” Barely Blush CS- emboss
- 1-3/4” x 5-1/2” DSP
- 2-3/4” x 5” Pearlized Specialty
- 1-1/4” x 2-1/4” Smoky Slate CS- die cut
- 4” x 5-1/4” Basic White CS
- 3-1/2” x 7/8” DSP
- Approx. 9” Twine
I have created a printable recipe with the complete supply list and cut dimensions for you. Simple click the button below to access the printable file.
Ready to Try This Embossing Folder Technique?
Watch the video below as I walk you through creating the card and show you the different ways I experimented with the Floral Spray 3D Embossing Folder.
You’ll see the difference between adding White Craft ink to the embossed and debossed sides, plus my experiment with sanding the cardstock to reveal the white core.
(note if viewing this post via email subscription, you may need to click the post name to display the video)
Once you’ve watched, pull out an embossing folder from your own collection and give it another look.
What happens if you flip the embossed piece over?
Could you highlight the design with white ink? A coordinating ink? A metallic ink?
Sometimes one little experiment is all it takes to discover a completely new way to use something you already have.
Leave me a comment below—I always enjoy hearing what inspires you most!
And if you found today’s tutorial helpful, I’d love it if you would:
- Subscribe to my YouTube channel
- Share this project with a crafty friend
- Leave a comment on the video
Your support helps more cardmakers discover CreativeLee Yours, and I truly appreciate it.
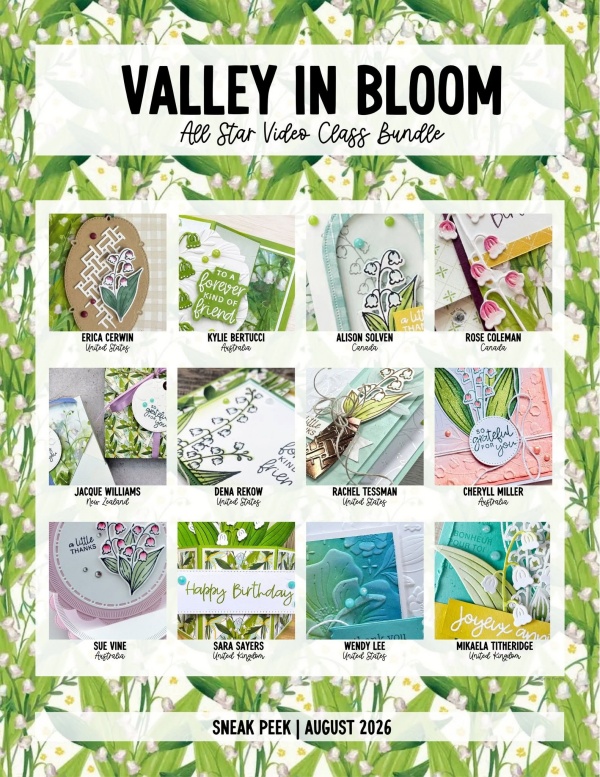
Want Even More Valley in Bloom Inspiration?
This card is just one idea featuring products that coordinate beautifully with this month’s Valley in Bloom All Star Video Class Tutorial Bundle.
If you love having fresh ideas ready when it’s time to craft, the All Star bundle gives you even more inspiration without having to figure out what to make next.
You’ll receive 12 exclusive video classes from 12 different designers, along with the coordinating PDF tutorial with measurements in both imperial and metric.
You can purchase this month’s tutorial bundle for $15, or receive it FREE with a qualifying $50 order through me.
Before You Go…
I’d love for you to try today’s technique with something you already have in your craft room.
Pull out one embossing folder and experiment with BOTH sides before deciding which one belongs on your next project.
Then tell me in the comments:
Which look do you usually prefer—the raised embossed design or the recessed debossed design?
You may discover you’ve been overlooking half the possibilities hiding inside your embossing folder collection!
Hope you enjoy!
Love this project? Here is your shopping list so you can re-create this idea on your own…just click on the images below to add them to your cart.
Shopping List
![Botanical Expressions Photopolymer Stamp Set (English) [ 168150 ]](https://assets1.tamsnetwork.com/images/EC042017NF/168150s.jpg "Botanical Expressions Photopolymer Stamp Set (English) [ 168150 ]")
![Barely Blush 8 1/2" X 11" Cardstock [ 167689 ]](https://assets1.tamsnetwork.com/images/EC042017NF/167689s.jpg "Barely Blush 8 1/2\" X 11\" Cardstock [ 167689 ]")
![Smoky Slate 8-1/2" X 11" Cardstock [ 131202 ]](https://assets1.tamsnetwork.com/images/EC042017NF/131202s.jpg "Smoky Slate 8-1/2\" X 11\" Cardstock [ 131202 ]")
![Basic White 8 1/2" X 11" Cardstock [ 166780 ]](https://assets1.tamsnetwork.com/images/EC042017NF/166780s.jpg "Basic White 8 1/2\" X 11\" Cardstock [ 166780 ]")
![2026–2028 In Color™ Gingham Gallery 12" X 12" (30.5 X 30.5 Cm) Designer Series Paper [ 168218 ]](https://assets1.tamsnetwork.com/images/EC042017NF/168218s.jpg "2026–2028 In Color™ Gingham Gallery 12\" X 12\" (30.5 X 30.5 Cm) Designer Series Paper [ 168218 ]")
![2026–2028 In Color™ 12" X 12" (30.5 X 30.5 Cm) Pearlized Specialty Paper [ 167766 ]](https://assets1.tamsnetwork.com/images/EC042017NF/167766s.jpg "2026–2028 In Color™ 12\" X 12\" (30.5 X 30.5 Cm) Pearlized Specialty Paper [ 167766 ]")
![Smoky Slate Classic Stampin' Pad [ 147113 ]](https://assets1.tamsnetwork.com/images/EC042017NF/147113s.jpg "Smoky Slate Classic Stampin' Pad [ 147113 ]")
![Uninked Stampin’ Craft Pad & Whisper White Refill [ 147277 ]](https://assets1.tamsnetwork.com/images/EC042017NF/147277s.jpg "Uninked Stampin’ Craft Pad & Whisper White Refill [ 147277 ]")
![Versamark Pad [ 102283 ]](https://assets1.tamsnetwork.com/images/EC042017NF/102283s.jpg "Versamark Pad [ 102283 ]")
![Basics Wow! Embossing Powder [ 165679 ]](https://assets1.tamsnetwork.com/images/EC042017NF/165679s.jpg "Basics Wow! Embossing Powder [ 165679 ]")
![Baker's Twine Essentials Pack [ 155475 ]](https://assets1.tamsnetwork.com/images/EC042017NF/155475s.jpg "Baker's Twine Essentials Pack [ 155475 ]")
![2026–2028 In Color™ Butterflies [ 167656 ]](https://assets1.tamsnetwork.com/images/EC042017NF/167656s.jpg "2026–2028 In Color™ Butterflies [ 167656 ]")
![Heat Tool (Us And Canada) [ 129053 ]](https://assets1.tamsnetwork.com/images/EC042017NF/129053s.jpg "Heat Tool (Us And Canada) [ 129053 ]")
![Embossing Additions Tool Kit [ 159971 ]](https://assets1.tamsnetwork.com/images/EC042017NF/159971s.jpg "Embossing Additions Tool Kit [ 159971 ]")
![Stampin' Cut & Emboss Machine [ 149653 ]](https://assets1.tamsnetwork.com/images/EC042017NF/149653s.jpg "Stampin' Cut & Emboss Machine [ 149653 ]")
![Textured Tree Ring 3 D Embossing Folder [ 168220 ]](https://assets1.tamsnetwork.com/images/EC042017NF/168220s.jpg "Textured Tree Ring 3 D Embossing Folder [ 168220 ]")
![Bordered In Beauty Dies [ 167556 ]](https://assets1.tamsnetwork.com/images/EC042017NF/167556s.jpg "Bordered In Beauty Dies [ 167556 ]")
![Take Your Pick [ 144107 ]](https://assets1.tamsnetwork.com/images/EC042017NF/144107s.jpg "Take Your Pick [ 144107 ]")
![Paper Trimmer [ 152392 ]](https://assets1.tamsnetwork.com/images/EC042017NF/152392s.jpg "Paper Trimmer [ 152392 ]")
![Detail Scissors [ 170902 ]](https://assets1.tamsnetwork.com/images/EC042017NF/170902s.jpg "Detail Scissors [ 170902 ]")
![Bone Folder [ 102300 ]](https://assets1.tamsnetwork.com/images/EC042017NF/102300s.jpg "Bone Folder [ 102300 ]")
![Stampin' Seal [ 152813 ]](https://assets1.tamsnetwork.com/images/EC042017NF/152813s.jpg "Stampin' Seal [ 152813 ]")
![Mini Glue Dots [ 103683 ]](https://assets1.tamsnetwork.com/images/EC042017NF/103683s.jpg "Mini Glue Dots [ 103683 ]")
![Stampin' Dimensionals [ 104430 ]](https://assets1.tamsnetwork.com/images/EC042017NF/104430s.jpg "Stampin' Dimensionals [ 104430 ]")
This post may contain affiliate links. This means I may earn a small commission at no additional cost to you if you click through and make a purchase.
Live in the US…CLICK HERE to shop my online store and have your Stampin’ Up! supplies shipped straight to your door!
Don’t forget: Orders of $20 or more now earn 10% back in Stampin’ Rewards—just make sure you’re logged into your account and have opted into the rewards program at checkout. Stampin’ Up! tracks your rewards for you!
Need some assistance placing your order? No problem!
Call/text me at 336-671-1959 or send me a message on Facebook. I am happy to help.

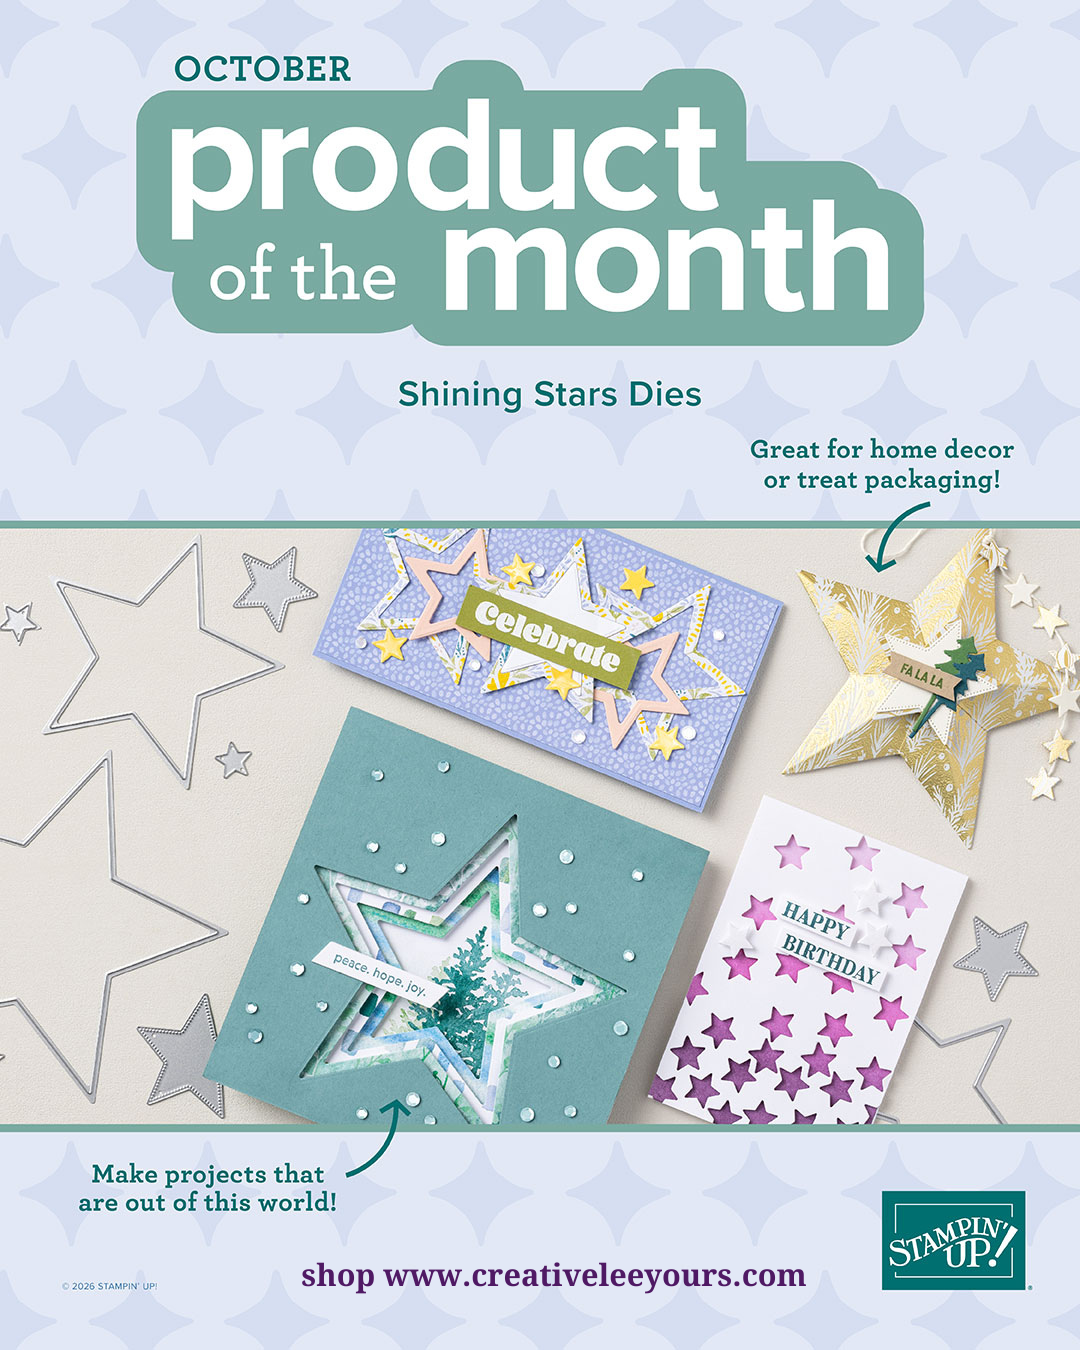
Grab This Month’s $5 Product of the Month!
Want a fun bonus with your order? When you spend $75+, Stampin’ Up! lets you add this month’s Product of the Month for just $5 — and it’s an item you can’t get anywhere else!
It’s limited, exclusive, and the perfect little extra to treat yourself while you craft.
Make Time to Create—Without Having to Plan It All First
You love making beautiful cards. But sometimes the hardest part isn’t the creating—it’s finding the time, choosing a project, gathering all the right supplies, cutting everything and figuring out where to begin.
Cultivated Creativity takes care of the planning and prep so you can get to the part you actually love: creating.
Create More. Complicate Less.
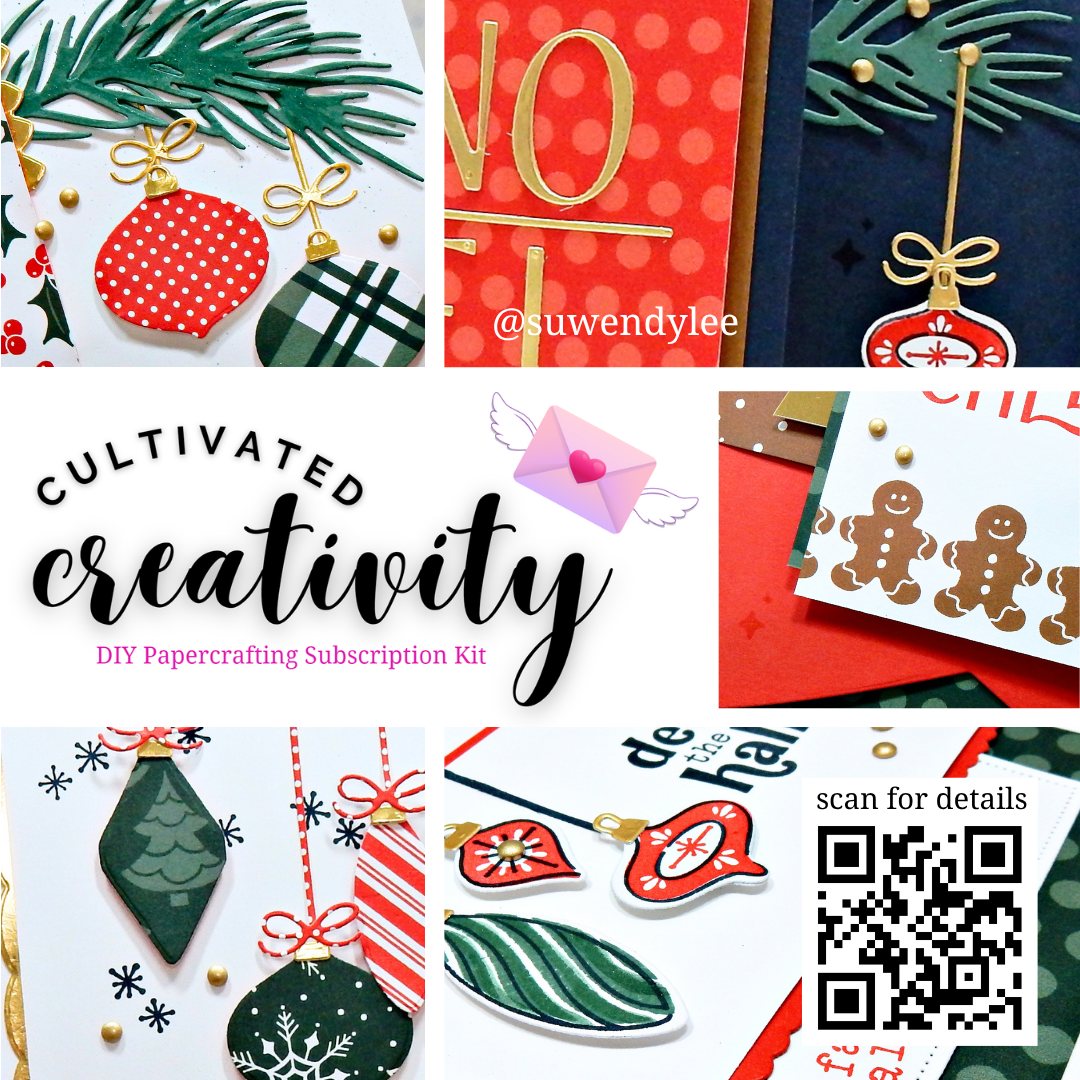
October’s creative escape features the Festive Cheer Bundle with beautiful projects designed to feel special without making your creative time more complicated.
We’ll create four cards plus one oversized giftable project, using smart layouts, versatile patterned paper, beautiful gold details, and thoughtful finishing touches. You’ll discover ideas you can use again and again—including ways to simplify a design when you want to make multiples.
Everything is thoughtfully designed and much of the prep work is already done for you, so you can spend less time figuring out what to make and more time enjoying the creative process and making each project your own.
Registration: September 21–October 20, 2026
While supplies last.
2026 Holiday Paper & Ribbon Shares Are Open!
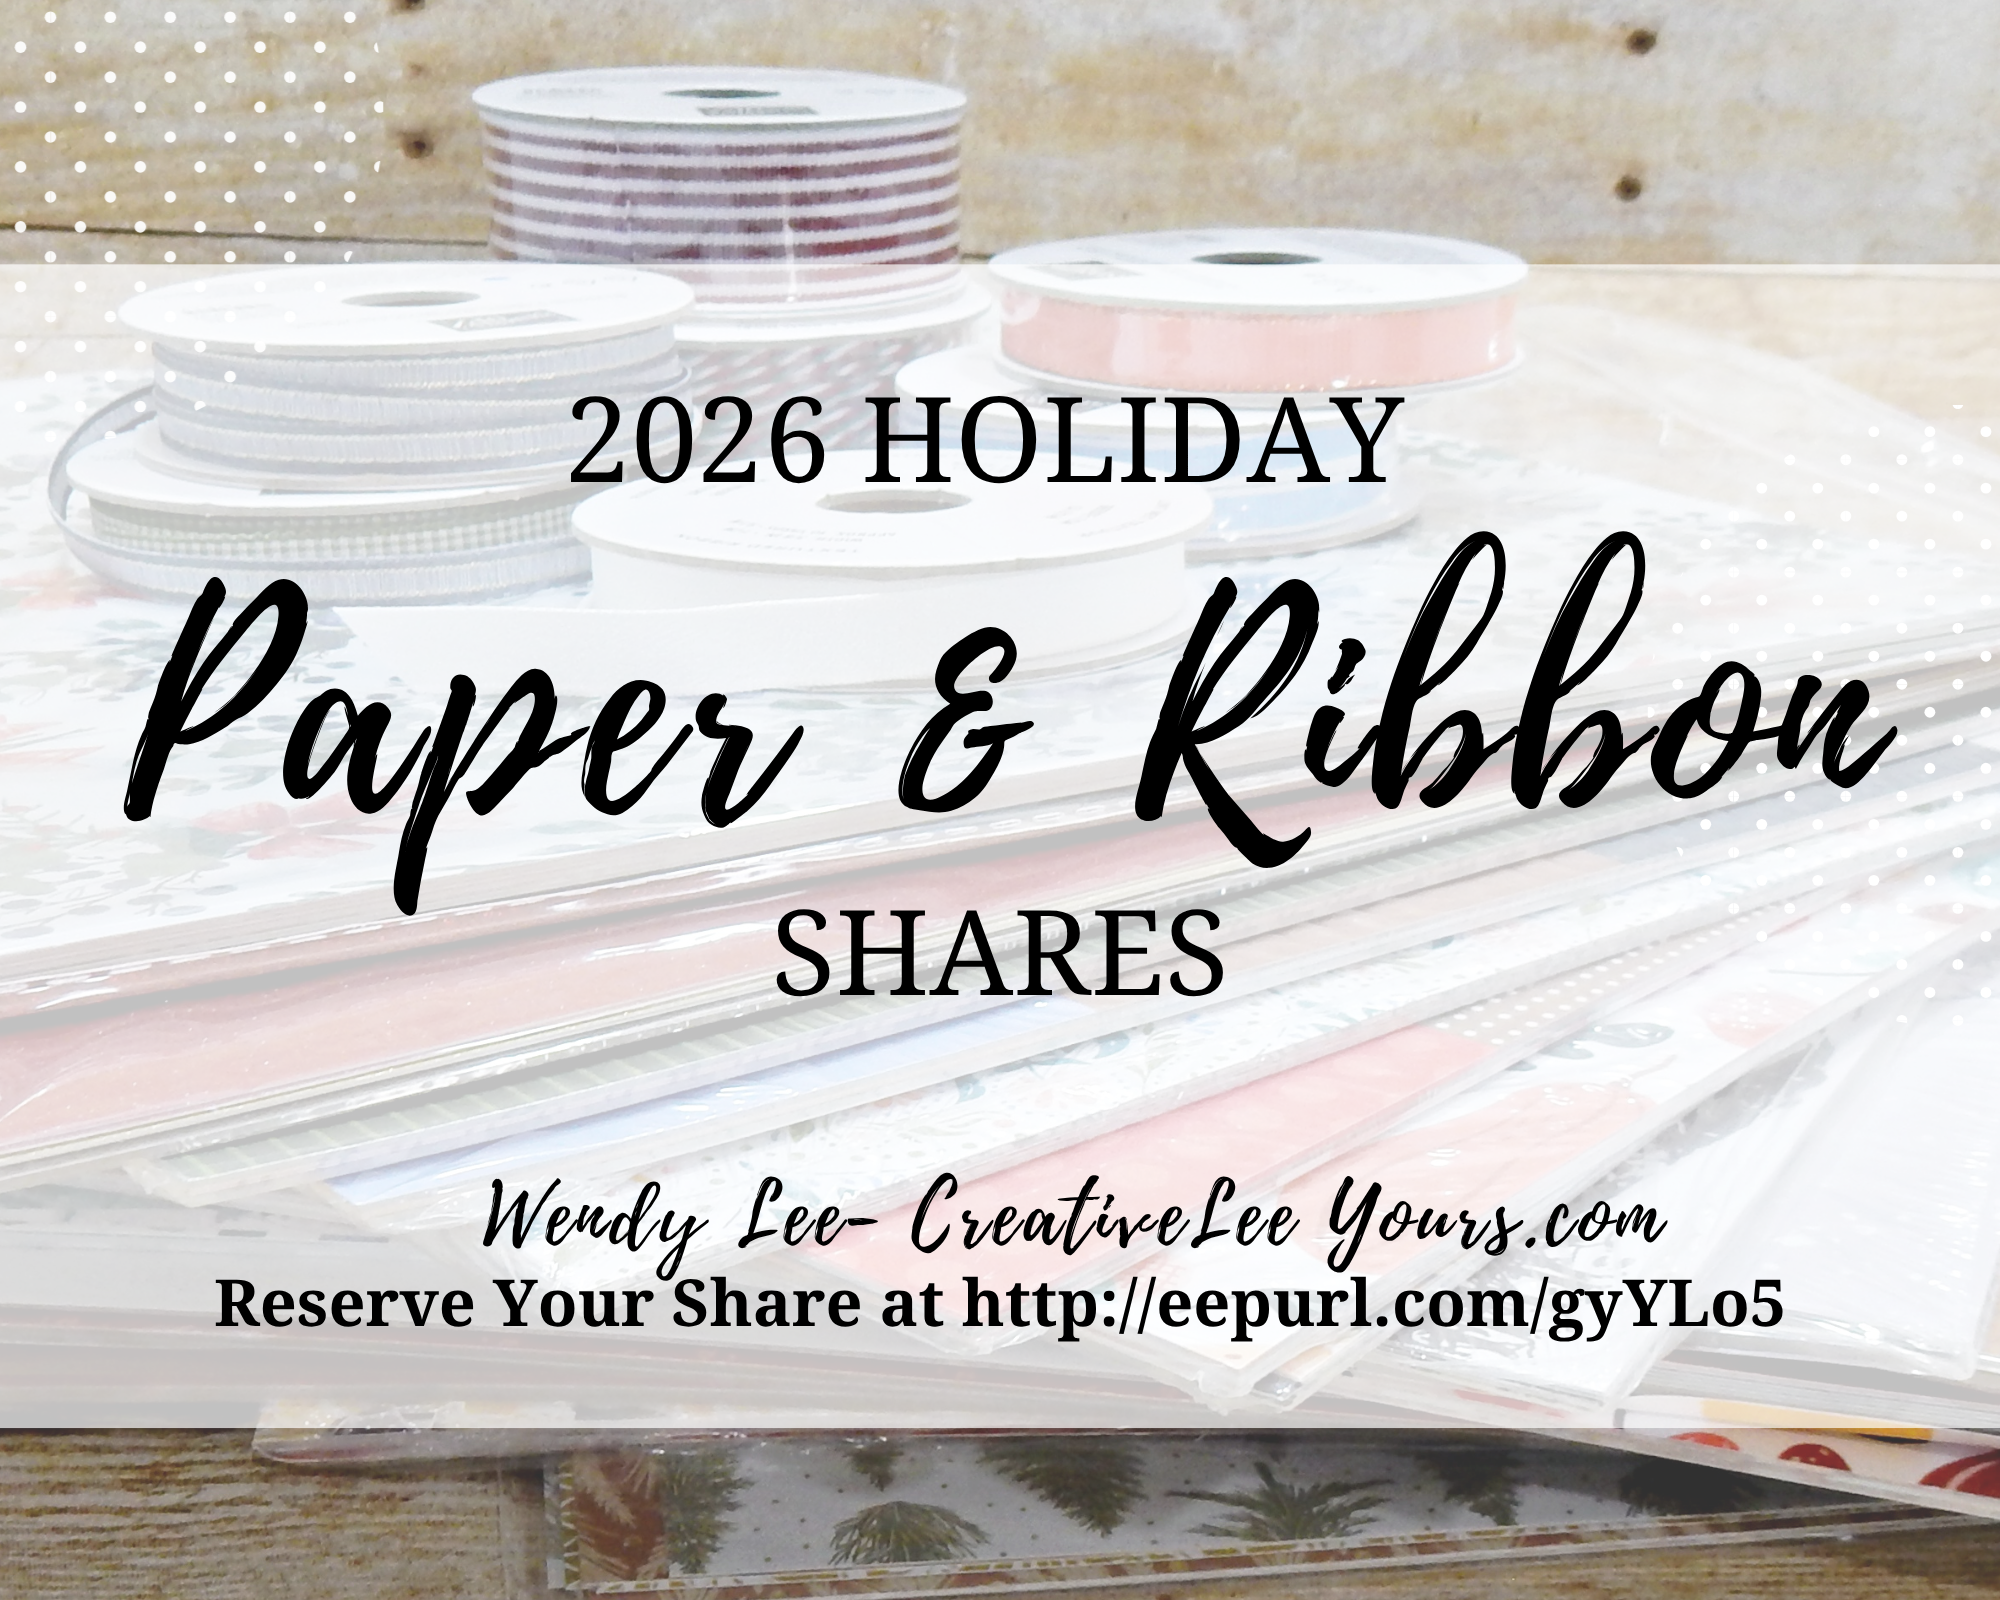
Love the new papers but don’t want to commit to full packs before you know which ones you’ll use most?
My Holiday Paper Share lets you sample 68 sheets from 15 new paper packs—giving you plenty of fresh creative possibilities without buying them all.
Want even more variety? Add the Ribbon Share for 24 yards of new ribbon and you’ll also unlock a BONUS Specialty Papers Gift!
- Paper Share: $50
- Ribbon Add-On: $27
- USPS shipping included
- Registration closes August 30
Be sure to check out all the details and register HERE.
(US residents only. Shares ship late September.).
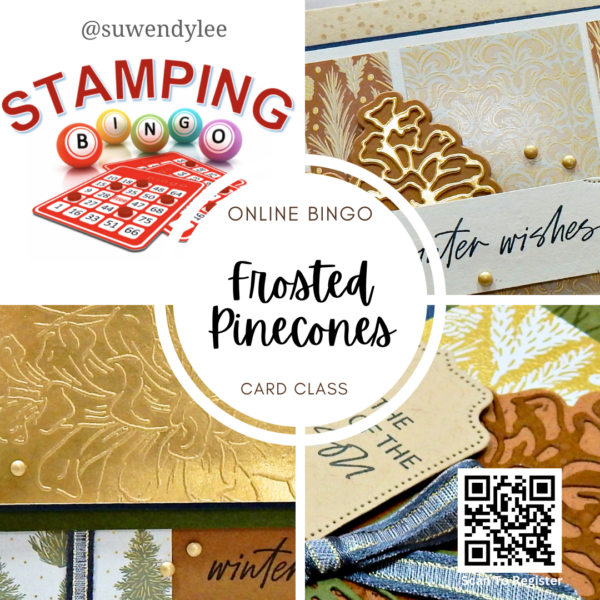
The fun begins Saturday September 19, 2026 at 2:00 PM ET for our next virtual BINGO event where we will play Bingo and then create our cards. You have to join us LIVE on Zoom to play BINGO. If you cant join us LIVE, you will still get to enjoy the card class.
The $35 event registration pre-payment is due by September 5, 2026 (OR until all 40 seats are gone — whichever comes first) to reserve your spot (includes the supplies to be shipped to you early so you can create your projects along with us PLUS a swag bag of supplies and the chance to play bingo and win door prizes!)
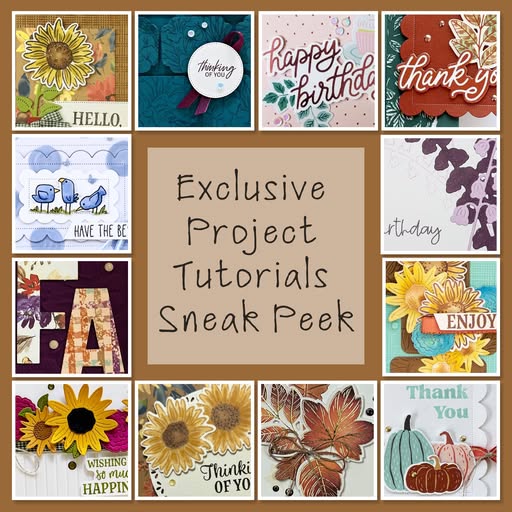
12 EXCLUSIVE tutorials each month for FREE!
I am offering the monthly Exclusive Project Tutorials FREE to my email subscribers. Yes! The Exclusive Projects team is comprised of a talented group of Stampin’ Up! demonstrators sharing great ideas. There will be a wide variety of projects featuring multiple stamp sets each month that you will get for FREE…if you are a subscriber to my newsletter… Whoo Hoo!
Not yet a subscriber? Sign up HERE
What others’ are saying about the Exclusive Tutorial Bundles:
Thank you! Each and every one of your cards are wonderful! I love having the tutorials printed out. I flip through the pages and always find something that would be fun to make! Thanks again!
-Mary D
*****
“Thank you so much – I always enjoy the fresh design options – you make card making fun again.”
-Kathleen L
*****
“I LOVE and appreciate this special offer you give to your email subscribers. I always find lots of inspiration from the demonstrators and enjoy replicating their beautiful designs.”
-TY Barbara D
CreativeLee Yours,

OTHER IMPORTANT LINKS AND INFORMATION:
- Join my Stampin’ Up!® Diemonds team and get the awesome customizable starter kit HERE. It’s the best bundle ever!
- Ready for a fun, monthly craft kit delivered directly to you, so you get all the joy of creating without having to do all the research, design and prep? Cultivated Creativity is for you! Click HERE to get started.
- Join my Online Forget Me Not (FMN) Card Club and elevate your hand made cards HERE.
- Keep up to date with all my upcoming events by JOINING MY 📧 EMAIL LIST. You receive a FREE PDF tutorial when you subscribe as my gift HERE.
- Join Paper Pumpkin and get FREE PDF Tutorials with alternate projects each month.
- Shop my Tutorials to spark your creativity as I guide you through creating beautiful projects HERE.
- Earn Exclusive BONUS tutorials with my rewards program. CLICK HERE for details.