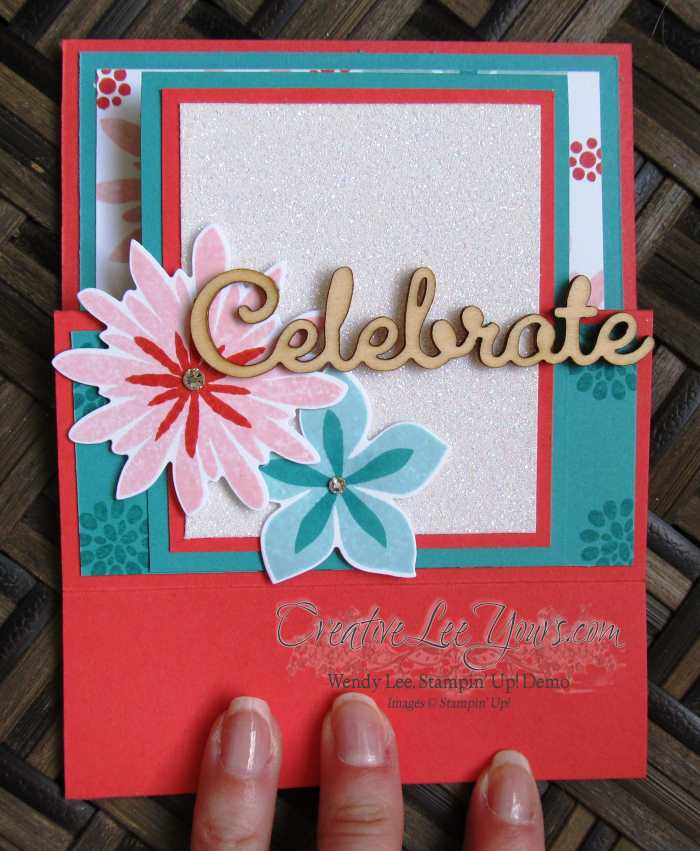
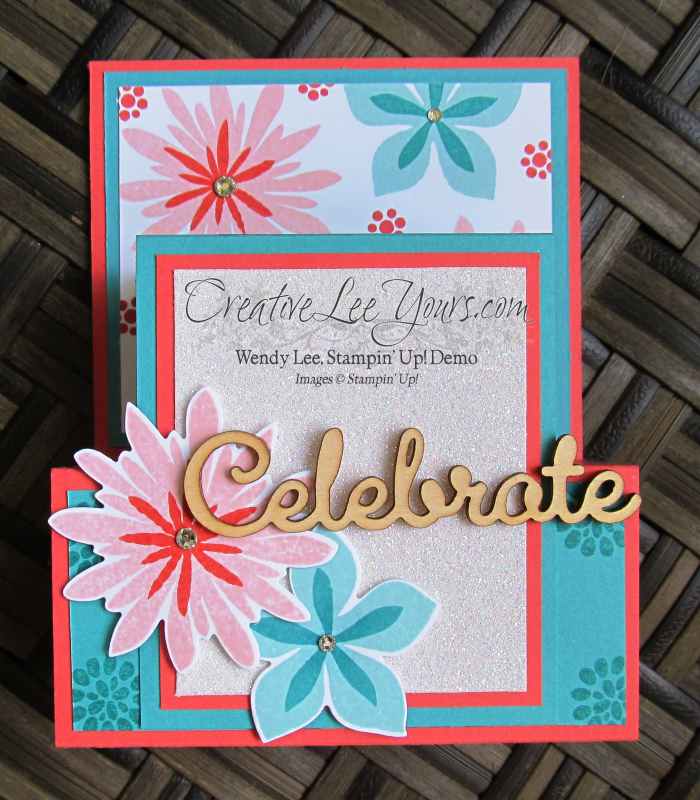
Today I am sharing a fabulous fun fold card we made at my July FMN class. This card was inspired by one I saw by Dawn Griffith.
I love that this card folds flat so you can easily put it in an envelope to mail it.
Be sure to stamp all your layers before putting the card together.
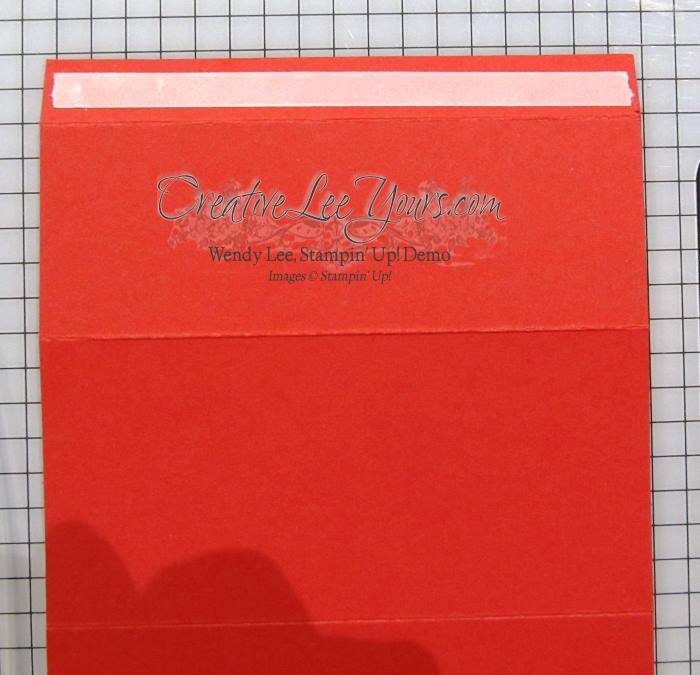
The Watermelon Wonder card base is cut 11″x4 1/4″ and then scored at 1/2″, 2″, 4″ & 5 1/2″. Fold along score lines as shown.
Add tear tape along the 1/2″tab as shown below.
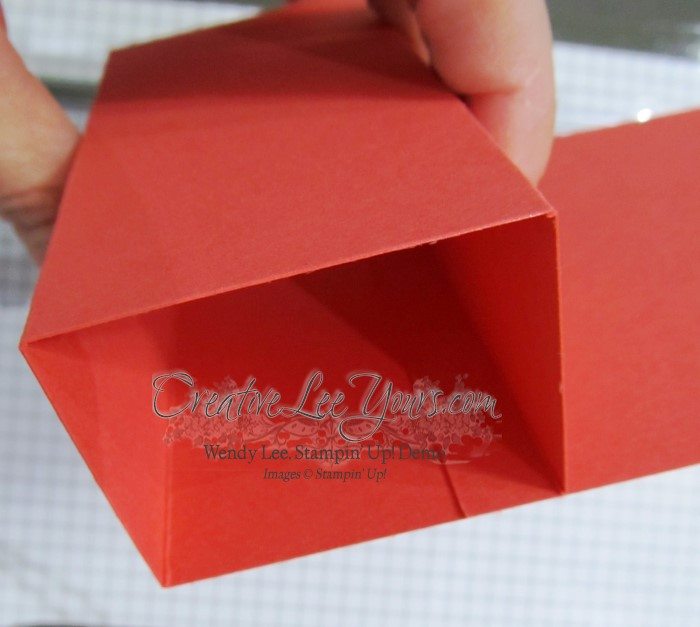
Fold the card layer flat with the 1/2″ tab turned under to adhere it to the card base. The 2″score line will be at the top of the fold and the 5 1/2″ score line is at the bottom of the card.
It should look like this.
Folding it flat to adhere the tab gives you a nice square shape. Decorate the front of the layer as desired.
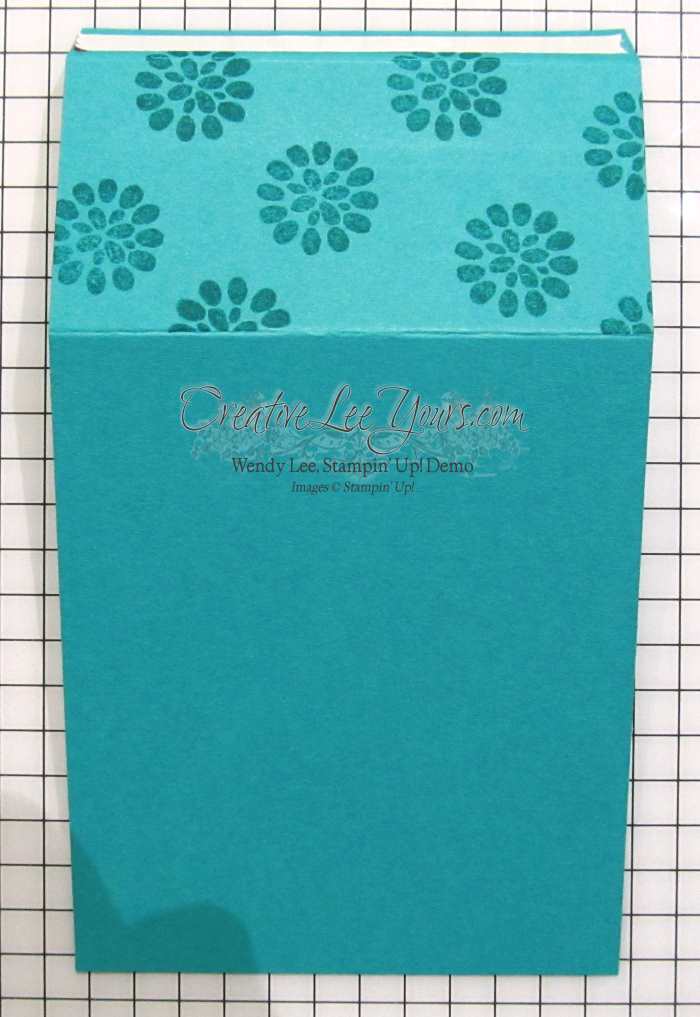
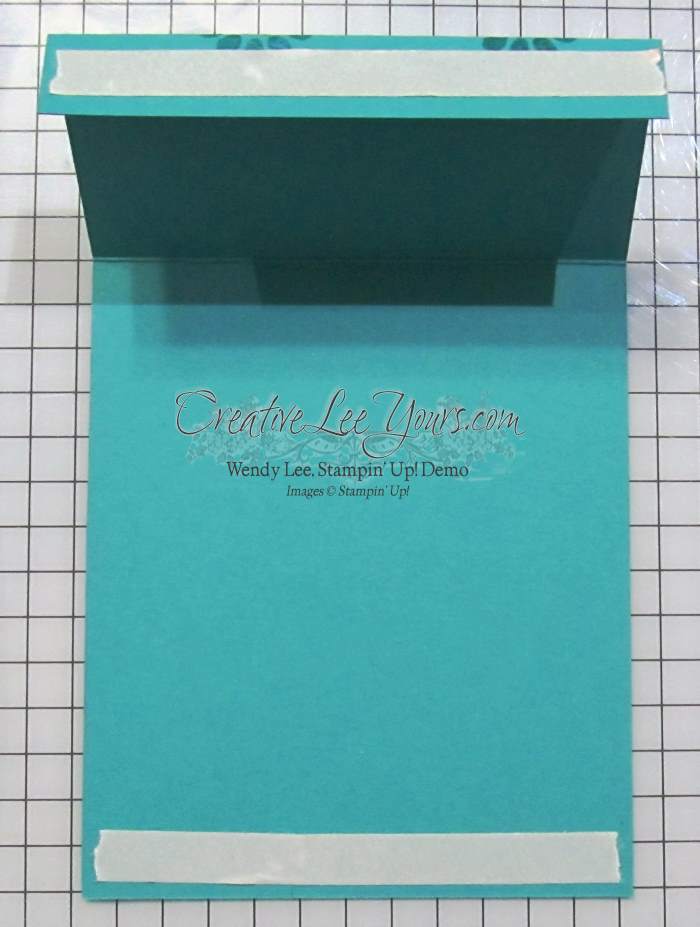
To create the 2nd folded layer, cut a piece of Bermuda Bay cardstock 5 1/2″ x 3″ and score at 1/2″ & 2″. Fold along score lines as shown.
Add tear tape along the 1/2″tab as shown below.
Also add tear tape along the bottom inside edge as shown below.
I also added a strip of tear tape along the front of the card base lower box as shown below. Tip: be sure your tear tape is not too long. You do not want it to stick out past the Bermuda layer.
Adhere the bottom of the Bermuda Bay layer to the card base front.
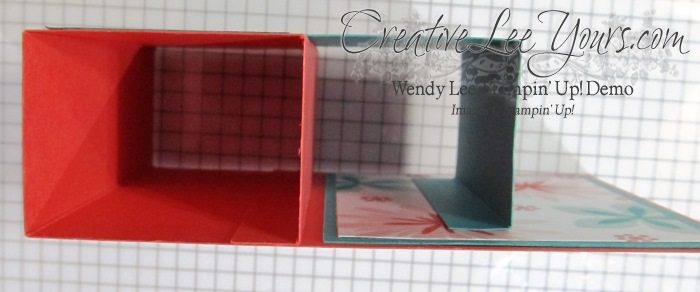
It should look like this from the side view.
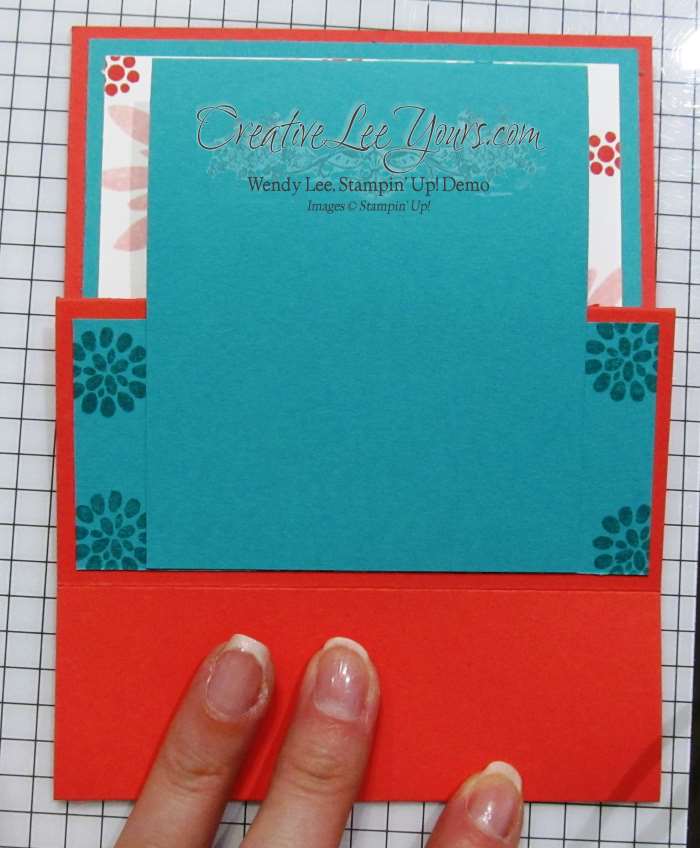
Fold the card base flat again with the 1/2″ tab turned under to adhere it to the card base. The 2″score line will be at the top of the fold .
Once adhered it will look like this. Adhere the layers to the Bermuda layer to complete the card front.
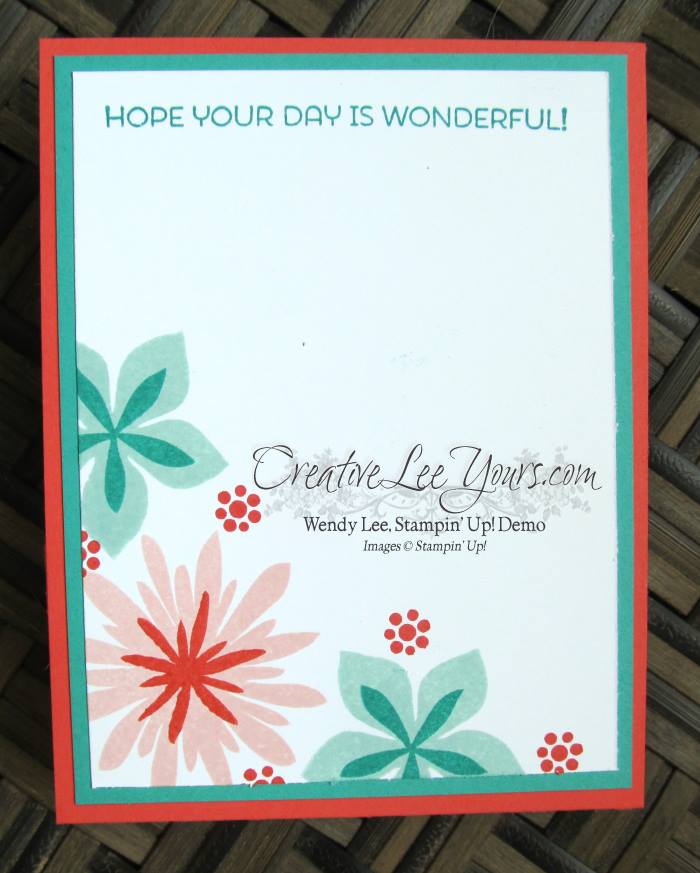
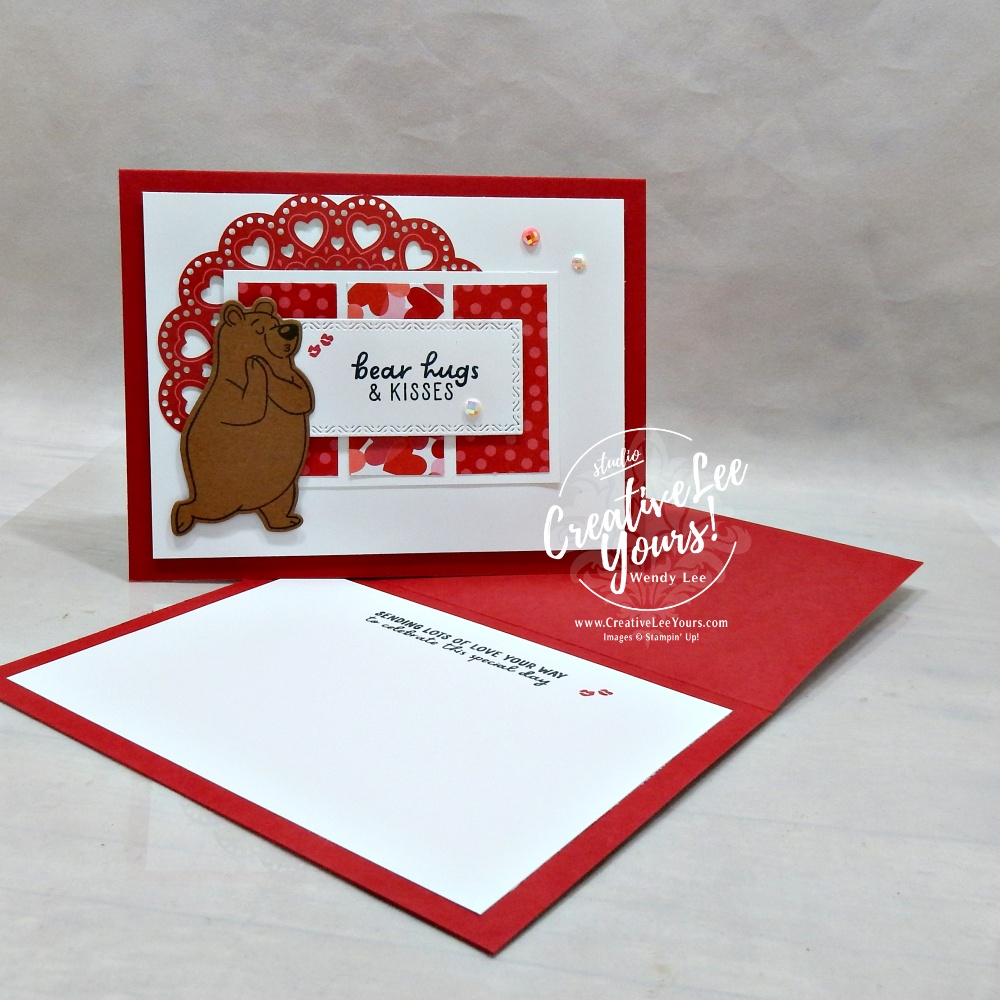
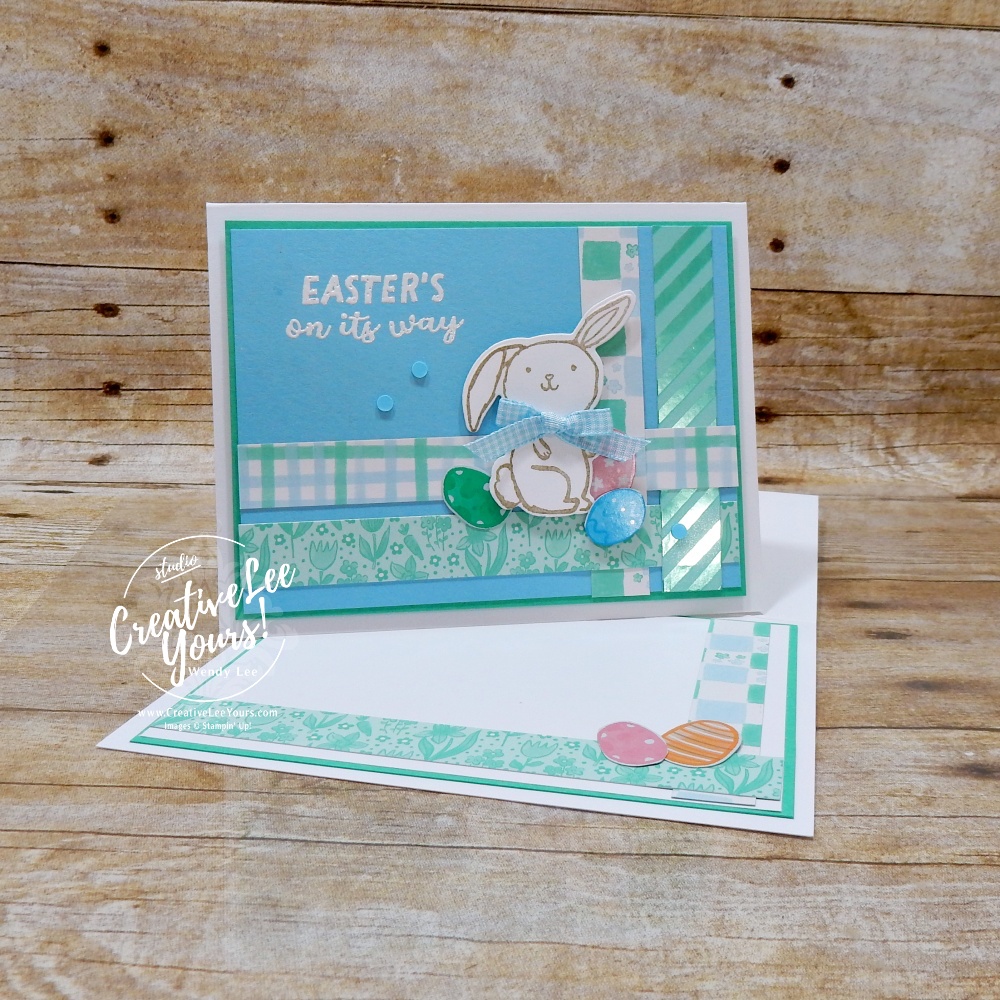
I also added a few layers to the back of my card to give me a place to write a note.
Super cute right?
Hope You Enjoy,
Supplies:
Stamp Sets– Flower Patch, Cottage Greetings
Paper– Whisper White, Bermuda Bay, Watermelon Wonder, Dazzling Diamonds Glimmer Paper
Ink– Bermuda Bay Classic Ink, Blushing Bride Classic Ink, Pool Party Classic Ink, Watermelon Wonder Classic Ink
Fabulous Tools– Paper Piercer, Stampin Trimmer, Big Shot, Magnetic Platform, Flower Fair Framelits Dies
Creative Touch–Adhesive Rhinestones, Expressions Natural Elements, Dimensional Dots,Tear Tape, Snail Adhesive
CreativeLee Yours,


