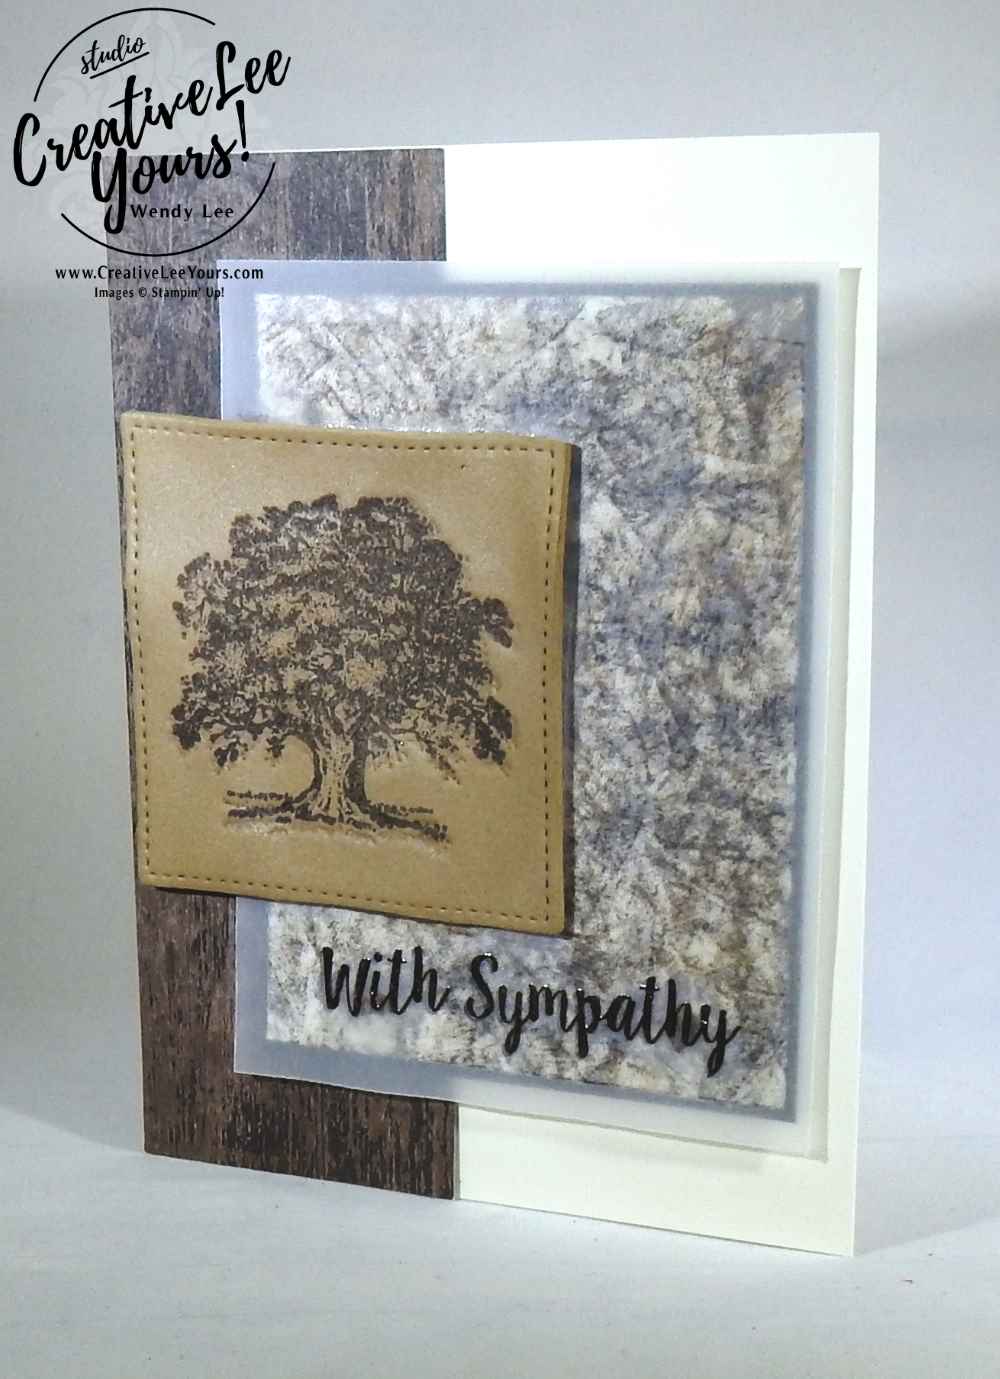
Thanks for coming to my blog today! I’m super excited to be featured in this month’s International Highlights Top Ten Winners Blog Hop hosted by the amazing Kylie Bertucci. I was selected to participate in this hop by finishing in the top ten of the September 2017 International Highlights with my Comfort & Healing Sympathy Card. A BIG THANK YOU to everyone that voted for my card! I am still doing the happy dance 🙂
Today we are continuing with the sympathy theme for the Top Ten Winners Blog Hop. I hope you enjoy my creation.
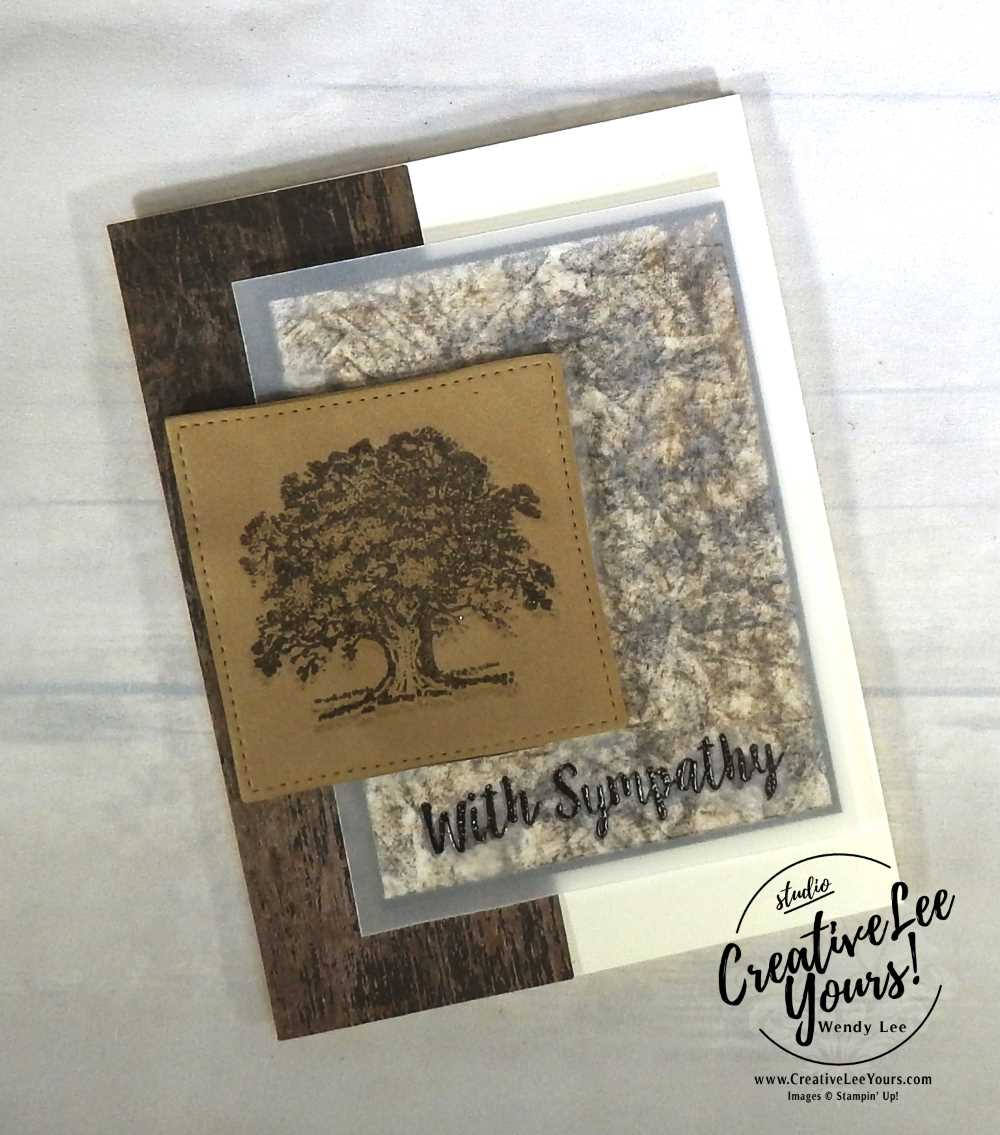
I decided to continue with the versatile Lovely as a Tree stamp set for today’s hop. I also had to throw in a layer of Vellum cardstock. It just adds a nice elegant touch.
Card Layers:
- 5 1/2″ x 8 1/2″ (folded in half) Thick Vanilla cardstock
- 5 1/2″x 2″ DSP
- 4 1/8″ x 3 1/8″ Early Espresso cardstock
- 4″ x 3″ Very Vanilla cardstock
- 4 3/8″ x 3 3/8″ Very Vellum cardstock
- 3″ x 3″ Fun Foam- die cut
I created today’s card using two different fun and easy techniques- Faux Leather Fun Foam and Baby Wipe background.
Faux Leather Fun Foam was used to create the focal point. Doesn’t it look like I stamped on a leather patch?
- To create this cool look, I used the Big Shot to die cut tan fun foam with the largest square from the Stitched Shapes framelits. You can find fun foam at your local craft store.
- Heat the surface of the fun foam with the Heat Tool
- Stamp the tree image in Early Espresso ink. The stamped image will leave an impression in the heated foam. Super cool right?
- I wanted a bit deeper of an impression than what I got so I re-heated the fun foam and stamped the image a second time without re-inking it.
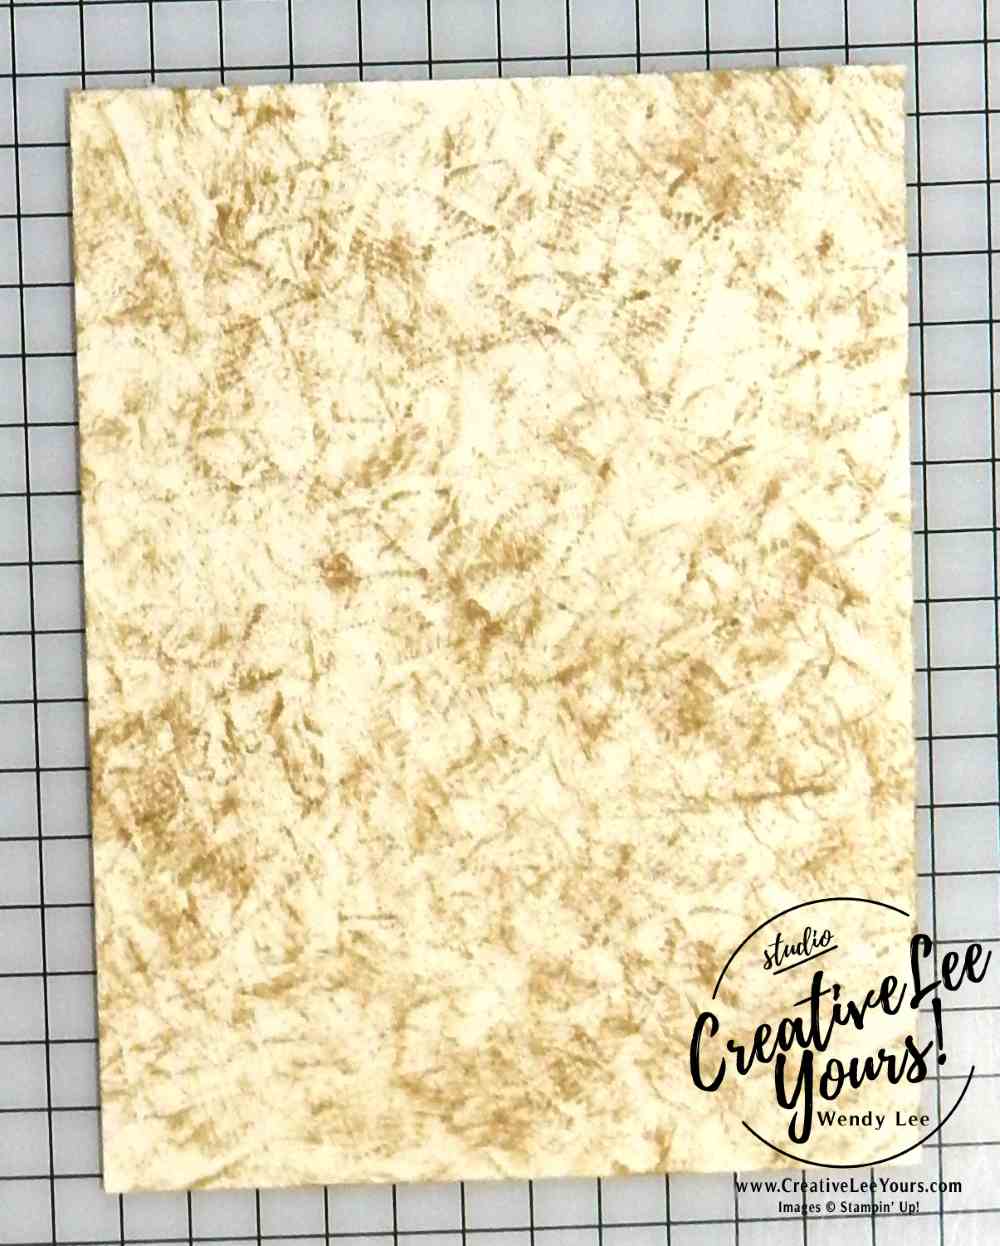
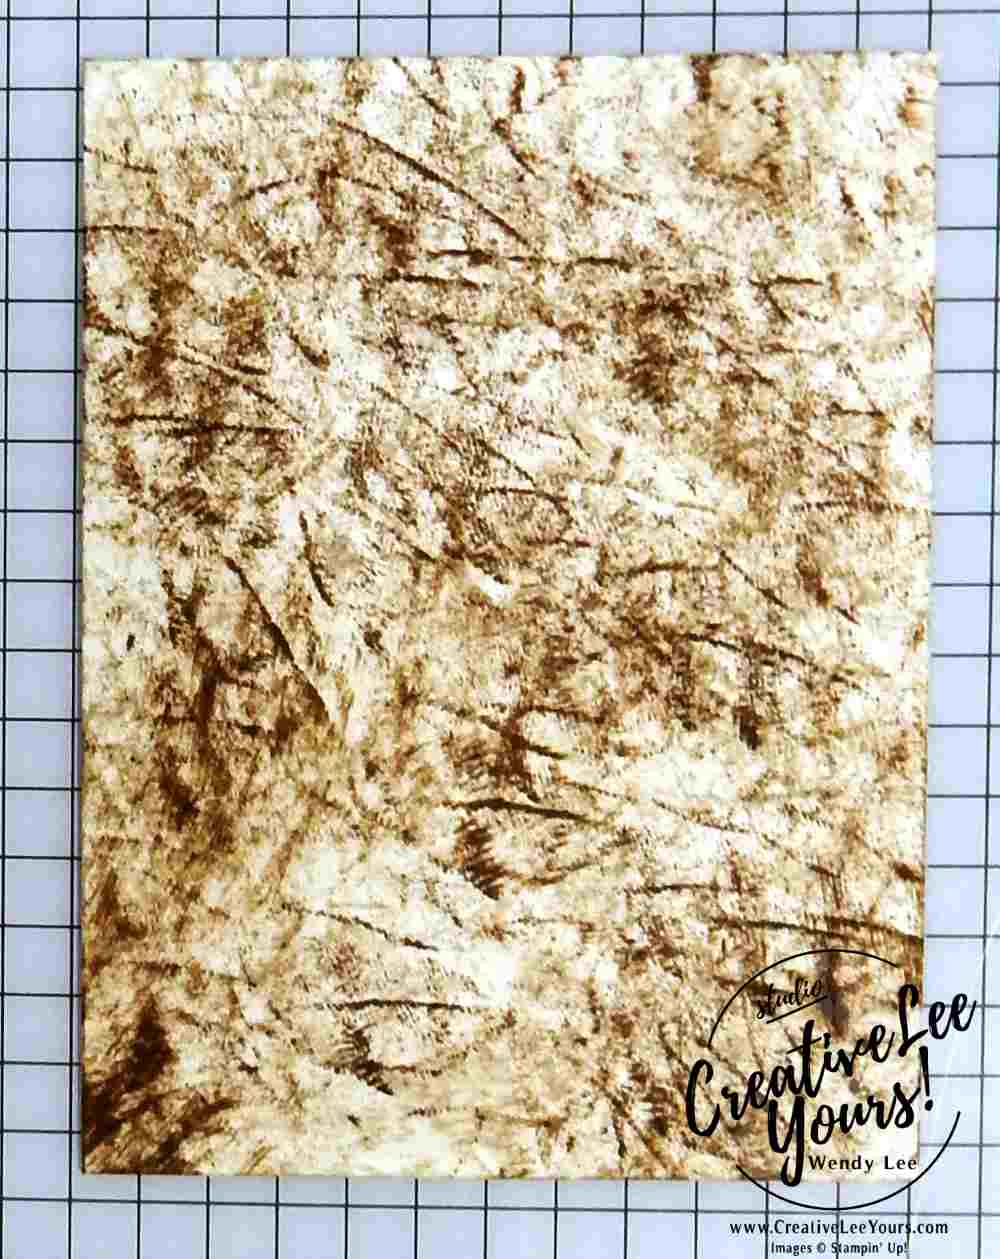
Baby Wipe background- I learned this fun technique at the World Card making Day event I attend this past weekend and had to give it a try.
To create the textured background I wadded a baby wipe up and dipped it in the ink pad to lift some color. I first applied Crumb Cake ink over the surface of the 4″ x 3″ Very Vanilla layer.
I repeated the process with the Soft Suede ink.
I repeated the process a third time with the Early Espresso ink. Sorry I didn’t take a pic with the final color added.
I wanted to soften the appearance so I added the 4 3/8″ x 3 3/8″ Vellum cardstock layer over the layer.
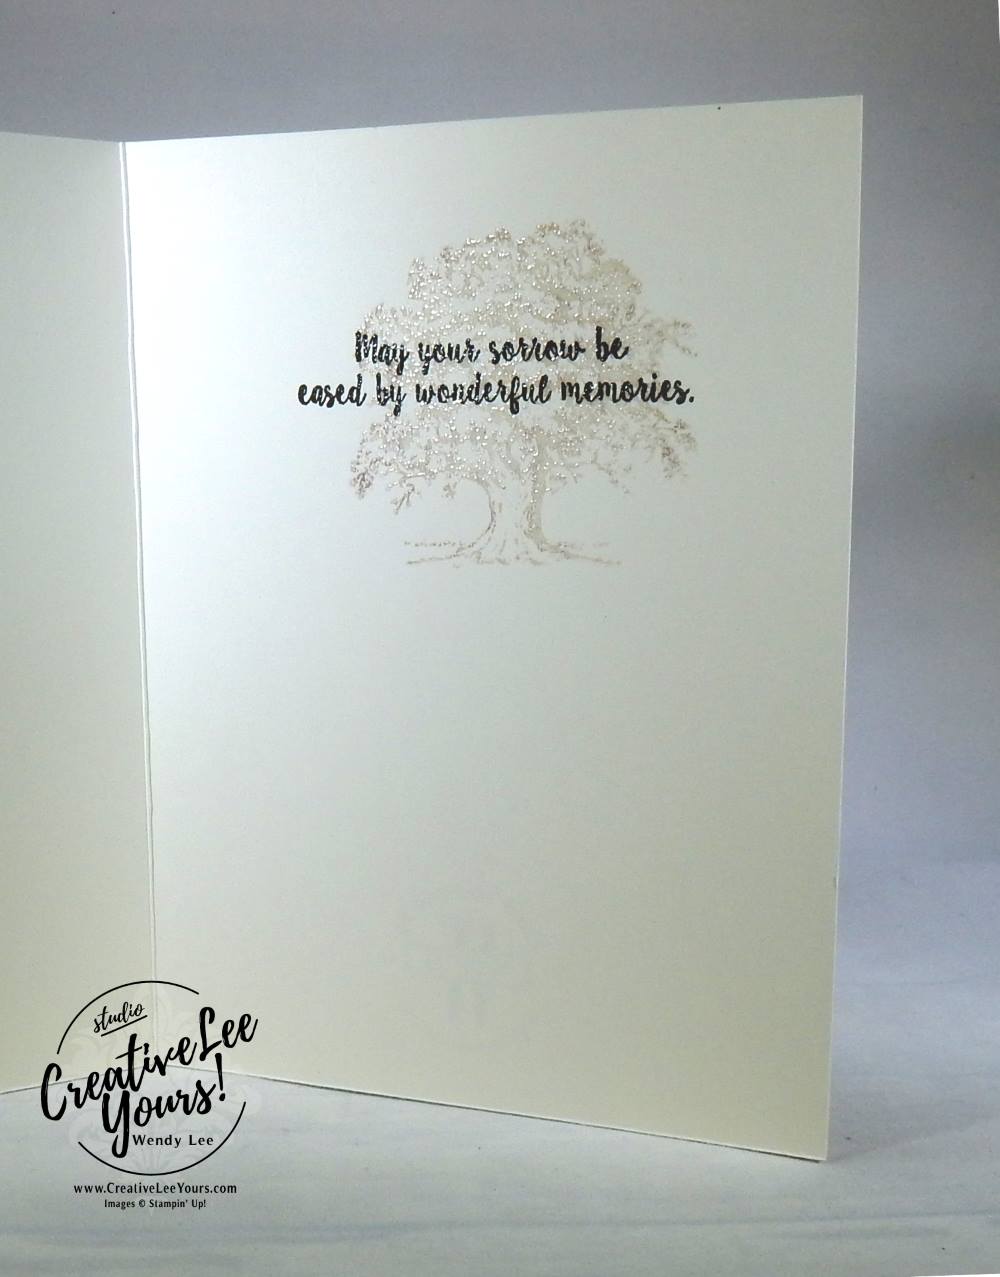
On the inside of the card I stamped the sentiment from the Better Together stamp set in Early Espresso ink and then stamped the tree image from the Lovely as a Tree stamp set in versamark ink and embossed in clear powder.
I found I had a bit of ink still on my stamp so it left a bit of color when I stamped it, but I like the look it gave.
Thanks for coming by my blog today and taking part in this hop with us! I know you are going to love the other projects in this hop so don’t forget to use the list below to find your way through all the blogs, you do not want to miss a project! Currently you are visiting my blog – Wendy Lee-USA so have a look at the list at the end of the post to see who is next.
Hope You Enjoy,
Love this project? Here is your shopping list so you can re-create this idea on your own…
Shopping List
Click here to order your stamping supplies using host code YMJT2RM6 from my online store and have the products shipped directly to you. Don’t forget to stock on designer series paper while supplies last. Click here to see details on the Buy 3, Get 1 FREE specials.
CreativeLee Yours,


