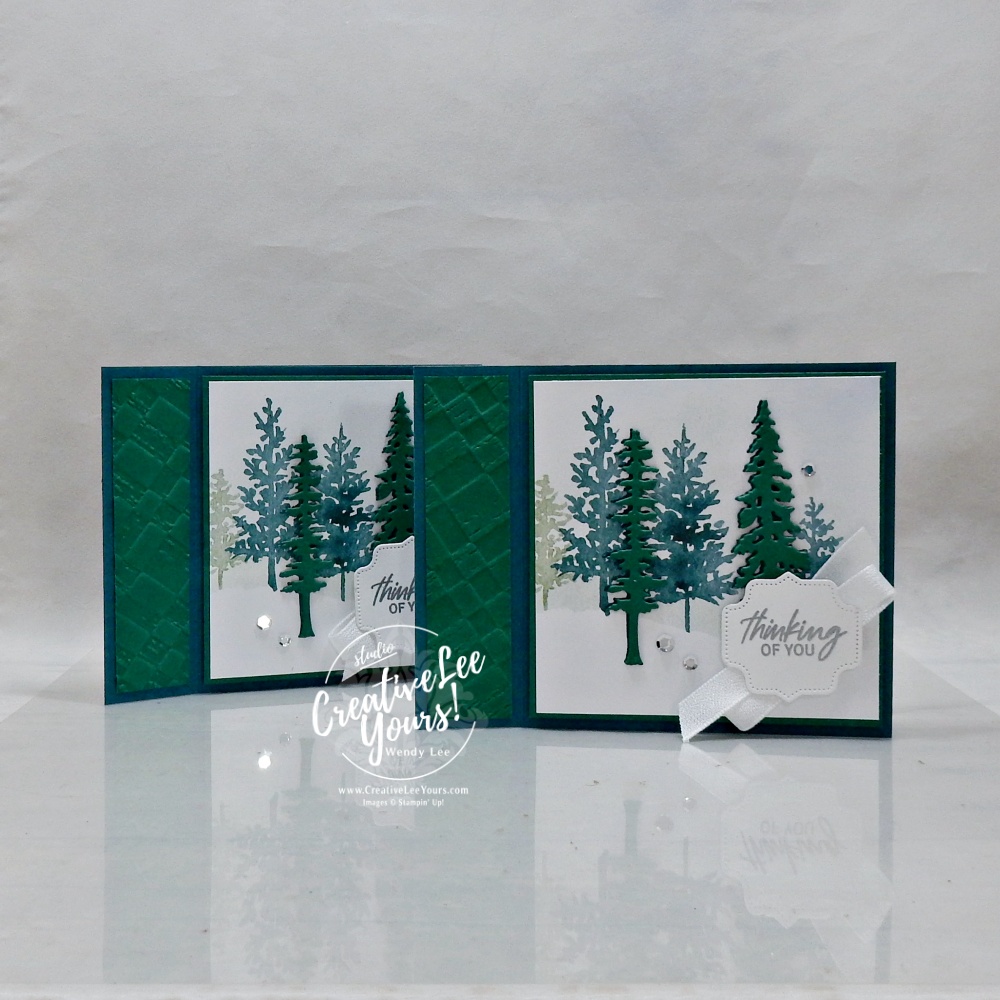
Do you love the look of a fun fold but sometimes see all those score lines and moving pieces and think…Maybe I’ll save that one for another day. Today’s project is for you!
This Book Binding Fun Fold Card gives you that little something unexpected without complicated construction. In fact, we’re starting with a regular 11″ x 4-1/4″ card base and adding just one extra score line.
That’s it!
But that one simple change creates a completely different look when the card opens—and gives us a beautiful little “book binding” section along the left side that we can dress up with texture.
And there’s quite a bit more tucked into this project than the easy fold.
We’re creating a beautiful forest scene using the Whispering Woods Designer Series Paper, adding die-cut trees for extra dimension and even changing the shape of a die-cut label to make it work better for our design.
Let’s take a closer look!
What Is a Book Binding Fun Fold Card?
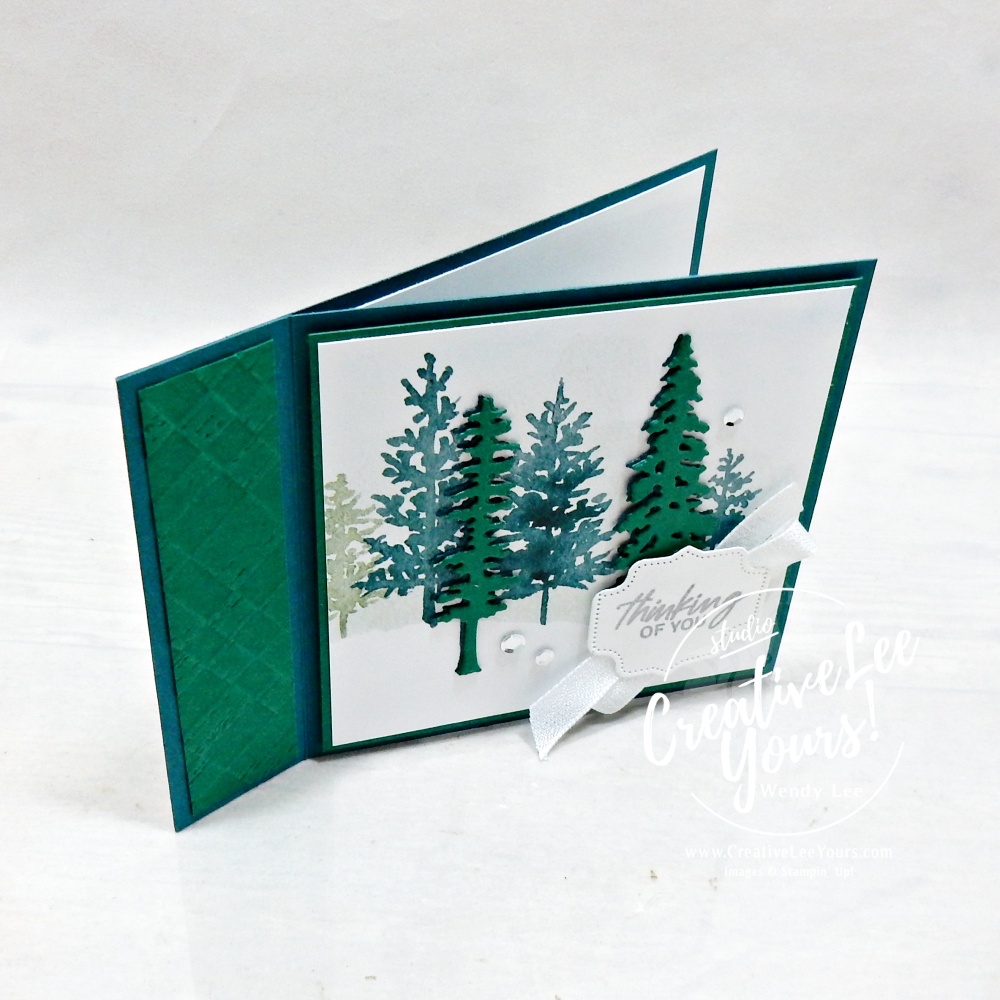
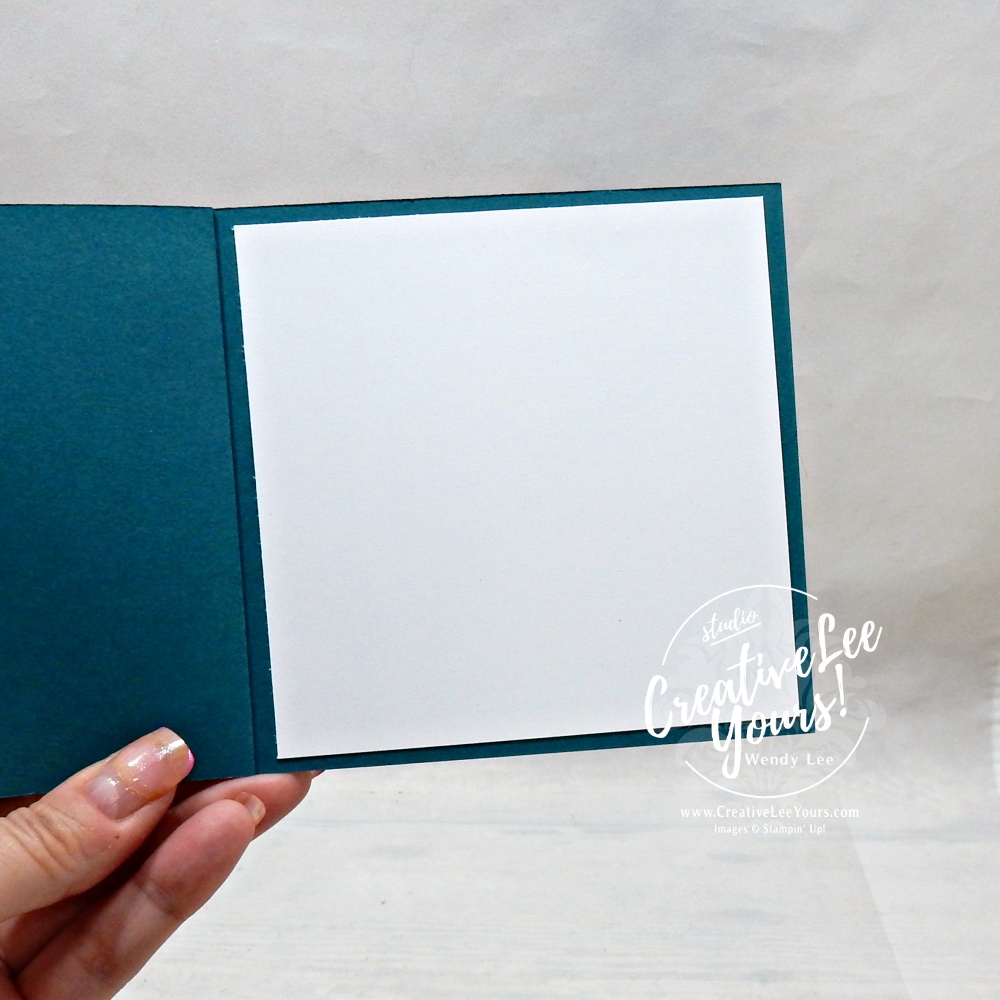
The name comes from the narrow section along the folded edge of the card. Instead of the entire front opening like a traditional card, that small section stays closed, almost like the binding of a book.
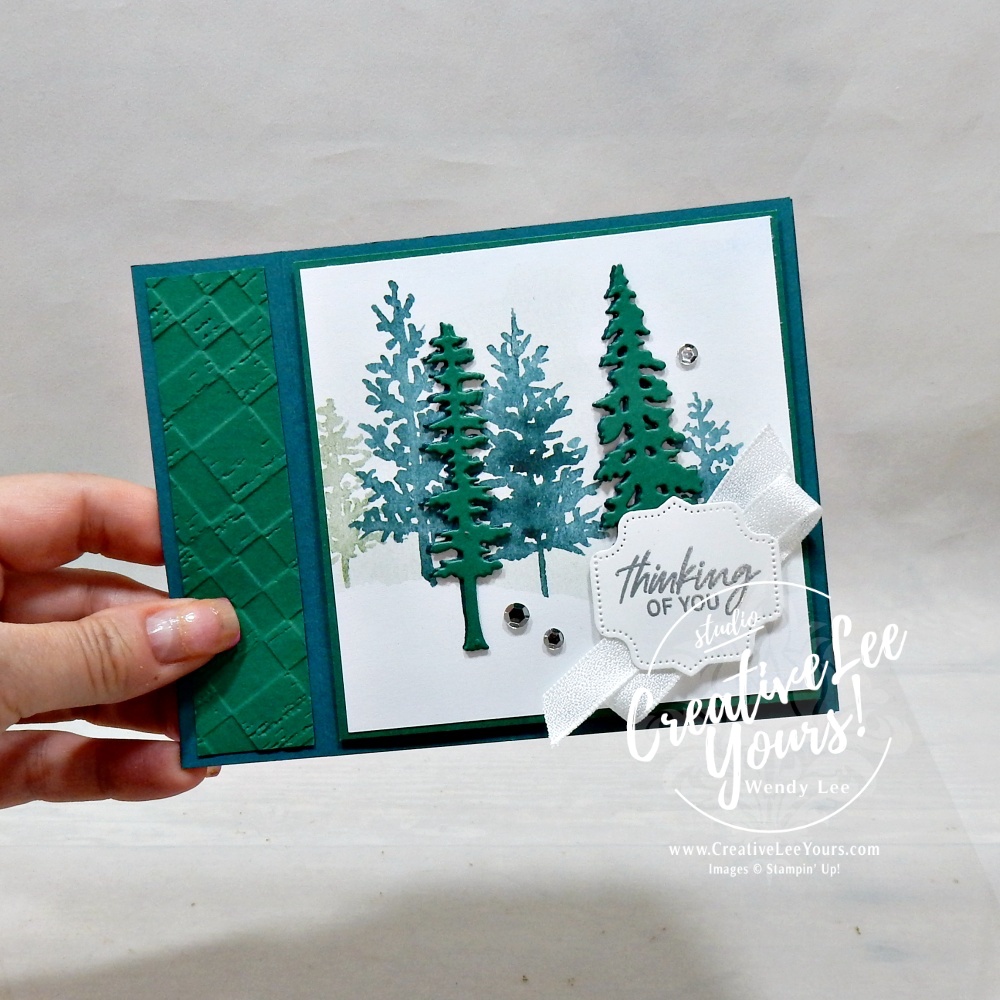
For today’s card, our Pretty Peacock card base measures 11″ x 4-1/4″ and is scored at 4-1/4″ and 5-1/2″
That second score creates the narrow book-binding section. Once that section is secured, the remaining portion of the card front opens normally. It’s one of those fun folds I especially love because it looks interesting but is still very approachable. If you’ve been hesitant to try fun folds because they seem complicated, this is a wonderful place to start.
Let the Patterned Paper Do Some of the Work
The beautiful forest scene on today’s card comes from the Whispering Woods Designer Series Paper. Rather than building the entire scene from individual stamped and die-cut trees, we’re letting the artwork in the patterned paper establish our background.
I cut the Designer Series Paper to 3-7/8″ x 3-7/8″ and layered it over a 4″ x 4″ Shaded Spruce cardstock layer. That tiny border helps frame the scene without competing with all of those beautiful trees.
But I didn’t stop there.
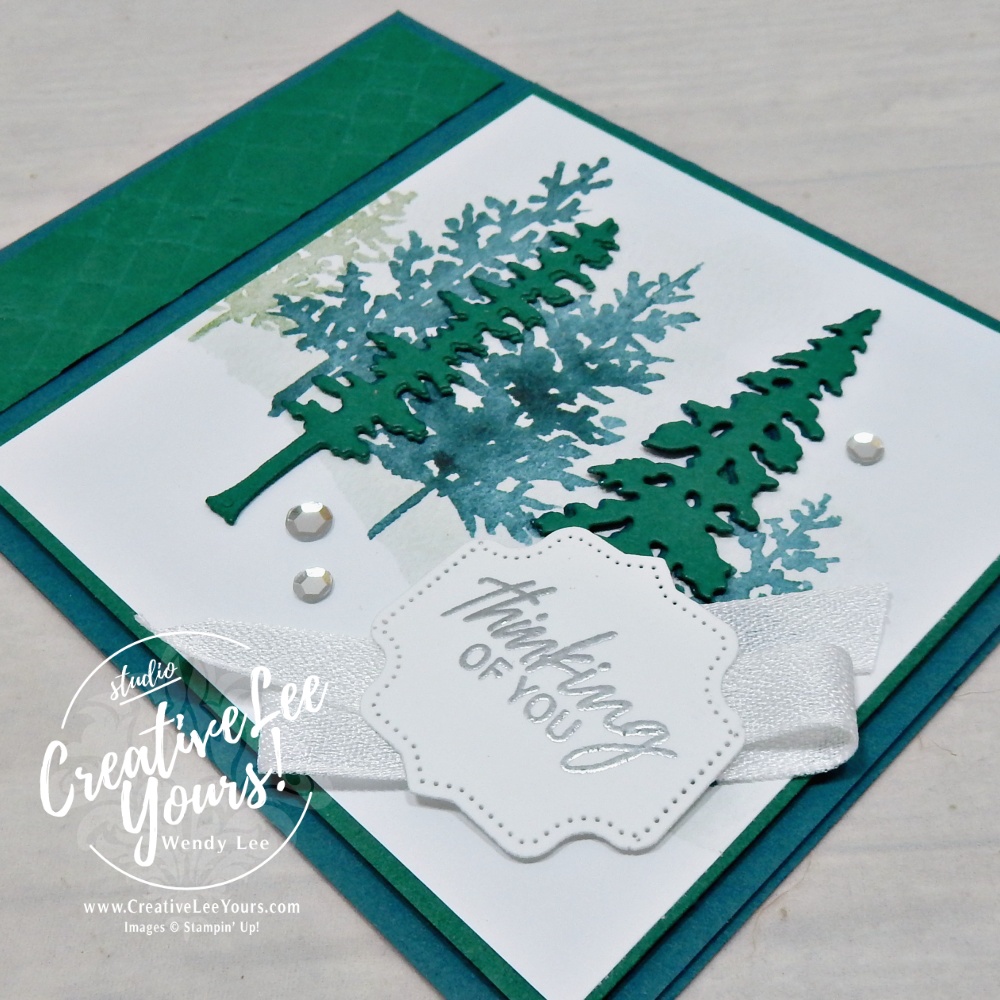
I die-cut additional trees from Shaded Spruce and Pretty Peacock cardstocks using the Winter Adventures Dies and layered them over some of the printed trees. That gives us something the flat patterned paper can’t provide on its own…dimension.
Some trees appear to sit farther back while our die-cut trees come forward. It’s such a simple way to take a beautiful piece of patterned paper and make the design feel even more dimensional.
Beautiful Paper That Also Gives Back
There’s another reason the Whispering Woods Designer Series Paper is special. It’s the featured product in Stampin’ Up!’s 2026 Product Giveback program.
For every package of Whispering Woods Designer Series Paper sold, Stampin’ Up! will donate $3 USD to organizations around the world dedicated to empowering women. I love when something we already enjoy doing—creating and sharing handmade cards—can also contribute to something meaningful beyond our craft rooms.
The Whispering Woods Designer Series Paper is available while supplies last, so be sure to check availability if you’d like to create with it.
Add Texture to the “Binding”
Remember that little book-binding section we created with our extra score line?
Rather than leaving it plain, I added a 1″ x 4″ strip of Shaded Spruce cardstock and embossed it. That little bit of texture helps visually separate the binding from the main forest scene.
It’s another example of something I talk about often: You don’t always need another color or another embellishment to create interest. Sometimes texture is enough.
A Little Die-Cutting Trick
There’s one more design detail I want you to notice.
The “Thinking of You” sentiment is on a label created with the Frosted Pinecones Dies—but I didn’t necessarily want to use the label exactly as the die originally cut it.
So in today’s video, I’m showing you how I change the shape of the die-cut label to better fit the sentiment and the space available on my card. This is one of those little tricks that’s worth remembering.
Your dies don’t always have to dictate the final shape. Sometimes a little creative adjustment lets you get even more mileage from something you already own.
Project Layers (Imperial):
- 11″ x 4-1/4″, scored at 4-1/4″ & 5-1/2″ Pretty Peacock CS
- 2″ x 3-1/2″ Pretty Peacock CS for die-cutting
- 4″ x 4″ Basic White CS
- 3-1/4″ x 2″ Basic White CS for die-cutting
- 1″ x 4″ Shaded Spruce CS for embossing
- (2) 2″ x 3-1/2″ Shaded Spruce CS for die-cutting
- 4″ x 4″ Shaded Spruce CS
- 3-7/8″ x 3-7/8″ DSP
- Approx. 8-1/2″ Ribbon
I have created a printable recipe with the complete supply list and cut dimensions for you. Simply click the button below to access the printable file.
Ready to Make It With Me? Sometimes the easiest way to understand a fun fold is simply to watch it happen.
In today’s video, I’ll walk you through the entire project, including:
- creating the book-binding card base,
- using the Whispering Woods DSP as our forest scene,
- adding die-cut trees for dimension,
- embossing the binding section,
- changing the shape of the Frosted Pinecones label,
- and bringing all of those details together without making the card complicated.
Click below and let’s create it together!
(note if viewing this post via email subscription, you may need to click the post name to display the video)
Like This Fun Fold? I’ve Got FOUR More for You!
Okay…now I can let you in on the little secret I mentioned in today’s video. This card is actually one of the five projects in my Five Easy Fun Folds class!
I created this class as one of my contributions to the Stress-Free Card Making Summit Ultimate Bundle. So if you enjoyed today’s Book Binding Fun Fold, there are four more easy fun-fold projects waiting for you in the class. And I chose that word easy intentionally.
I wanted these to be folds that give you that wonderful: “Oooooh…look what this card does!” without making you feel like you need an engineering degree to figure them out.
The Stress-Free Card Making Summit is a wonderful way to celebrate World Card Making Day with cardmakers who love creating just as much as we do. You can participate in the Summit, and if you’d like access to my Five Easy Fun Folds class along with the other bonuses and upgraded access included with the Ultimate Bundle, I’ll have all the details waiting for you below.
I’m curious about something after today’s project.
What makes YOU more likely to try a fun fold?
Is it:
A. It looks impressive but is actually easy
B. You have exact measurements to follow
C. You can watch someone demonstrate it first
D. You’re making it for someone special and want that extra WOW
Or is it something else entirely? Leave me a comment and let me know!
And if you’ve been avoiding fun folds because they look too complicated, I hope today’s card convinces you to try just one.
Sometimes one extra score line is all it takes to turn an ordinary card base into something a little more unexpected.
One More Thing Before You Go…
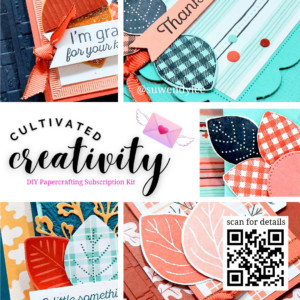
We’re also in the FINAL WEEK to join me for September’s Cultivated Creativity!
I’ve been busy behind the scenes measuring ribbon, dividing embellishments, preparing patterned papers and getting everything ready for this month’s crafters.
September features the Simply Leaves Stamp + Punch Bundle, Painted Patch Designer Series Paper and five thoughtfully designed projects with a really fun variety of folds and styles.
I still have a few additional September spots available, but registration closes September 20 or when the remaining kits are spoken for, whichever happens first.
If you’d love to spend more of your creative time actually creating—with the designs and much of that time-consuming preparation already taken care of—I would love to prepare one for you, too.
Hope You Enjoy,
Love this project? Here is your shopping list so you can re-create this idea on your own…just click on the images below to add them to your cart.
Shopping List
![Frosted Pinecones Bundle (English) [ 168373 ]](https://assets1.tamsnetwork.com/images/EC042017NF/168373s.jpg "Frosted Pinecones Bundle (English) [ 168373 ]")
![Pretty Peacock 8-1/2" X 11" Cardstock [ 150880 ]](https://assets1.tamsnetwork.com/images/EC042017NF/150880s.jpg "Pretty Peacock 8-1/2\" X 11\" Cardstock [ 150880 ]")
![Shaded Spruce 8-1/2" X 11" Cardstock [ 146981 ]](https://assets1.tamsnetwork.com/images/EC042017NF/146981s.jpg "Shaded Spruce 8-1/2\" X 11\" Cardstock [ 146981 ]")
![Basic White 8 1/2" X 11" Cardstock [ 166780 ]](https://assets1.tamsnetwork.com/images/EC042017NF/166780s.jpg "Basic White 8 1/2\" X 11\" Cardstock [ 166780 ]")
![Whispering Woods 12" X 12" (30.5 X 30.5 Cm) Designer Series Paper [ 168368 ]](https://assets1.tamsnetwork.com/images/EC042017NF/168368s.jpg "Whispering Woods 12\" X 12\" (30.5 X 30.5 Cm) Designer Series Paper [ 168368 ]")
![Versamark Pad [ 102283 ]](https://assets1.tamsnetwork.com/images/EC042017NF/102283s.jpg "Versamark Pad [ 102283 ]")
![Metallics Wow! Embossing Powder [ 165678 ]](https://assets1.tamsnetwork.com/images/EC042017NF/165678s.jpg "Metallics Wow! Embossing Powder [ 165678 ]")
![Adhesive Backed Sparkle Sequins [ 168488 ]](https://assets1.tamsnetwork.com/images/EC042017NF/168488s.jpg "Adhesive Backed Sparkle Sequins [ 168488 ]")
![White 3/8" (1 Cm) Textured Ribbon [ 168550 ]](https://assets1.tamsnetwork.com/images/EC042017NF/168550s.jpg "White 3/8\" (1 Cm) Textured Ribbon [ 168550 ]")
![Heat Tool (Us And Canada) [ 129053 ]](https://assets1.tamsnetwork.com/images/EC042017NF/129053s.jpg "Heat Tool (Us And Canada) [ 129053 ]")
![Embossing Additions Tool Kit [ 159971 ]](https://assets1.tamsnetwork.com/images/EC042017NF/159971s.jpg "Embossing Additions Tool Kit [ 159971 ]")
![Stampin' Cut & Emboss Machine [ 149653 ]](https://assets1.tamsnetwork.com/images/EC042017NF/149653s.jpg "Stampin' Cut & Emboss Machine [ 149653 ]")
![Rustic Check 3 D Embossing Folder [ 168442 ]](https://assets1.tamsnetwork.com/images/EC042017NF/168442s.jpg "Rustic Check 3 D Embossing Folder [ 168442 ]")
![Winter Adventures Dies [ 168311 ]](https://assets1.tamsnetwork.com/images/EC042017NF/168311s.jpg "Winter Adventures Dies [ 168311 ]")
![Take Your Pick [ 144107 ]](https://assets1.tamsnetwork.com/images/EC042017NF/144107s.jpg "Take Your Pick [ 144107 ]")
![Simply Scored [ 122334 ]](https://assets1.tamsnetwork.com/images/EC042017NF/122334s.jpg "Simply Scored [ 122334 ]")
![Paper Trimmer [ 152392 ]](https://assets1.tamsnetwork.com/images/EC042017NF/152392s.jpg "Paper Trimmer [ 152392 ]")
![Detail Scissors [ 170902 ]](https://assets1.tamsnetwork.com/images/EC042017NF/170902s.jpg "Detail Scissors [ 170902 ]")
![Bone Folder [ 102300 ]](https://assets1.tamsnetwork.com/images/EC042017NF/102300s.jpg "Bone Folder [ 102300 ]")
![Adhesive Sheets [ 152334 ]](https://assets1.tamsnetwork.com/images/EC042017NF/152334s.jpg "Adhesive Sheets [ 152334 ]")
![Stampin' Seal [ 152813 ]](https://assets1.tamsnetwork.com/images/EC042017NF/152813s.jpg "Stampin' Seal [ 152813 ]")
![Stampin' Dimensionals [ 104430 ]](https://assets1.tamsnetwork.com/images/EC042017NF/104430s.jpg "Stampin' Dimensionals [ 104430 ]")
This post may contain affiliate links. This means I may earn a small commission at no additional cost to you if you click through and make a purchase.
Live in the US…CLICK HERE to shop my online store and have your Stampin’ Up! supplies shipped straight to your door!
Don’t forget: Orders of $20 or more now earn 10% back in Stampin’ Rewards—just make sure you’re logged into your account and have opted into the rewards program at checkout. Stampin’ Up! tracks your rewards for you!
Need some assistance placing your order? No problem!
Call/text me at 336-671-1959 or send me a message on Facebook. I am happy to help.

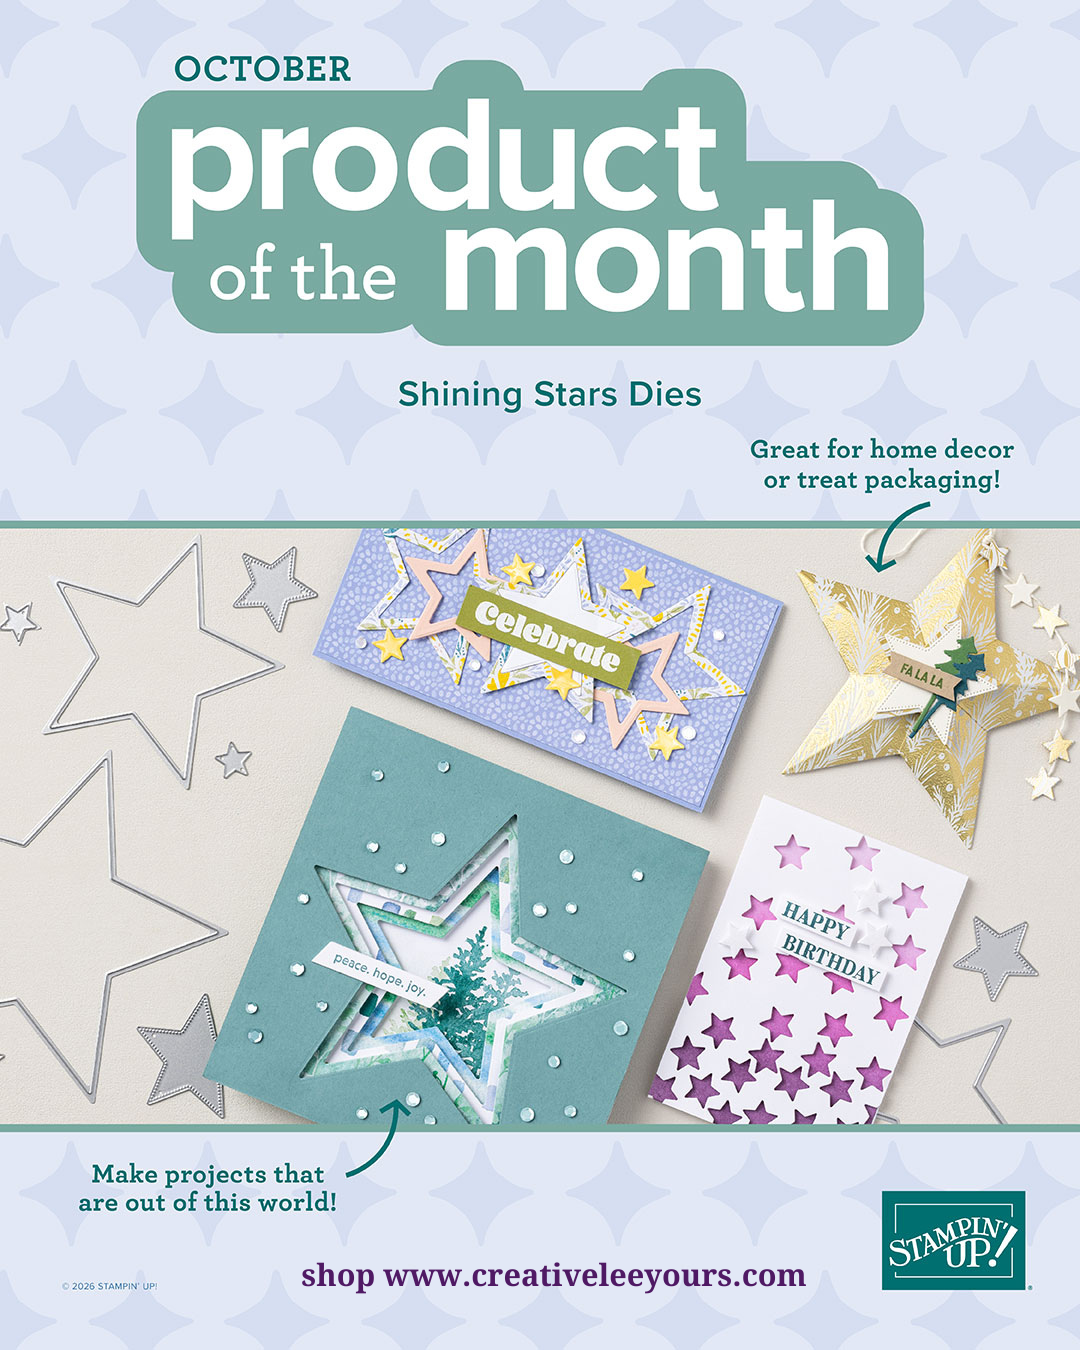
Grab This Month’s $5 Product of the Month!
Want a fun bonus with your order? When you spend $75+, Stampin’ Up! lets you add this month’s Product of the Month for just $5 — and it’s an item you can’t get anywhere else!
It’s limited, exclusive, and the perfect little extra to treat yourself while you craft.
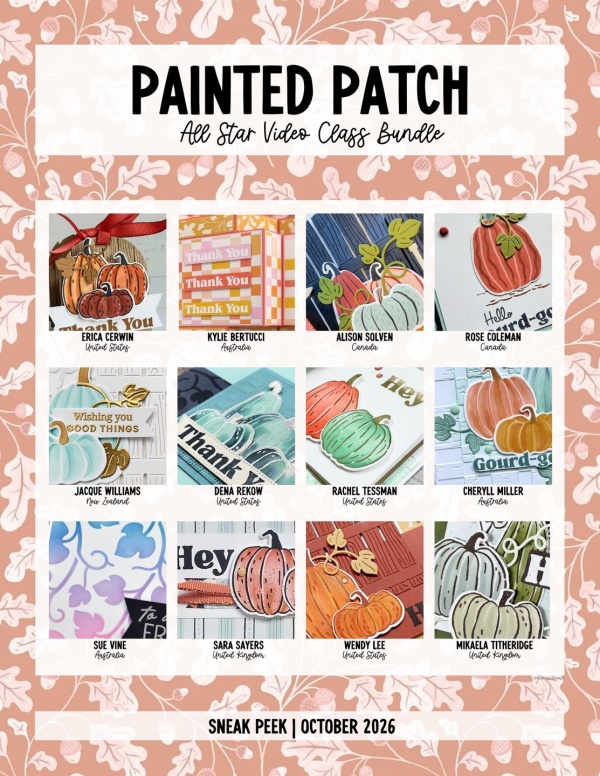
Want to earn EXCLUSIVE video tutorials once a month featuring the latest Stampin’ Up! product suites? Each month you will receive 12 tutorials all bundled together when you place a qualifying $50 or more order with me through my online store for FREE!
You may also purchase individual tutorials HERE.
More Than a Discount… Join the Diemonds!
Have you ever thought about becoming a Stampin’ Up! demonstrator?
Whether you’re looking to save on the products you already love, be the first to see new releases, or simply become part of a welcoming creative community, becoming a Diemond might be exactly what you’re looking for.
- Shop at a discount
- Early access to new products
- Exclusive demonstrator resources
- A supportive community that encourages you every step of the way
Whether you’re a hobby stamper or dreaming of building a business, there’s a place for you here.
Join the Diemonds and enjoy the benefits of being part of the Stampin’ Up! family. Discover what it’s really like to be part of the Diemonds.
Questions? I’d love to help! wendy@creativeleeyours.com
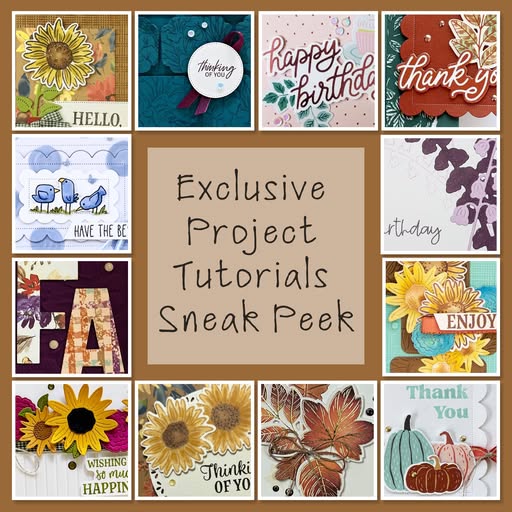
12 EXCLUSIVE tutorials each month for FREE!
I am offering the monthly Exclusive Project Tutorials FREE to my email subscribers. Yes! The Exclusive Projects team is comprised of a talented group of Stampin’ Up! demonstrators sharing great ideas. There will be a wide variety of projects featuring multiple stamp sets each month that you will get for FREE…if you are a subscriber to my newsletter… Whoo Hoo!
Not yet a subscriber? Sign up HERE
What others’ are saying about the Exclusive Tutorial Bundles:
Thank you! Each and every one of your cards are wonderful! I love having the tutorials printed out. I flip through the pages and always find something that would be fun to make! Thanks again!
-Mary D
*****
“Thank you so much – I always enjoy the fresh design options – you make card making fun again.”
-Kathleen L
*****
“I LOVE and appreciate this special offer you give to your email subscribers. I always find lots of inspiration from the demonstrators and enjoy replicating their beautiful designs.”
-TY Barbara D
CreativeLee Yours,
OTHER IMPORTANT LINKS AND INFORMATION:
- Join my Stampin’ Up!® Diemonds team and get the awesome customizable starter kit HERE. It’s the best bundle ever!
- Ready for a fun, monthly craft kit delivered directly to you, so you get all the joy of creating without having to do all the research, design and prep? Cultivated Creativity is for you! Click HERE to get started.
- Join my Online Forget Me Not (FMN) Card Club and elevate your hand made cards HERE.
- Keep up to date with all my upcoming events by JOINING MY 📧 EMAIL LIST. You receive a FREE PDF tutorial when you subscribe as my gift HERE.
- Join Paper Pumpkin and get FREE PDF Tutorials with alternate projects each month.
- Shop my Tutorials to spark your creativity as I guide you through creating beautiful projects HERE.
- Earn Exclusive BONUS tutorials with my rewards program. CLICK HERE for details.