Hello, crafty friends!
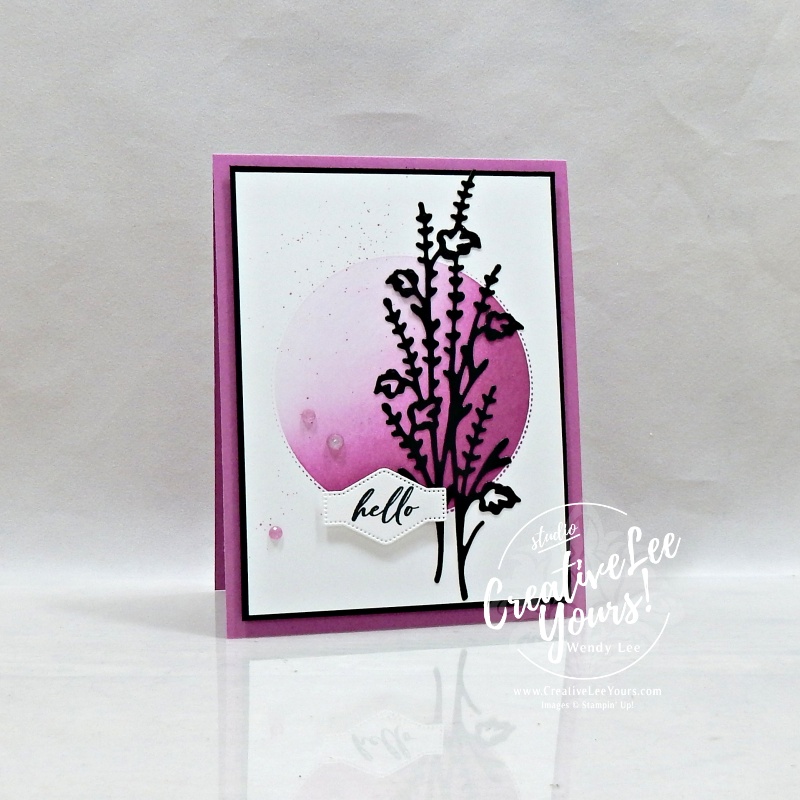
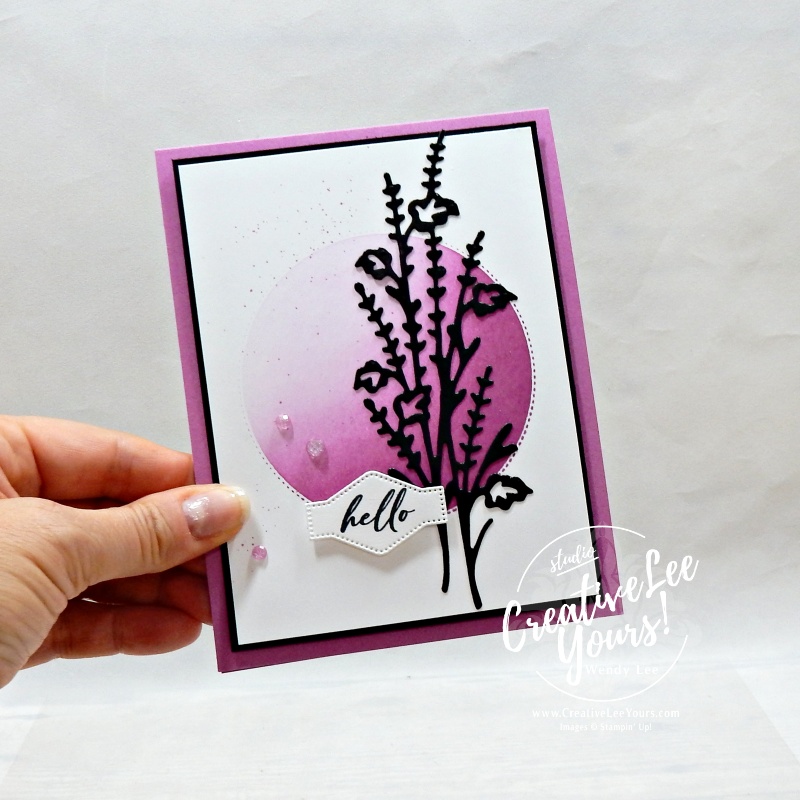
Today, I’m thrilled to share a fabulous silhouette birthday card project with you all. This project features the beautiful Unbounded Love stamp set and coordinating Unbounded Love and Flowers of Beauty dies from Stampin’ Up. In this post, I’ll walk you through the process of creating this stunning card using some exciting techniques, including reverse masking, die-cutting with adhesive sheets, and creating splatter effects with Stampin’ Blends markers.
Why Recreate This Project?
This silhouette birthday card is perfect for those special moments when you want to send a heartfelt message. It’s not just about the beauty of the card, but also about the techniques you’ll learn along the way. These techniques will empower you to:
- Enhance Your Cardmaking Skills: Reverse masking and creating splatter effects are fun and versatile techniques that can be applied to various projects, adding a unique touch to your handmade cards.
- Add Professional Touches: Using adhesive sheets for die-cutting detailed images ensures clean and easy adherence, giving your cards a polished and professional finish.
- Create Personal and Unique Designs: The combination of silhouette stamping and splatter effects allows you to create cards that are truly one-of-a-kind, making your recipient feel extra special.
Step-by-Step Instructions:
1. Prepare Your Card Base and Layers:
- Cut your card base and coordinating layers to the desired size. I used a standard letter card size (folded measures 4.25″ x 5.5″).
2. Create the Reverse Masking Effect:
- Cut a piece of masking paper to the size of your layer.
- Die-cut a shape from the center of the masking paper to create a reverse mask.
- Place the masking paper onto your layer, aligning the die-cut opening where you want your silhouette to appear.
- Use an ink pad and blending brush to add color to the exposed area, creating a beautiful background for your silhouette.
3. Stamp and Die-Cut the Silhouette:
- Stamp your silhouette image onto the card front using black ink or
- For added dimension, die-cut a detailed image from black cardstock using adhesive sheets on the back. This makes it easy to adhere the intricate die-cut to your card without any mess.
4. Add Splatter Effects:
- To create a splatter effect, use the brush tip of your Stampin’ Blends marker. Flick the tip to add splatters of color across your card. This technique adds a fun, artistic touch to your design.
5. Assemble Your Card:
- Adhere your layer onto the base and add any additional embellishments or sentiments to complete the look.
- Don’t forget to bring the design to the inside.
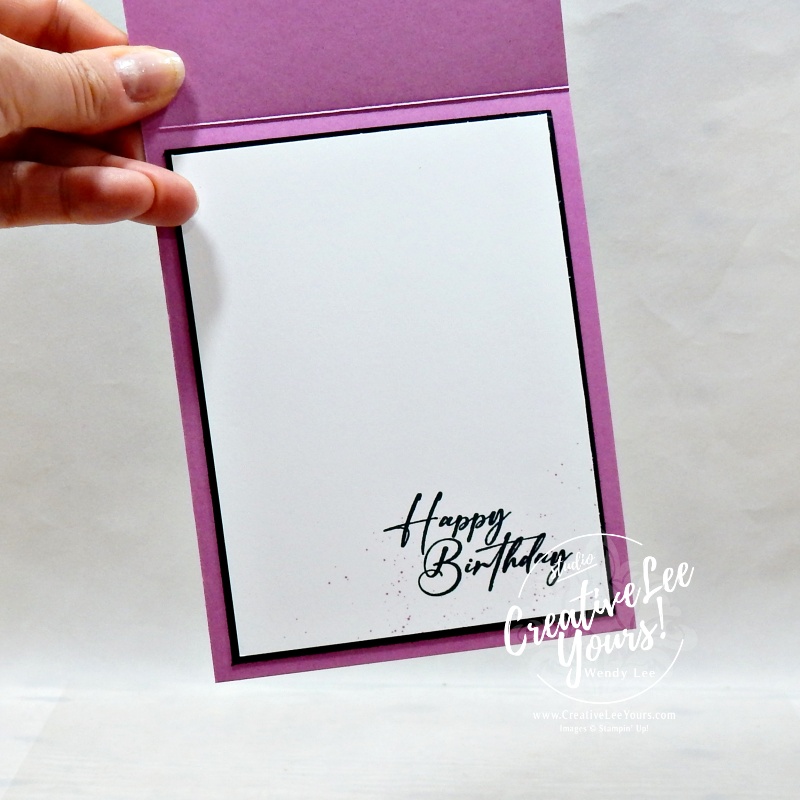
I hope you enjoy recreating this silhouette birthday card as much as I enjoyed designing it. These techniques are not only fun but also incredibly versatile, allowing you to create stunning cards for any occasion.
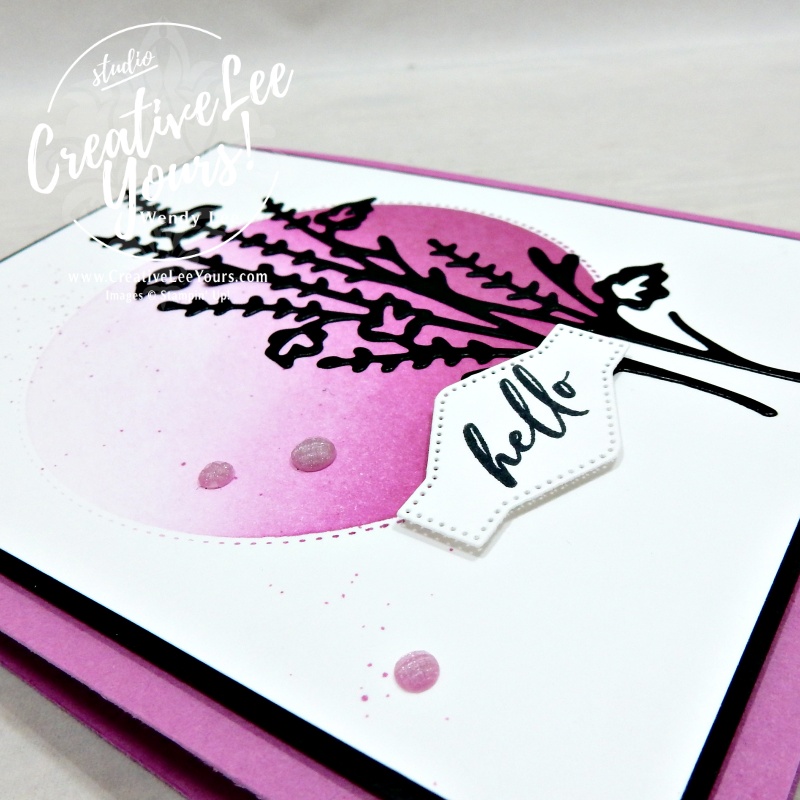
Don’t forget to watch the video tutorial below for step-by-step instructions to see the entire process in action. Happy crafting!
Project Layers (Imperial):
- 4-1/4” x 11” Petunia Pop CS
- (2) 3-7/8” x 5-1/8” Basic Black CS
- (2) 3-3/4” x 5” Basic White CS
- 2-1/4” x 5-1/2” Basic Black CS-die cut
- Scrap Basic White CS- die cut
Project Layers (Metric A4):
- 14.8cm x 21cm Petunia Pop CS
- (2) 9.6cm x 13.9cm Basic Black CS
- (2) 9.3cm x 13.6cm Basic White CS
- 5.5cm x 14cm Basic Black CS-die cut
- Scrap Basic White CS- die cut
I have created a printable recipe with the complete supply list and cut dimensions for you. Simple click the button below to access the printable file.
Want to give this one a try? I showed how to create this vibrant project in my Tuesday YouTube PREMIER. Watch the video replay below and be sure to leave me a comment.
Don’t forget to share the video with your crafty friends! While you are watching, I would appreciate you subscribing to my YouTube channel.
(note if viewing this post via email subscription, you may need to click the post name to display the video)
Wasn’t that super easy? Did this spark new ideas for your next project? Tell me in the comments below the post.
Don’t forget to join me for some LIVE papercrafting every Tuesday at 12:30PM ET on my YouTube Channel where we will play with some new goodies from the current Catalogs! Jump on over and follow me now. Looking forward to seeing you and your crafty friends for our next LIVE papercrafting class!
Hope You Enjoy,
Love this project? Here is your shopping list so you can re-create this idea on your own…just click on the images below to add them to your cart.
Shopping List


Live in the US…CLICK HERE to shop my online store and have your Stampin’ Up! supplies shipped straight to your door!
Don’t forget: Orders of $20 or more now earn 10% back in Stampin’ Rewards—just make sure you’re logged into your account and have opted into the rewards program at checkout. Stampin’ Up! tracks your rewards for you!
Need some assistance placing your order? No problem!
Call/text me at 336-671-1959 or send me a message on Facebook. I am happy to help.

Paper Pumpkin Makes the Best Gift!
Looking for a creative gift? Paper Pumpkin prepaid subscriptions are on sale through December 9! Each kit arrives with everything needed to craft beautiful cards and projects — no experience needed.
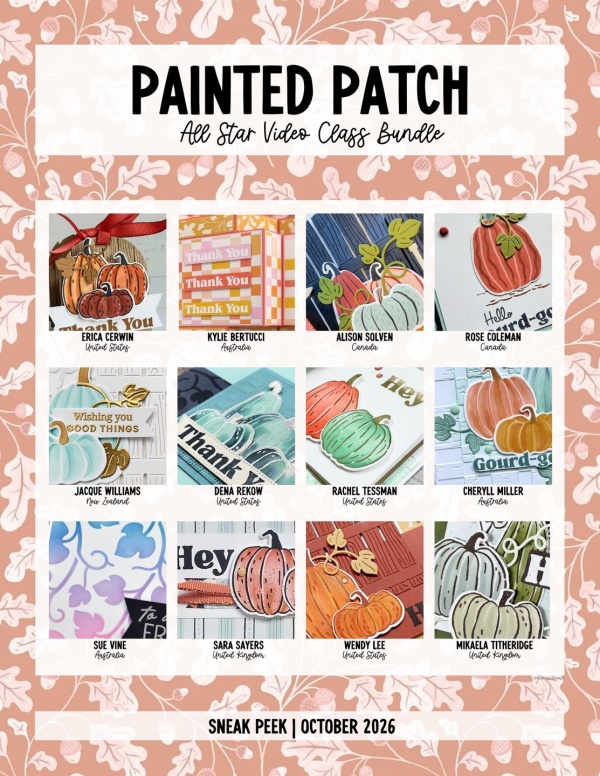
Want to earn EXCLUSIVE video tutorials once a month featuring the latest Stampin’ Up! product suites? Each month you will receive 12 tutorials all bundled together when you place a qualifying $50 or more order with me through my online store for FREE!
You may also purchase individual tutorials HERE.
Make Time to Create—Without Having to Plan It All First
You love making beautiful cards. But sometimes the hardest part isn’t the creating—it’s finding the time, choosing a project, gathering all the right supplies, cutting everything and figuring out where to begin.
Cultivated Creativity takes care of the planning and prep so you can get to the part you actually love: creating.
Create More. Complicate Less.
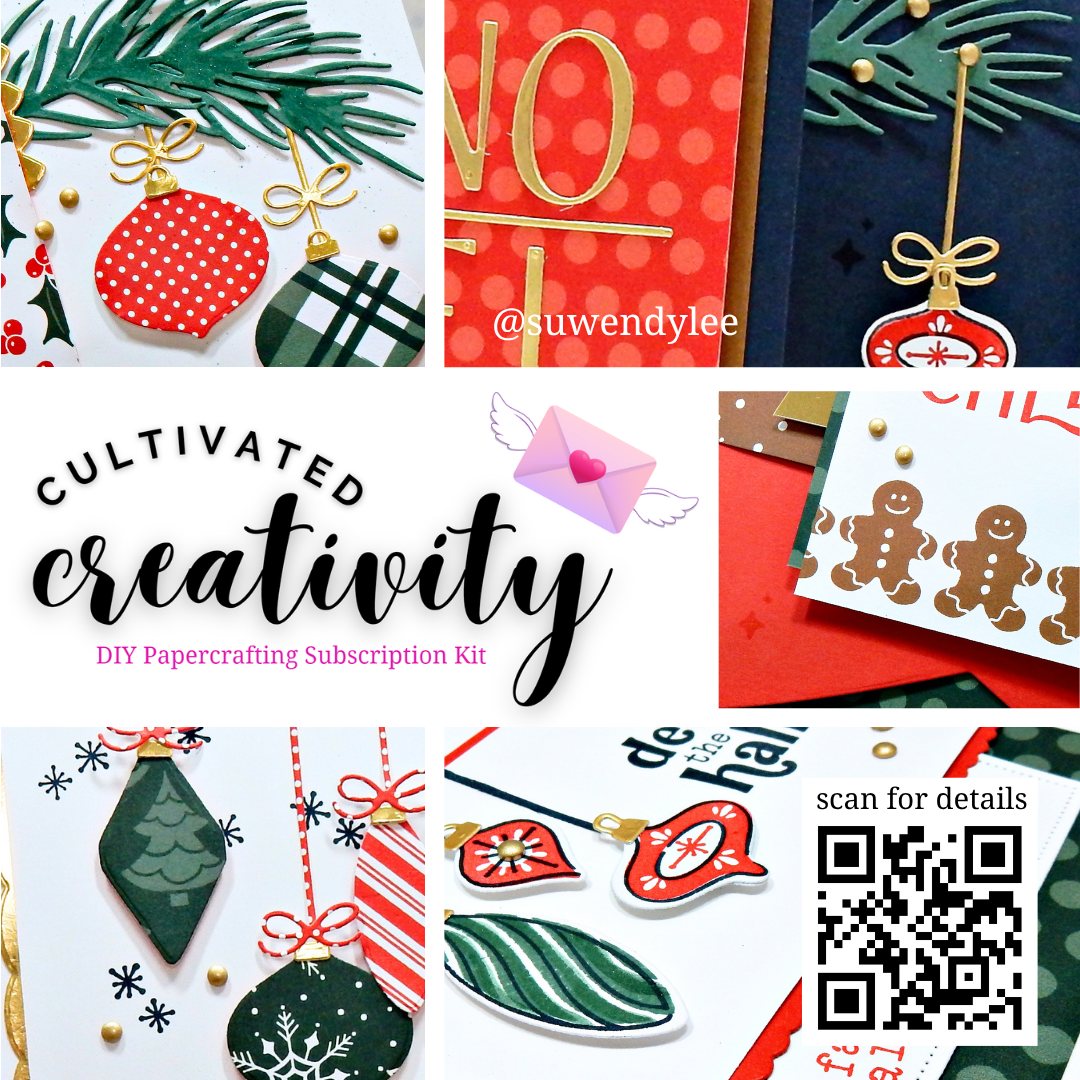
October’s creative escape features the Festive Cheer Bundle with beautiful projects designed to feel special without making your creative time more complicated.
We’ll create four cards plus one oversized giftable project, using smart layouts, versatile patterned paper, beautiful gold details, and thoughtful finishing touches. You’ll discover ideas you can use again and again—including ways to simplify a design when you want to make multiples.
Everything is thoughtfully designed and much of the prep work is already done for you, so you can spend less time figuring out what to make and more time enjoying the creative process and making each project your own.
Registration: September 21–October 20, 2026
While supplies last.
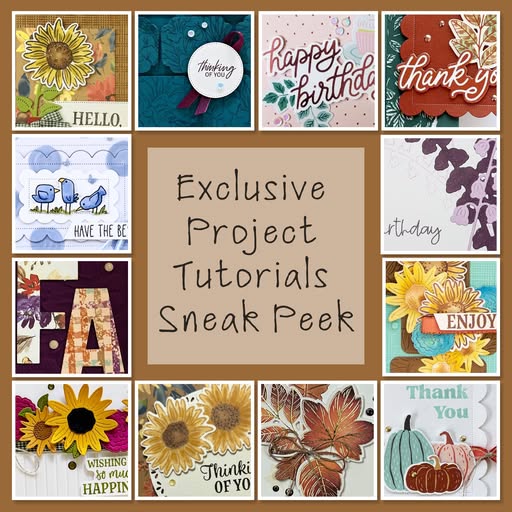
12 EXCLUSIVE tutorials each month for FREE!
I am offering the monthly Exclusive Project Tutorials FREE to my email subscribers. Yes! The Exclusive Projects team is comprised of a talented group of Stampin’ Up! demonstrators sharing great ideas. There will be a wide variety of projects featuring multiple stamp sets each month that you will get for FREE…if you are a subscriber to my newsletter… Whoo Hoo!
Not yet a subscriber? Sign up HERE
What others’ are saying about the Exclusive Tutorial Bundles:
Thank you! Each and every one of your cards are wonderful! I love having the tutorials printed out. I flip through the pages and always find something that would be fun to make! Thanks again!
-Mary D
*****
“Thank you so much – I always enjoy the fresh design options – you make card making fun again.”
-Kathleen L
*****
“I LOVE and appreciate this special offer you give to your email subscribers. I always find lots of inspiration from the demonstrators and enjoy replicating their beautiful designs.”
-TY Barbara D
More Than a Discount… Join the Diemonds!
Have you ever thought about becoming a Stampin’ Up! demonstrator?
Whether you’re looking to save on the products you already love, be the first to see new releases, or simply become part of a welcoming creative community, becoming a Diemond might be exactly what you’re looking for.
- Shop at a discount
- Early access to new products
- Exclusive demonstrator resources
- A supportive community that encourages you every step of the way
Whether you’re a hobby stamper or dreaming of building a business, there’s a place for you here.
Join the Diemonds and enjoy the benefits of being part of the Stampin’ Up! family. Discover what it’s really like to be part of the Diemonds.
Questions? I’d love to help! wendy@creativeleeyours.com
CreativeLee Yours,
OTHER IMPORTANT LINKS AND INFORMATION:
- Join my Stampin’ Up!® Diemonds team and get the awesome customizable starter kit HERE. It’s the best bundle ever!
- Ready for a fun, monthly craft kit delivered directly to you, so you get all the joy of creating without having to do all the research, design and prep? Cultivated Creativity is for you! Click HERE to get started.
- Join my Online Forget Me Not (FMN) Card Club and elevate your hand made cards HERE.
- Follow my blog by email and receive a FREE Exclusive monthly PDF tutorial bundle when you subscribe to email list HERE.
- Join Paper Pumpkin and get FREE PDF Tutorials with alternate projects each month.
- Shop my Tutorials to spark your creativity as I guide you through creating beautiful projects HERE.
- Earn Exclusive BONUS tutorials with my rewards program. CLICK HERE for details.