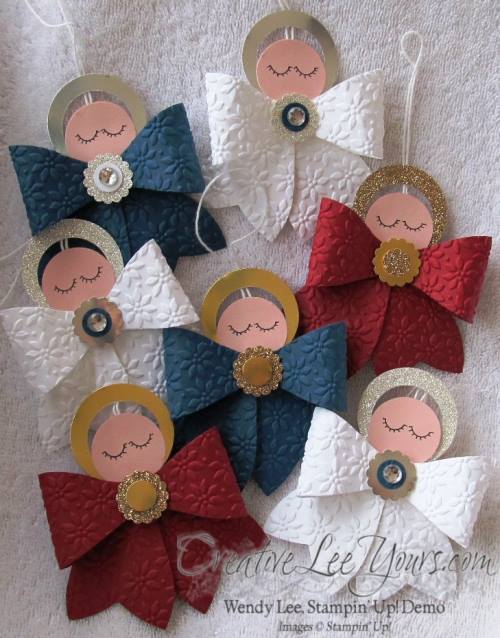
 At my recent stamp party I gave these sweet bow angels to my guests that brought a friend with them to the party. Everyone really liked the angels so I thought I would share the instructions ith you so you can make your own bow angel.
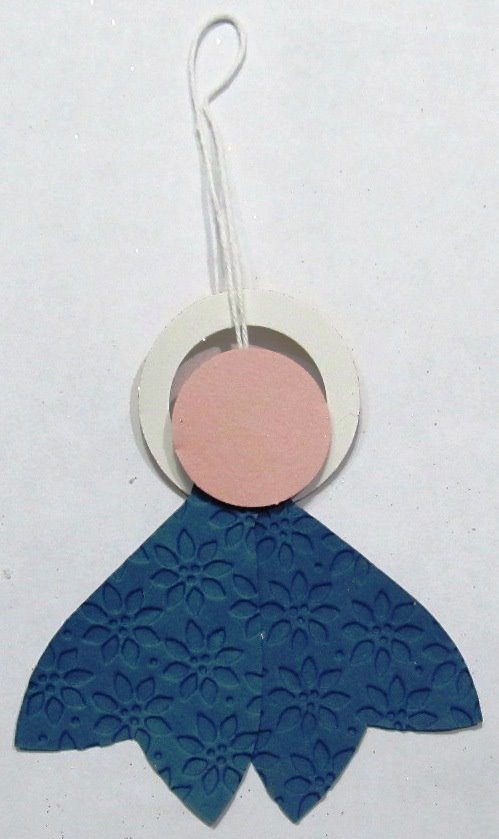
- Punch out (2) 1 1/4" circles in blushing bride cardstock.

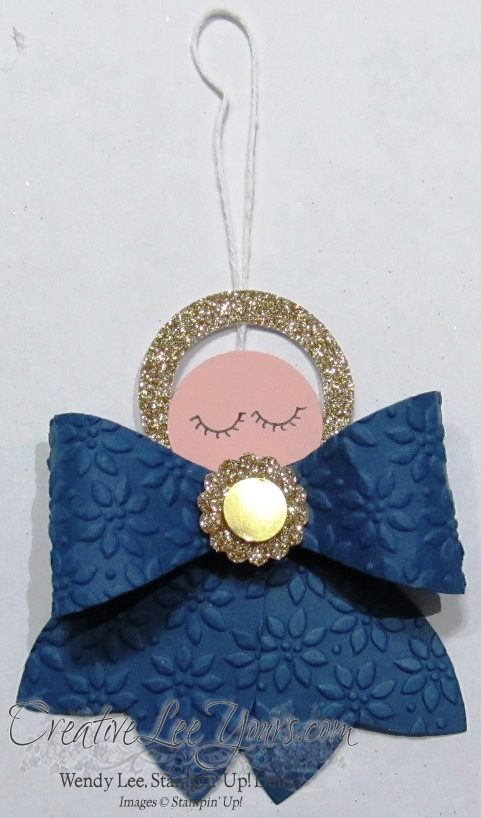
- I punched another partial 1 1/4" circle to create a template to draw the eyes with a stampin write marker.

- Punch 1 1/4" circle out of champagne glimmer paper.
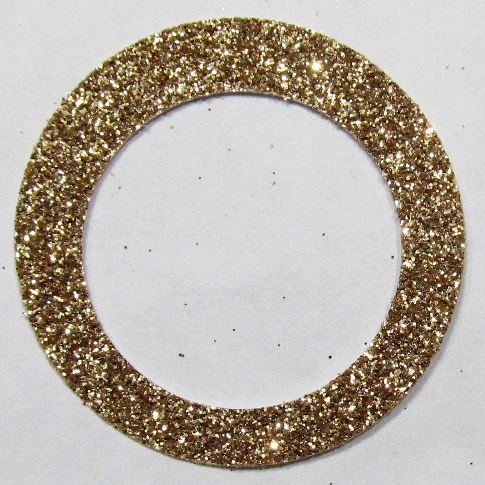
- Punch a second circle with the 1 3/4" circle punch offsetting so the circle is narrower on one side.

- This will be the angels halo.
- Adhere angel face to the bottom of the halo with a glue dot. Set head aside.

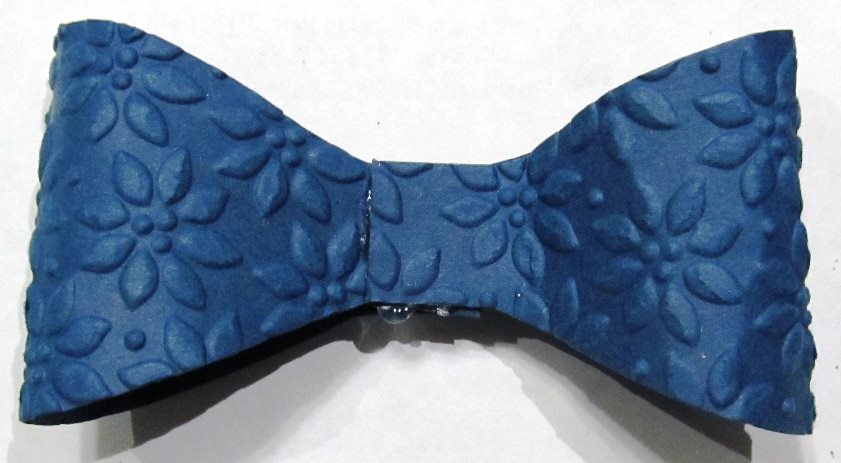
- Cut (2) small loops and (2) tails using the gift bow bigz die.

- Texture cut bow pieces using the petals a plenty embossing folder.

- Use hot glue to create bow loops.

- Hot glue bow loops together overlapping ends.
- Punch 1/2" circle out of gold foil paper and 7/8" scallop circle out of champagne glimmer paper.

- Layer punched pieces with dimensional dot.
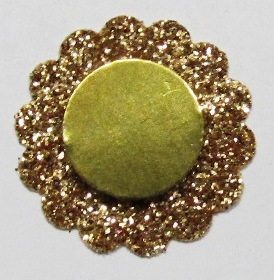
- Adhere punched shapes to front of bow with dimensional. Set bow aside.

- Add (2) glue dots to the back of one of the tails.
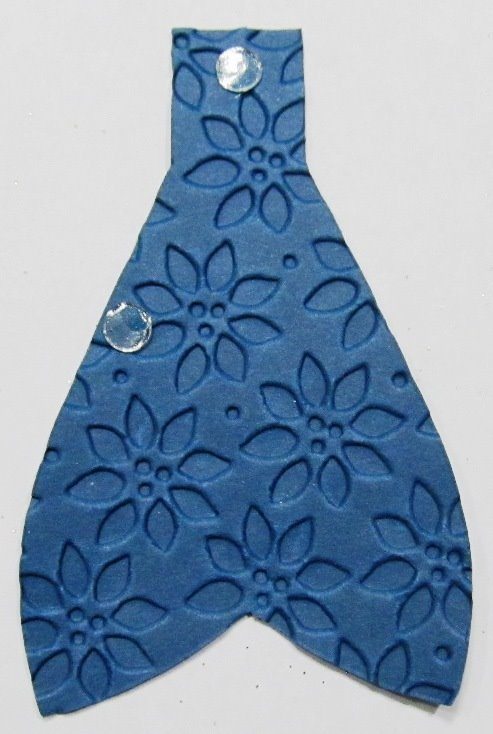
- Adhere tails together overlapping to create a V shape at the bottom of the tails.

- Adhere angel head to tails with dimensional dot.

- Hot glue bakers twine to back of second 1 1/4" circle.

- Hot glue 1 1/4" blushing bride circle to back of angel head.

- Back of completed angel.
- Front of completed angel.
 Hope you enjoy!
Paper– Champagne Glimmer Paper, Midnight Muse, Gold Foil Paper, Blushing Bride
Ink– Basic Black Stampin Write Marker
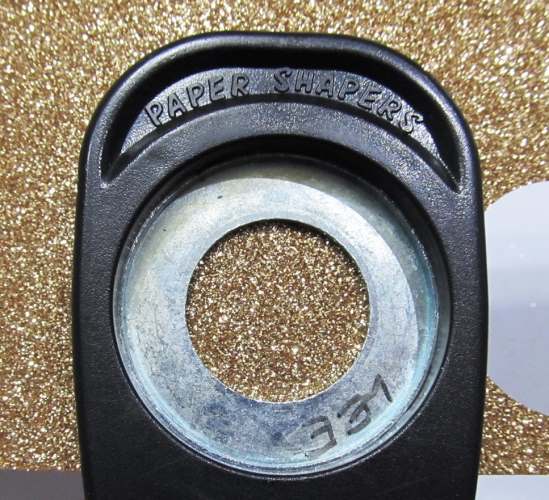
Fabulous Tools- 1/2" circle punch, 7/8" scallop circle punch, 1 ¼” circle punch, 1 ¾” circle punch, Big Shot, Gift Bows XL Die, Petals a Plenty embossing folder
Creative Touch– Dimensional Dots, Mini Glue Dots, Bakers twine, Hot glue
Use Hostess code PWRCC44N when you place your online order today for your chance to win hostess benefits!
CreativeLee Yours,